Opening June 2025 Kingsgate Center South
8021 Quaker Ave #149 Lubbock, TX 79424

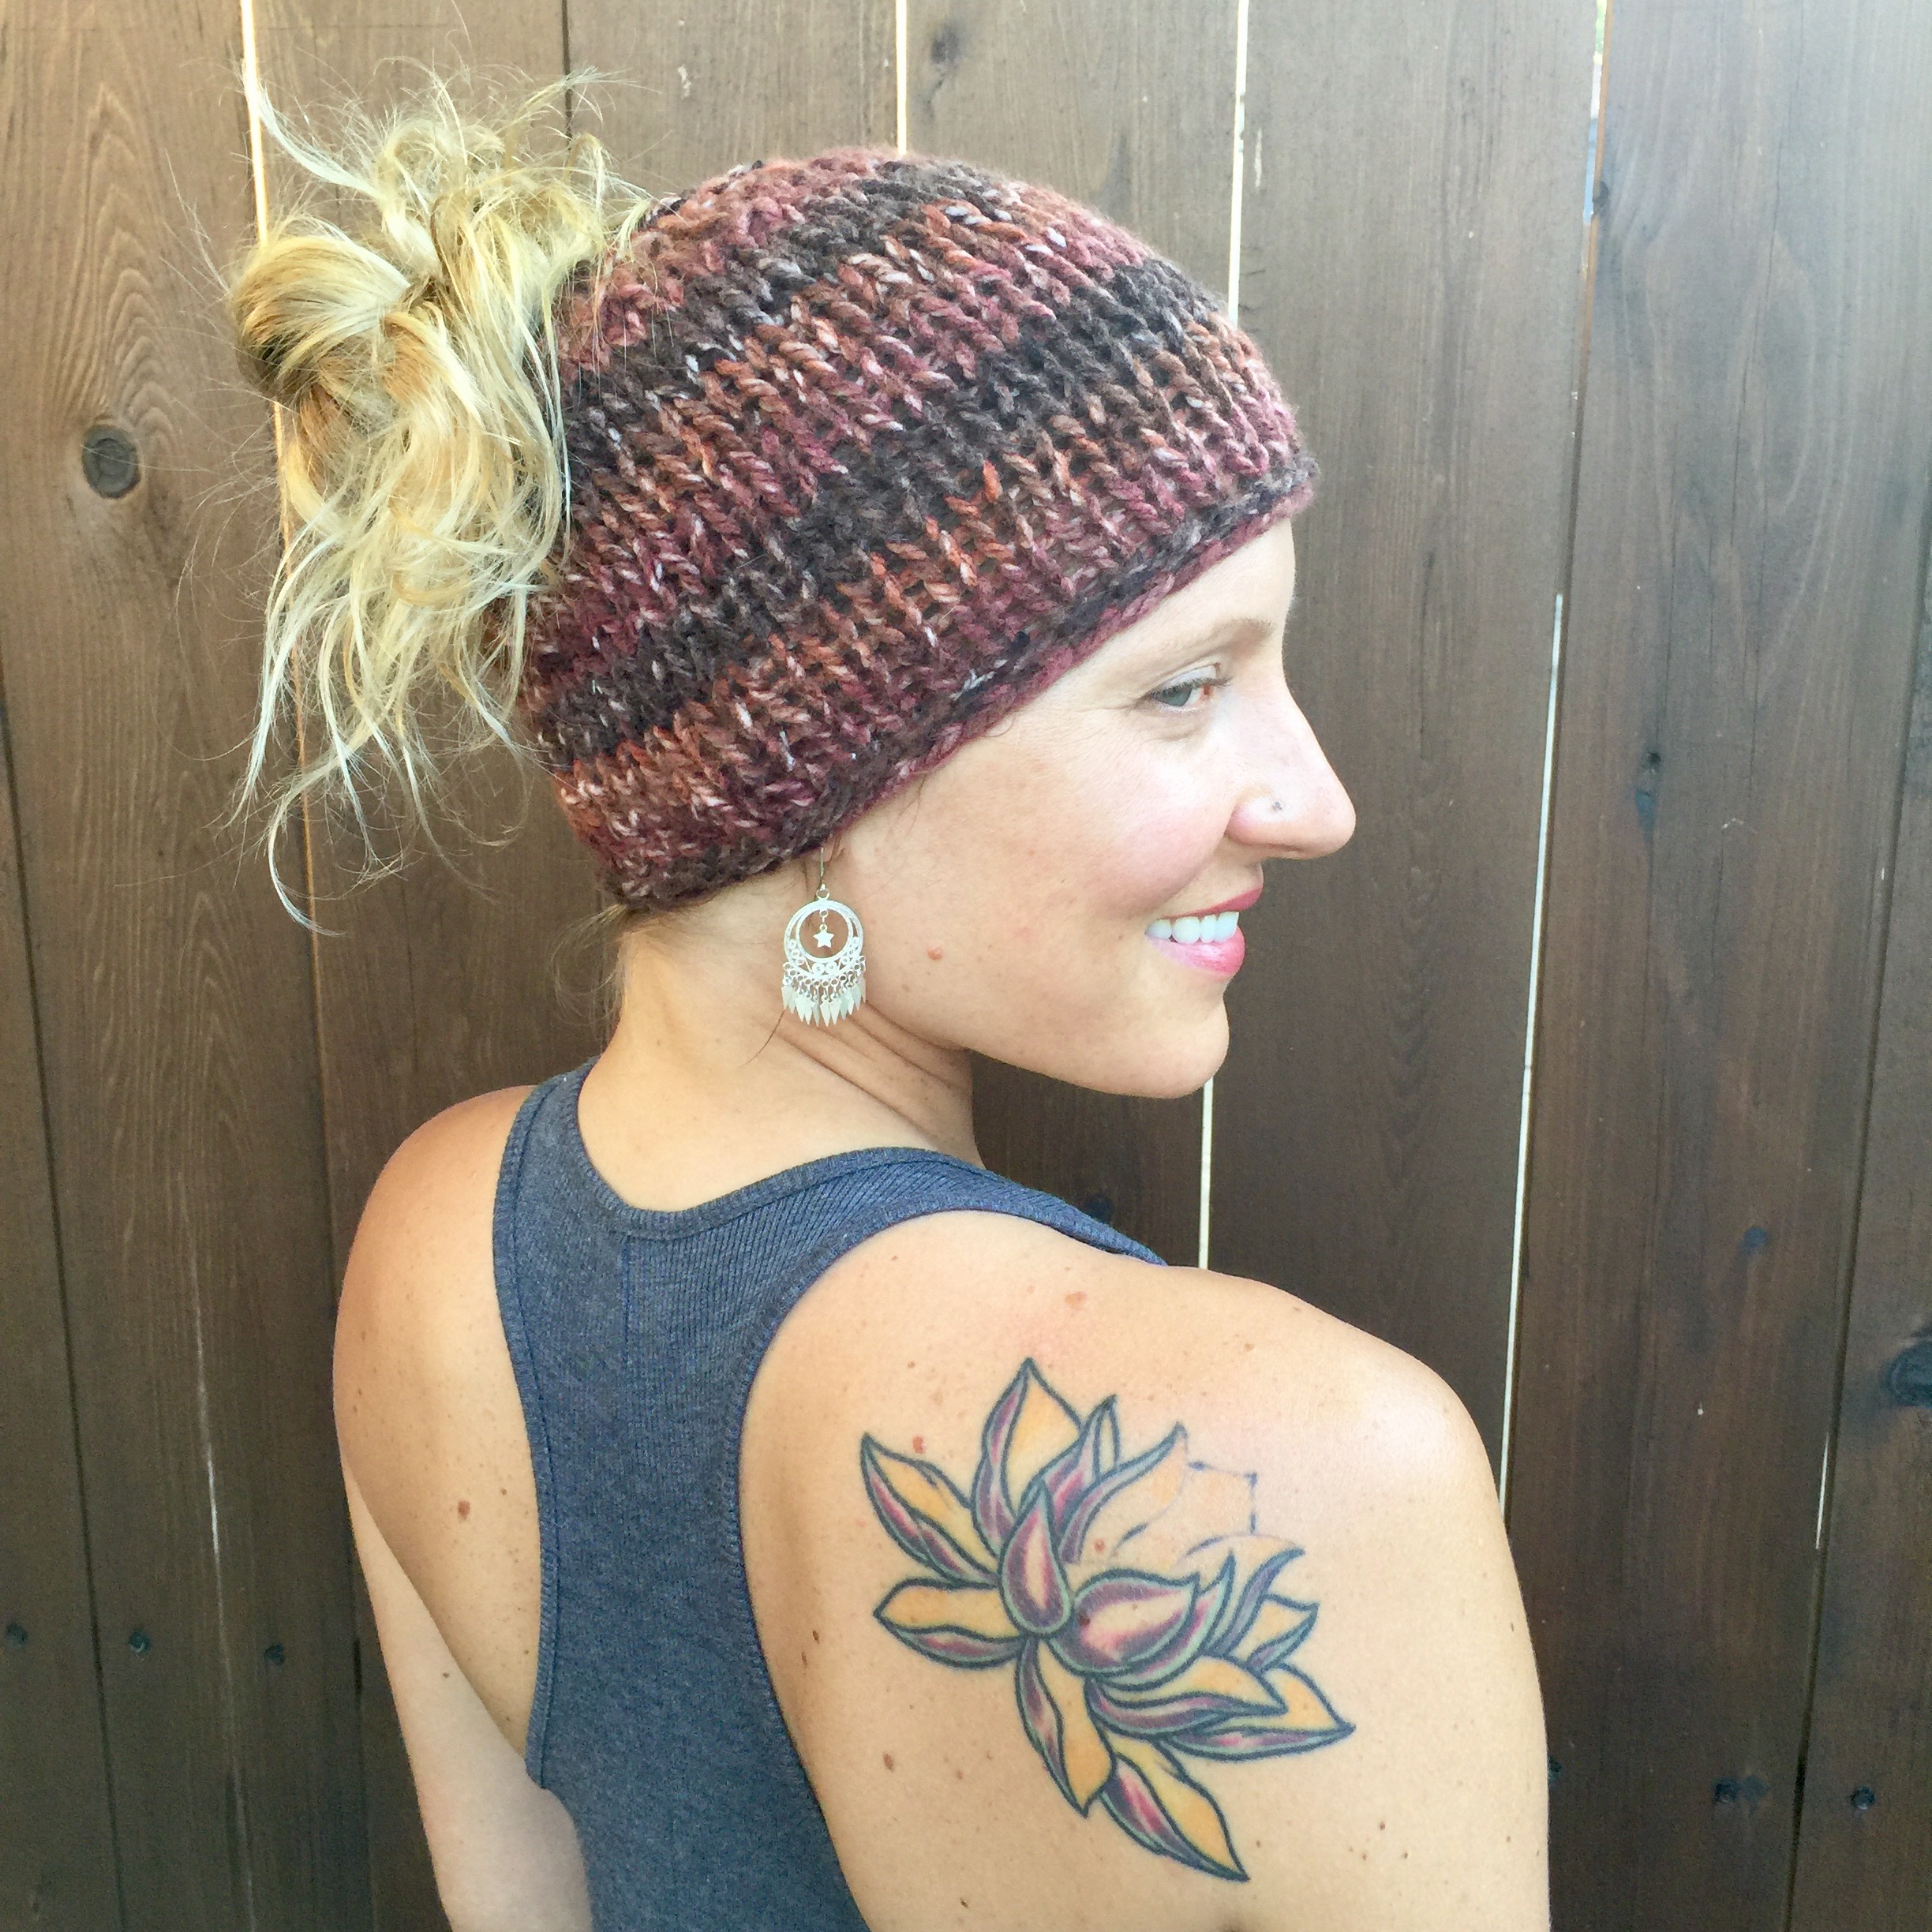
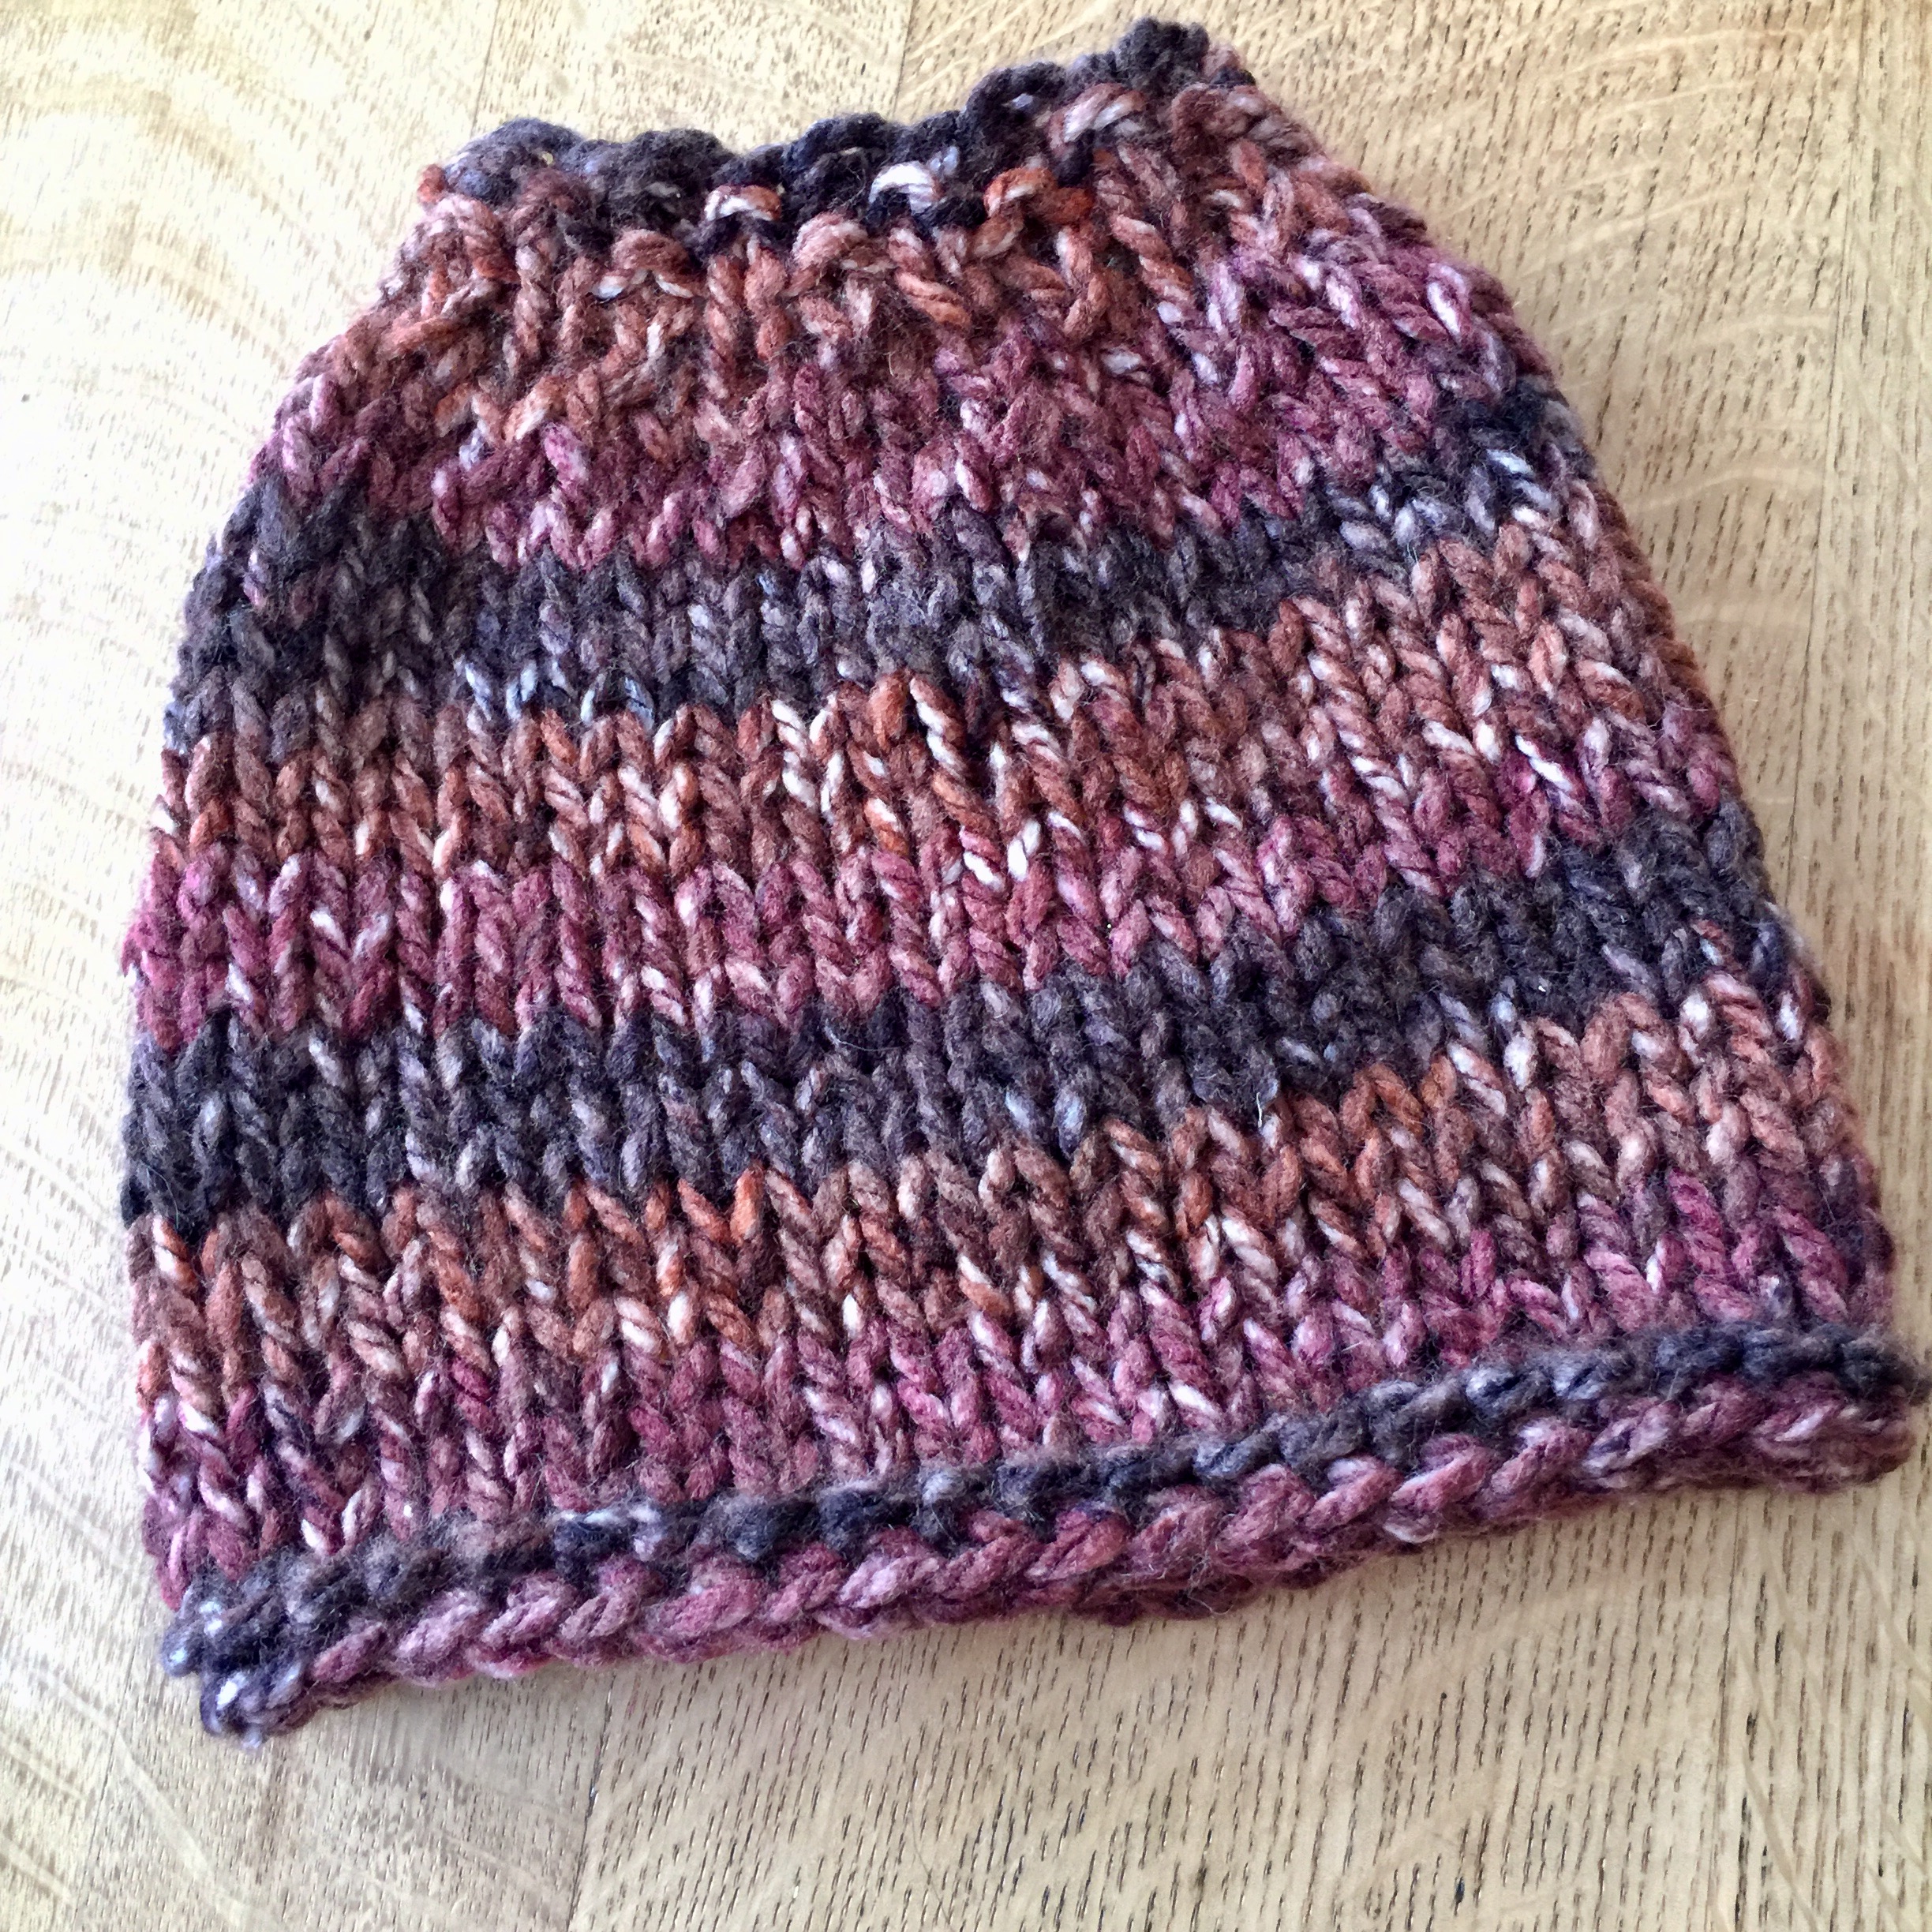
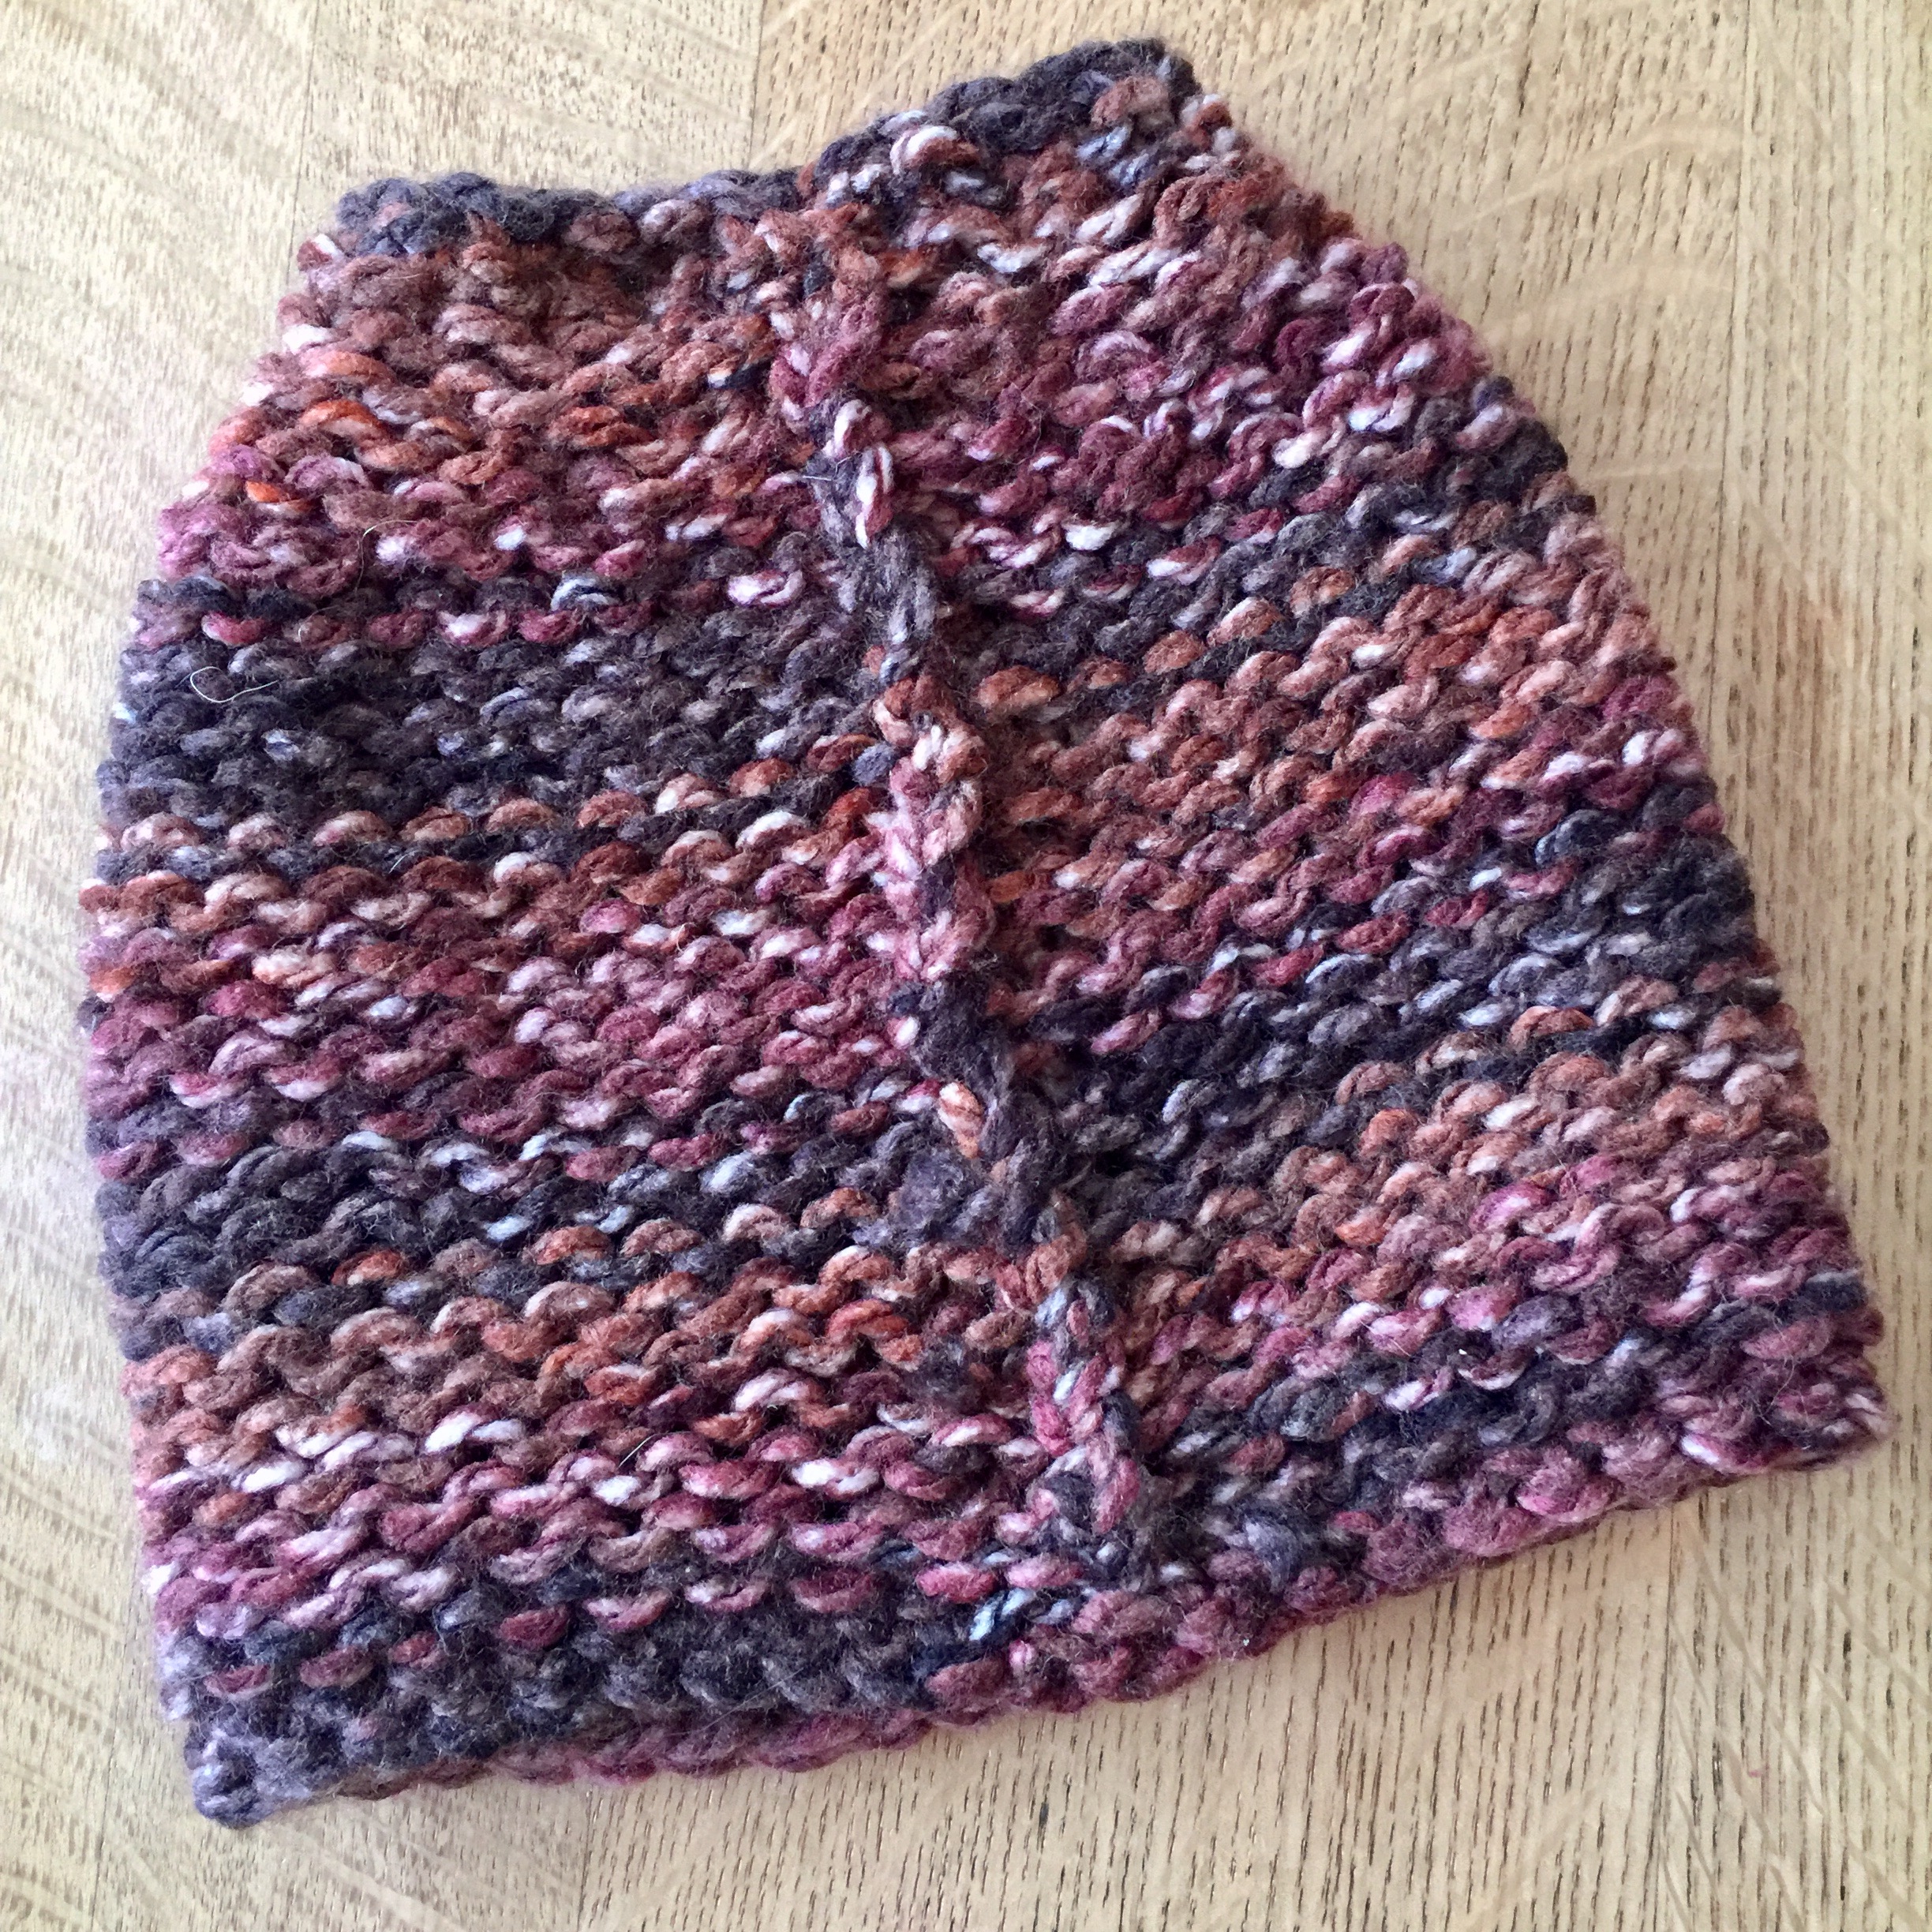
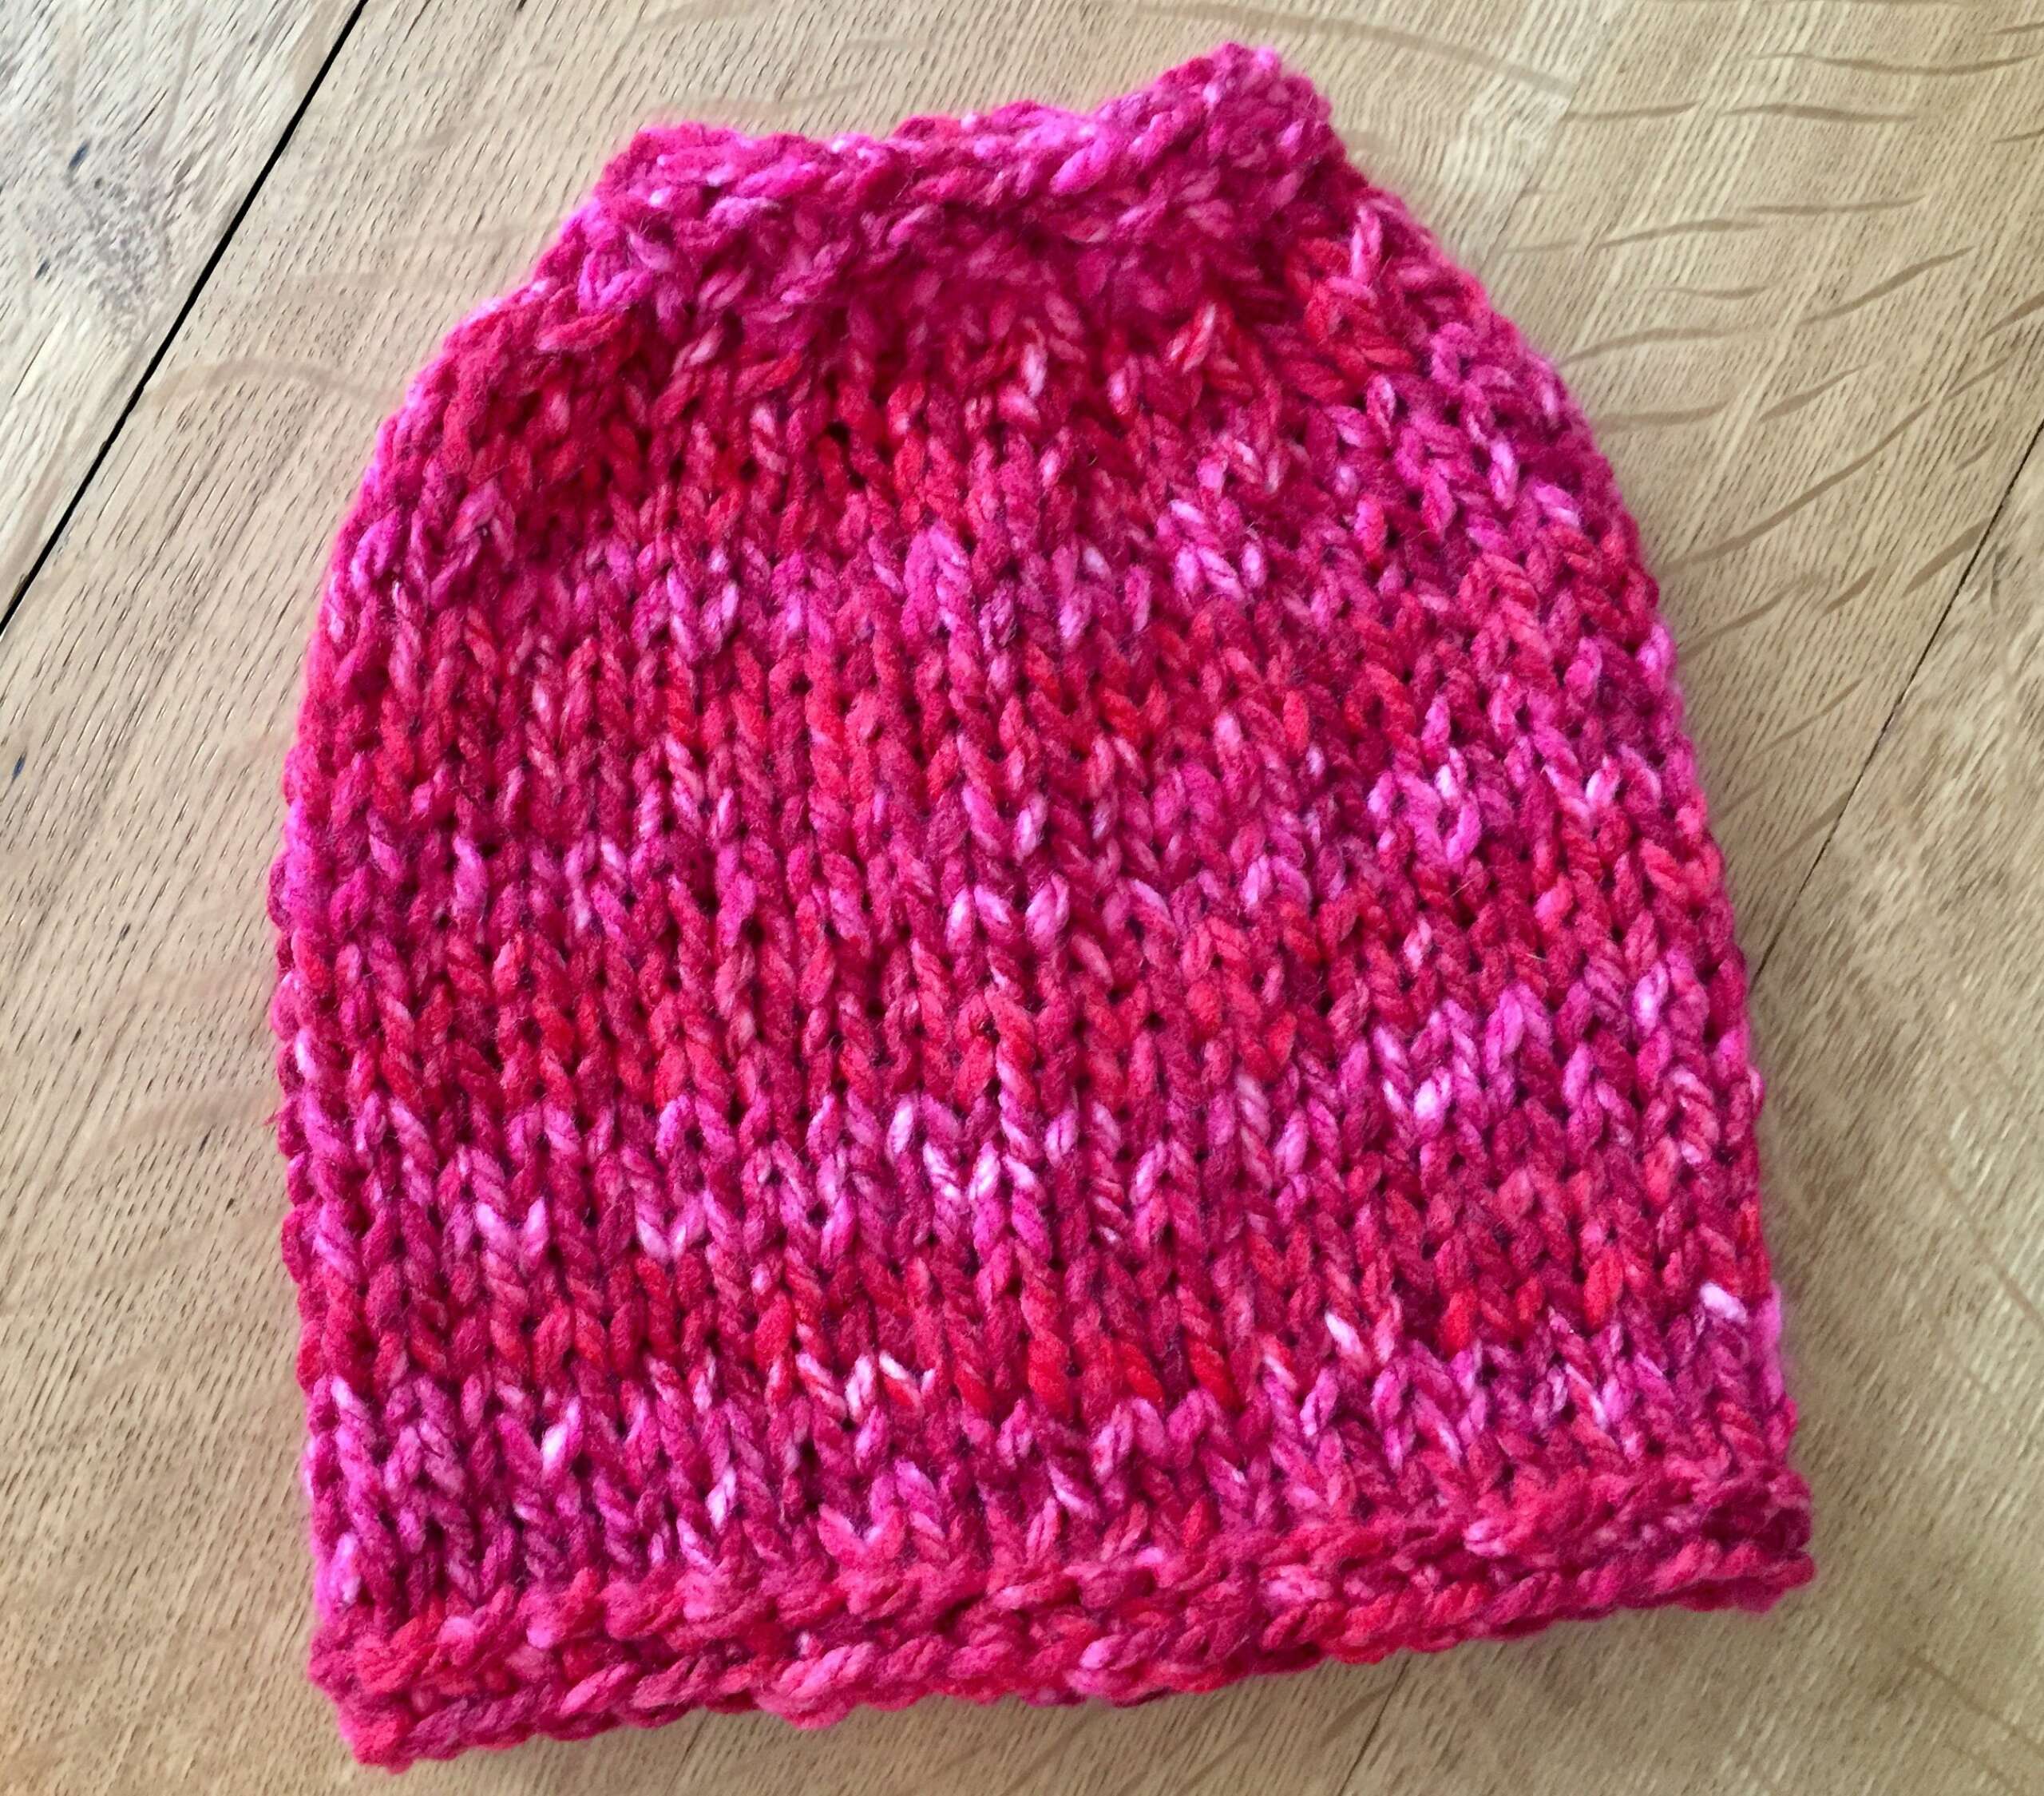
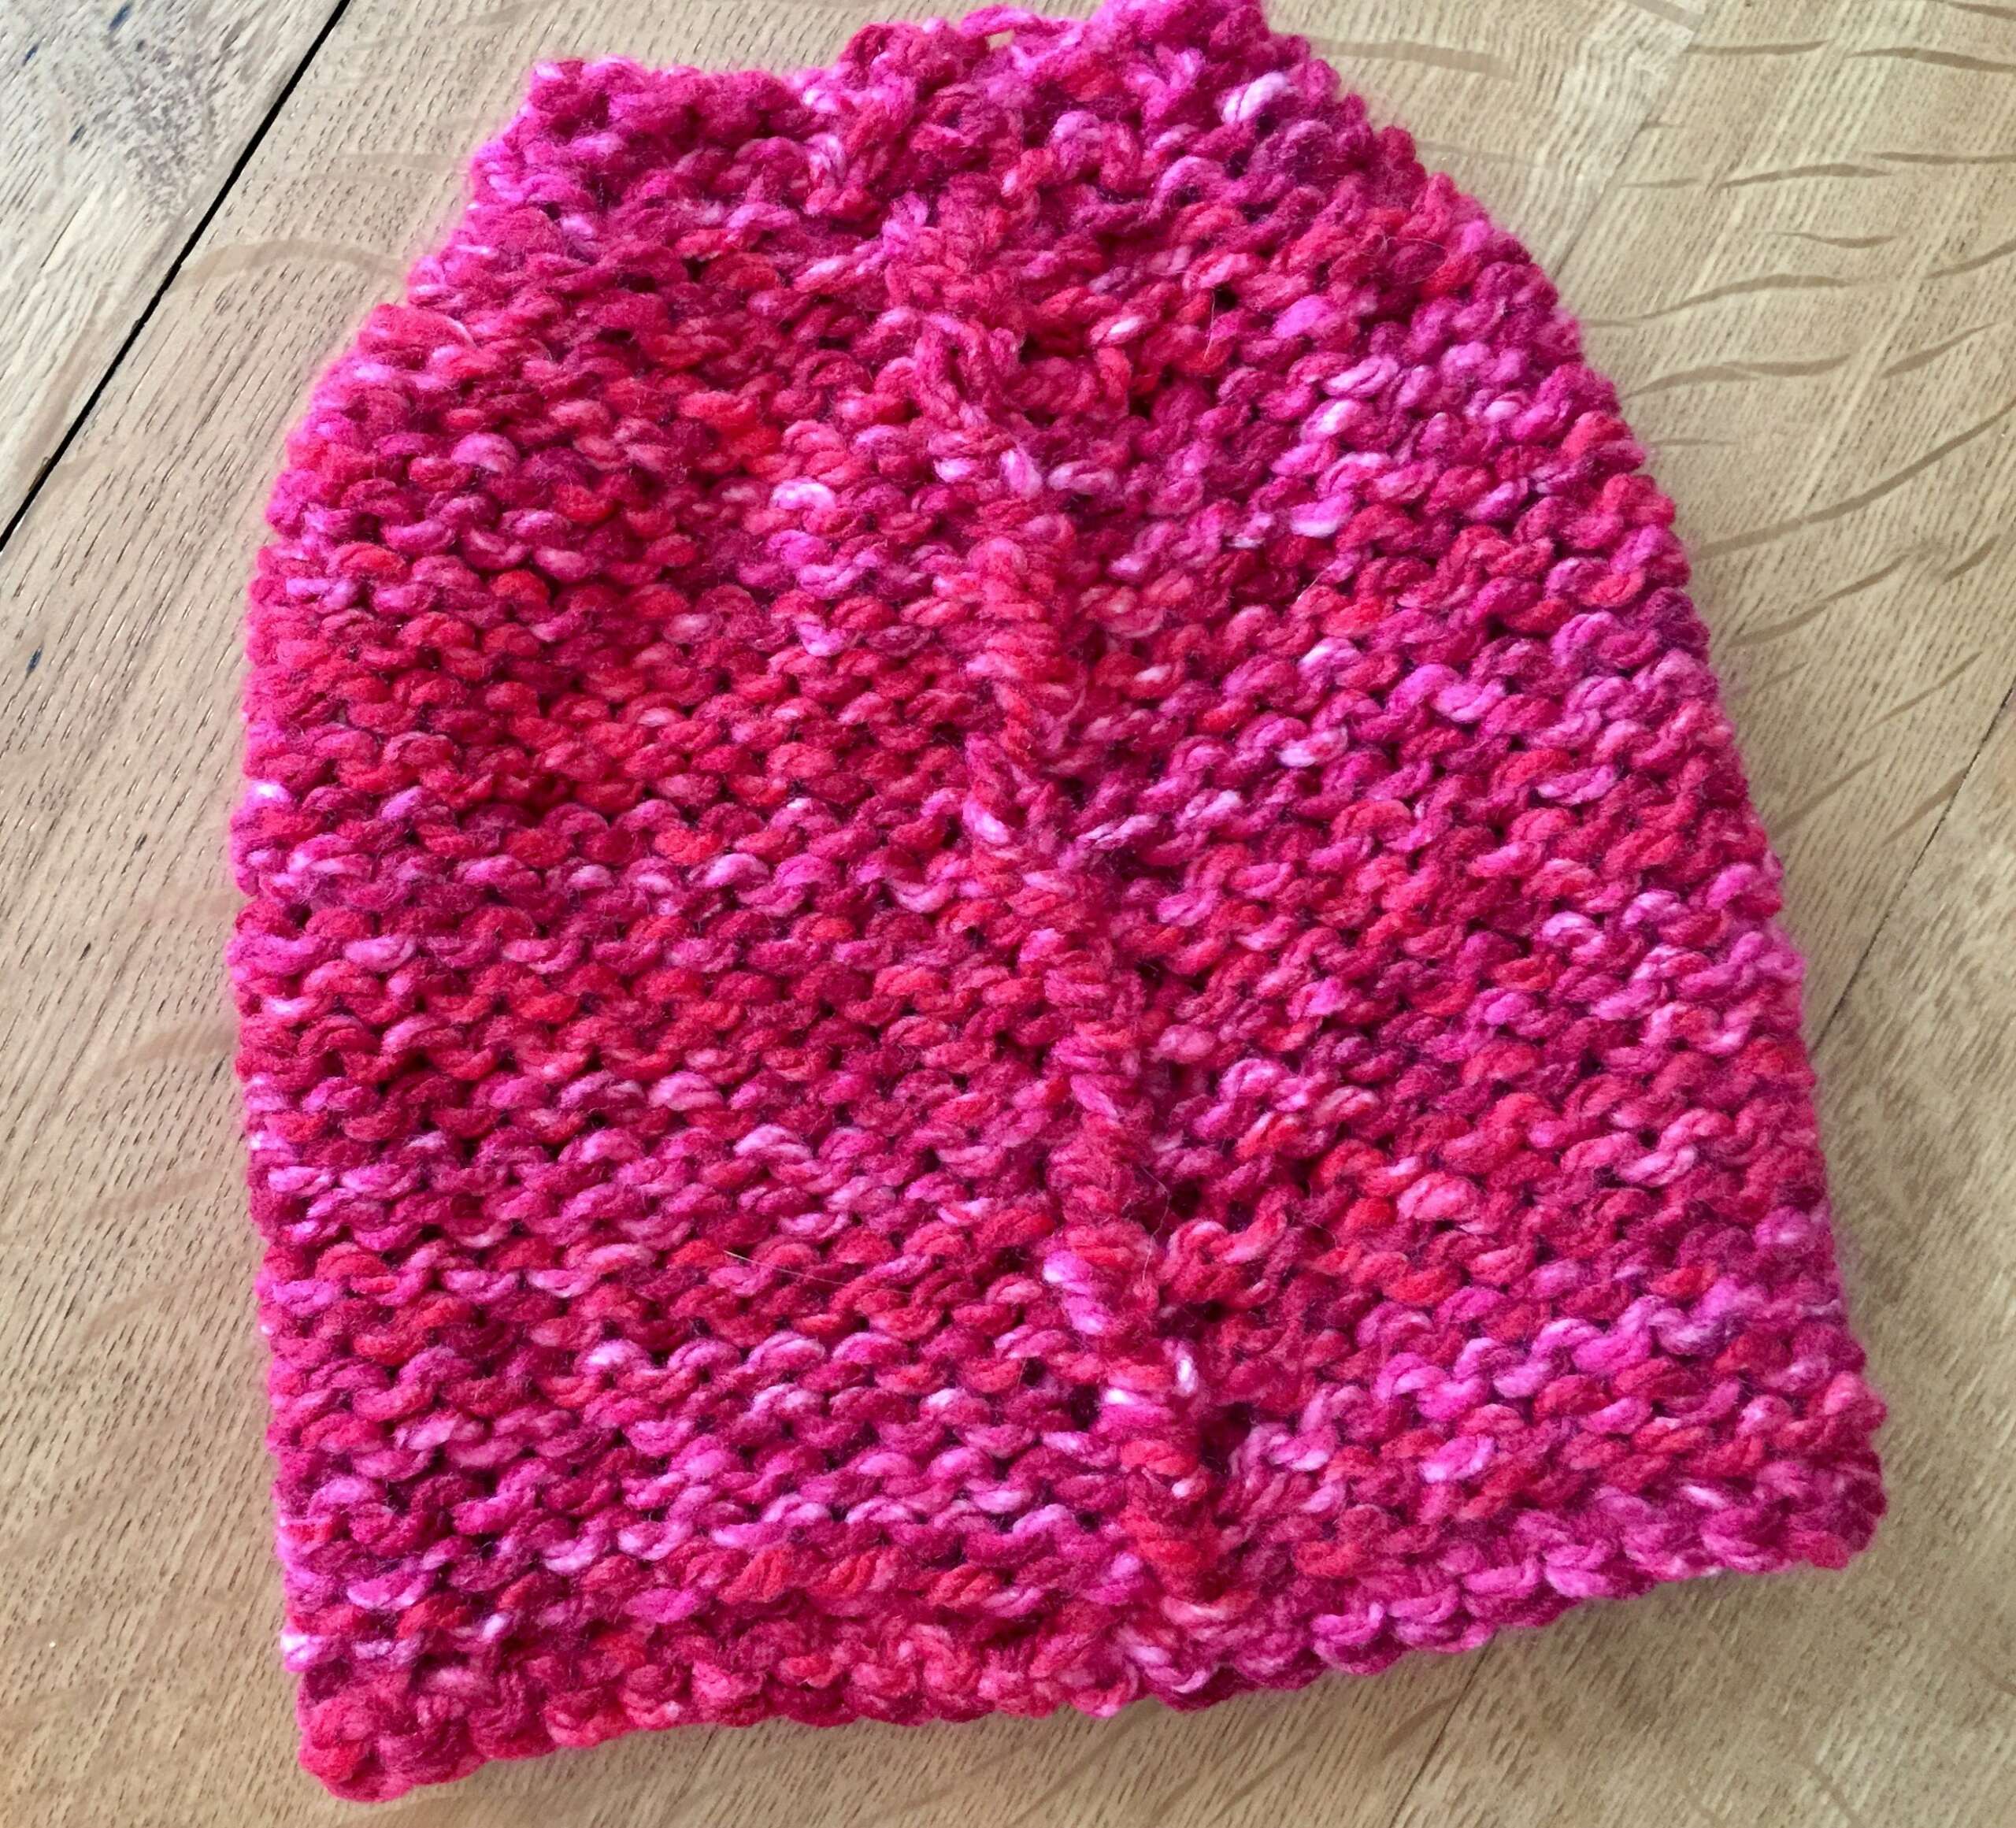
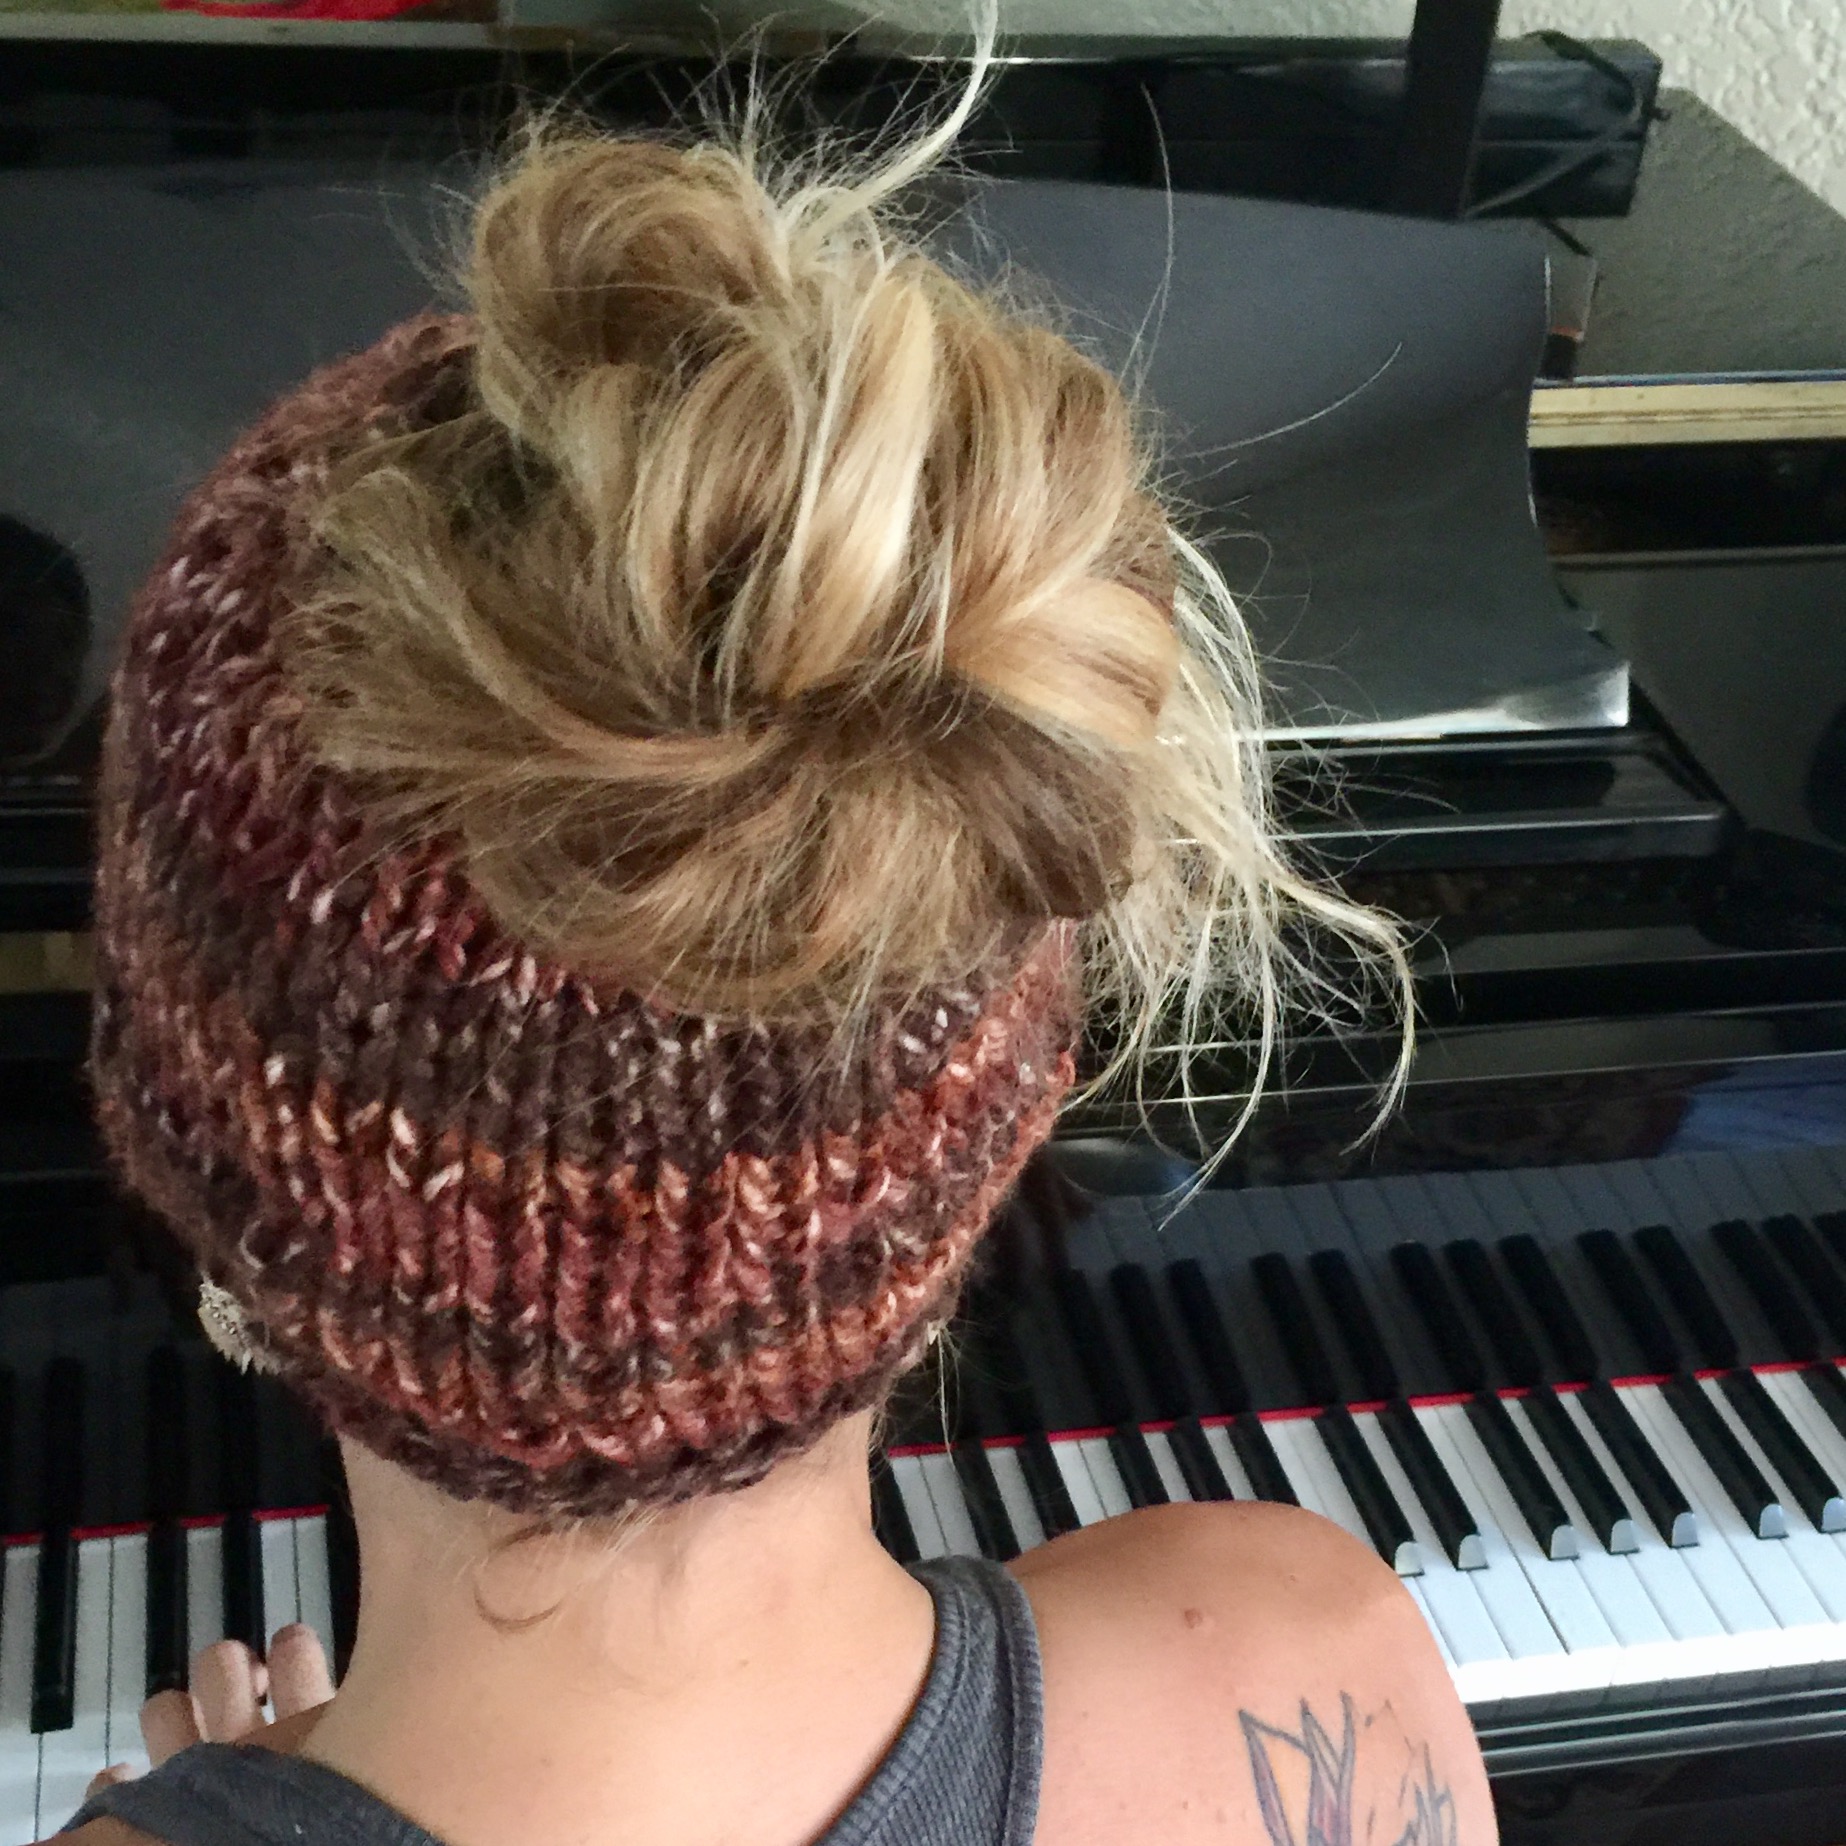
The Chunky Knit Messy Bun Hat is a variation of the Simple Chunky Knit Hat. This super easy knitting pattern is written for knitting on straight needles (or circular) and then sewn with a seam up the back.
You can also knit on double pointed needles to avoid the seam sewing or use the magic loop method. You would just knit every row rather than knit and purl.
The border is a single crocheted border added after the piece has been sewn together.
Video Tutorial
Yep! I added a YouTube video as well so if you want to follow along and see how I do each step you are welcome too. Please like, comment and share!
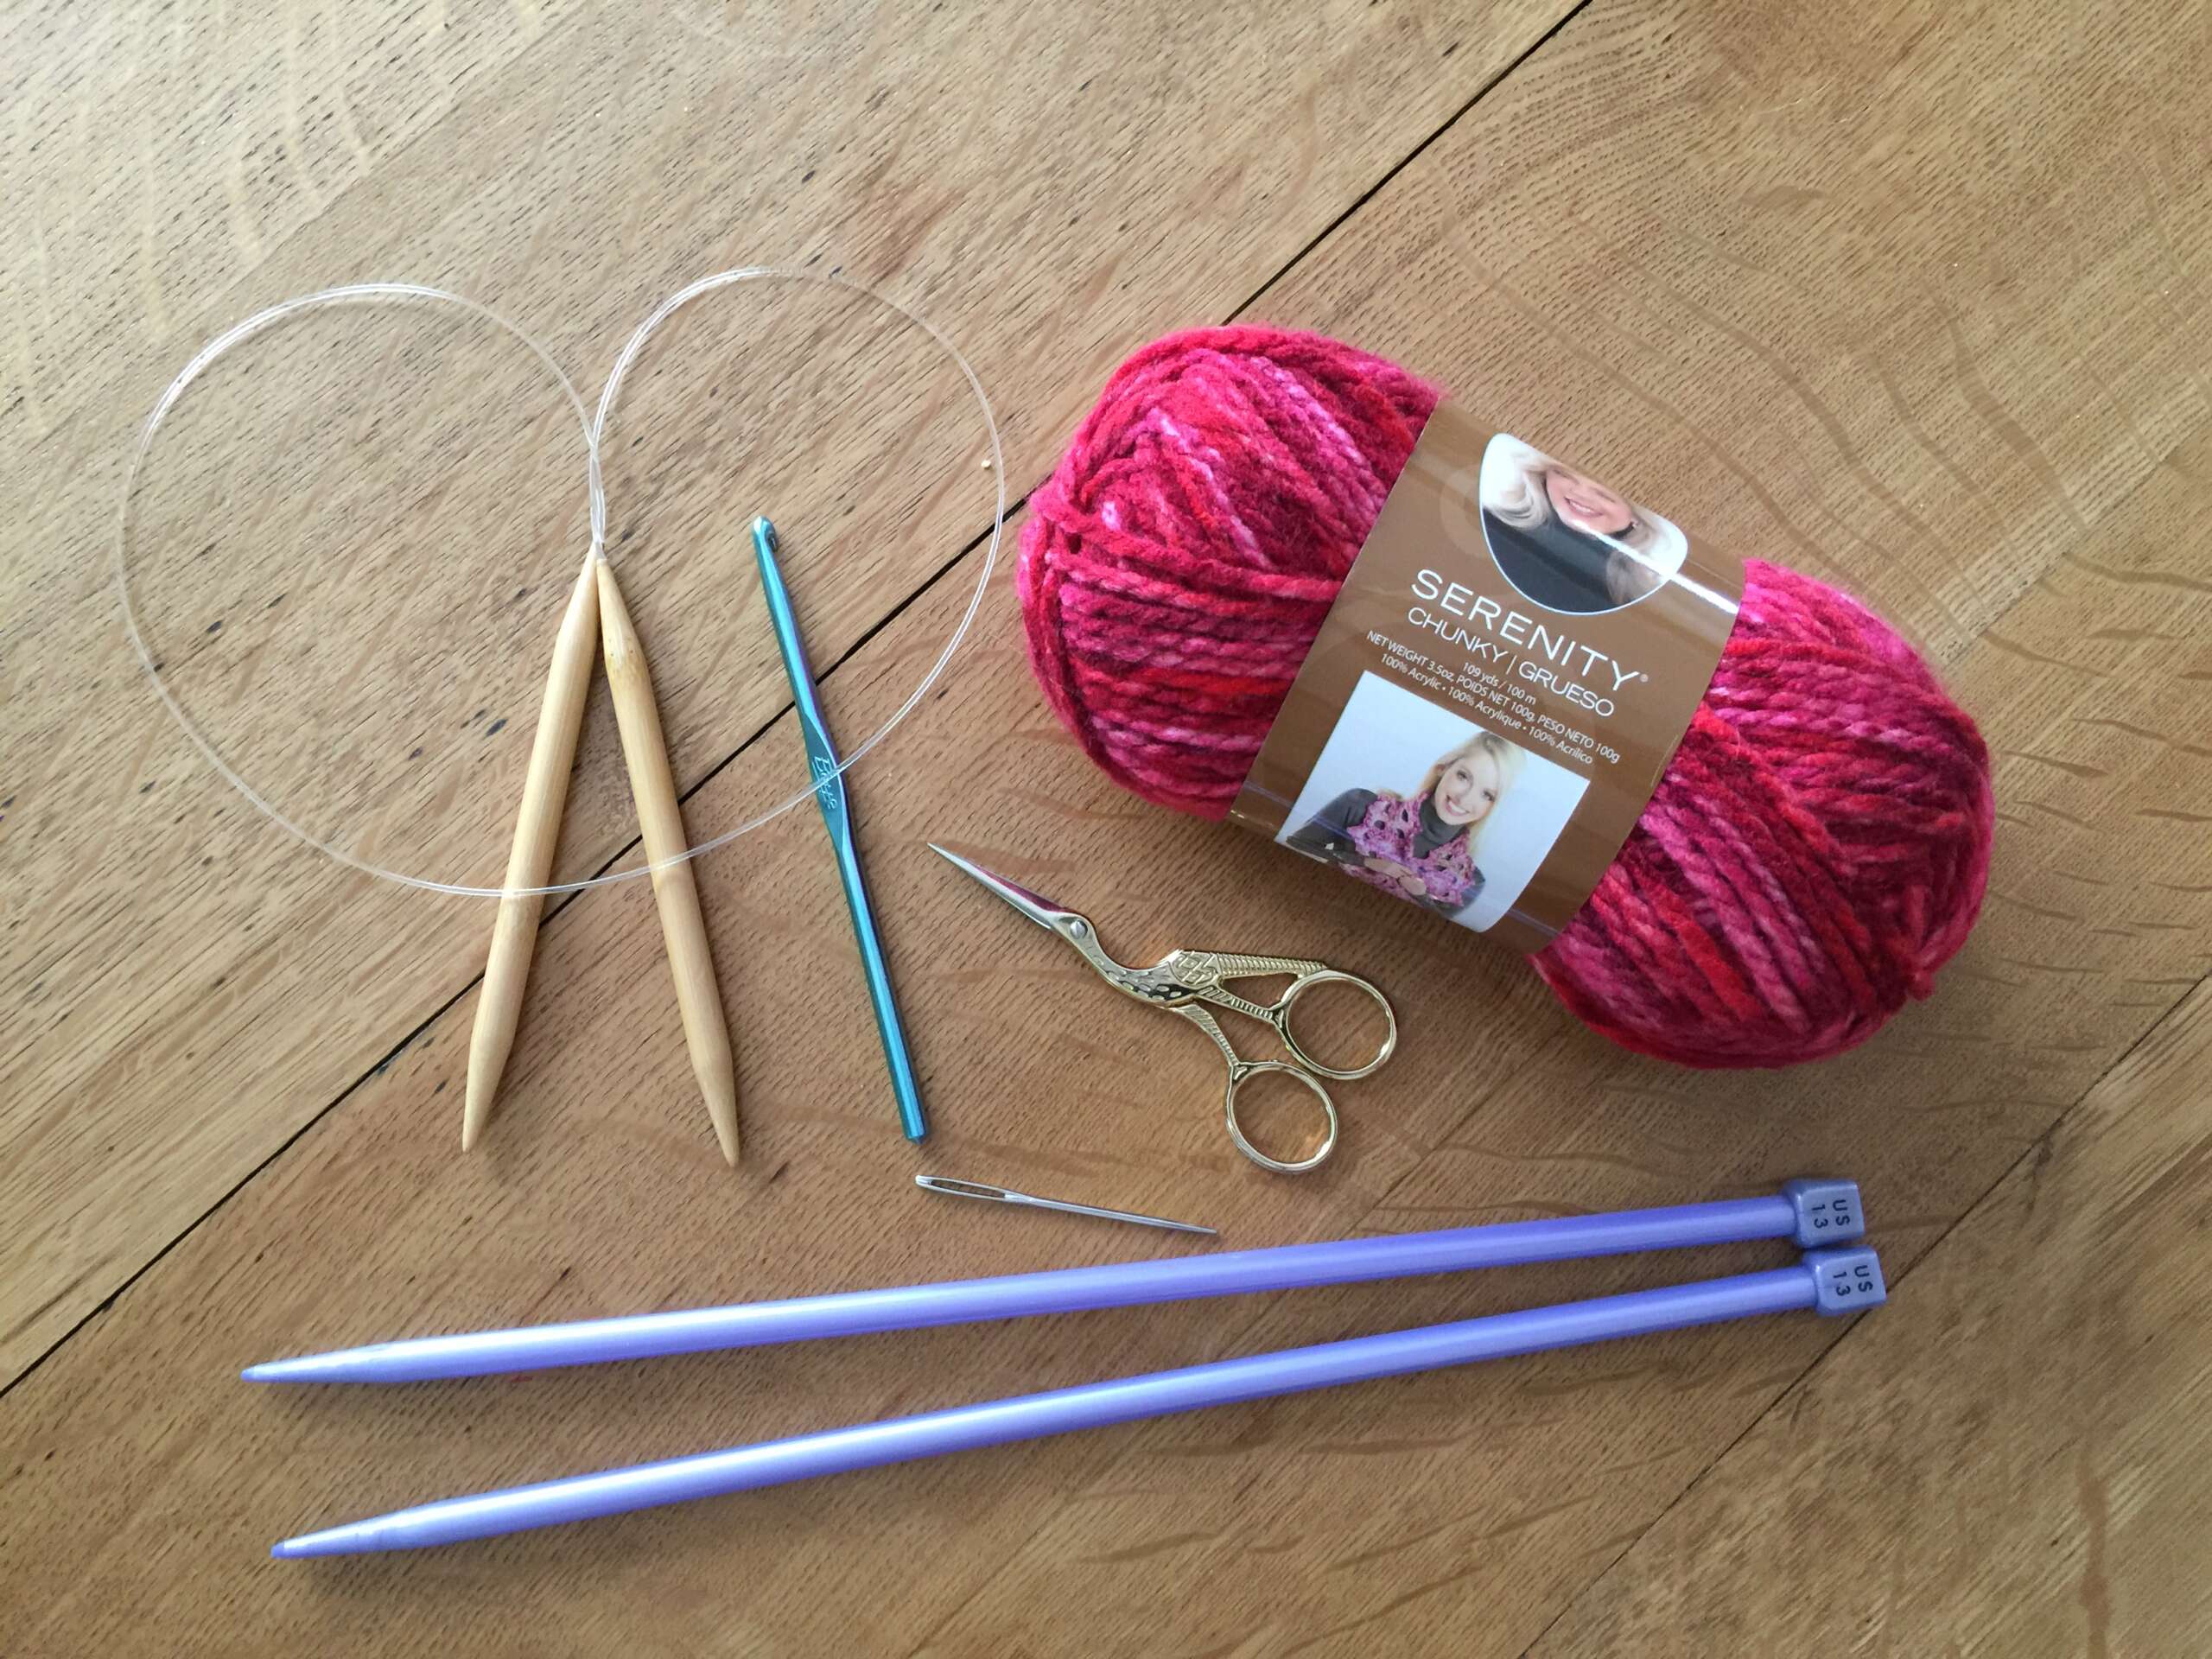
Yarn: 1 skein (Shown here in Choco and in Berry Burst) available at Joann.com for less than $5 each. There are a variety of colors to choose from and the different shades make the seam disappear quite well. 3.5 oz 109 yards.
Needles:
Crochet Hook:
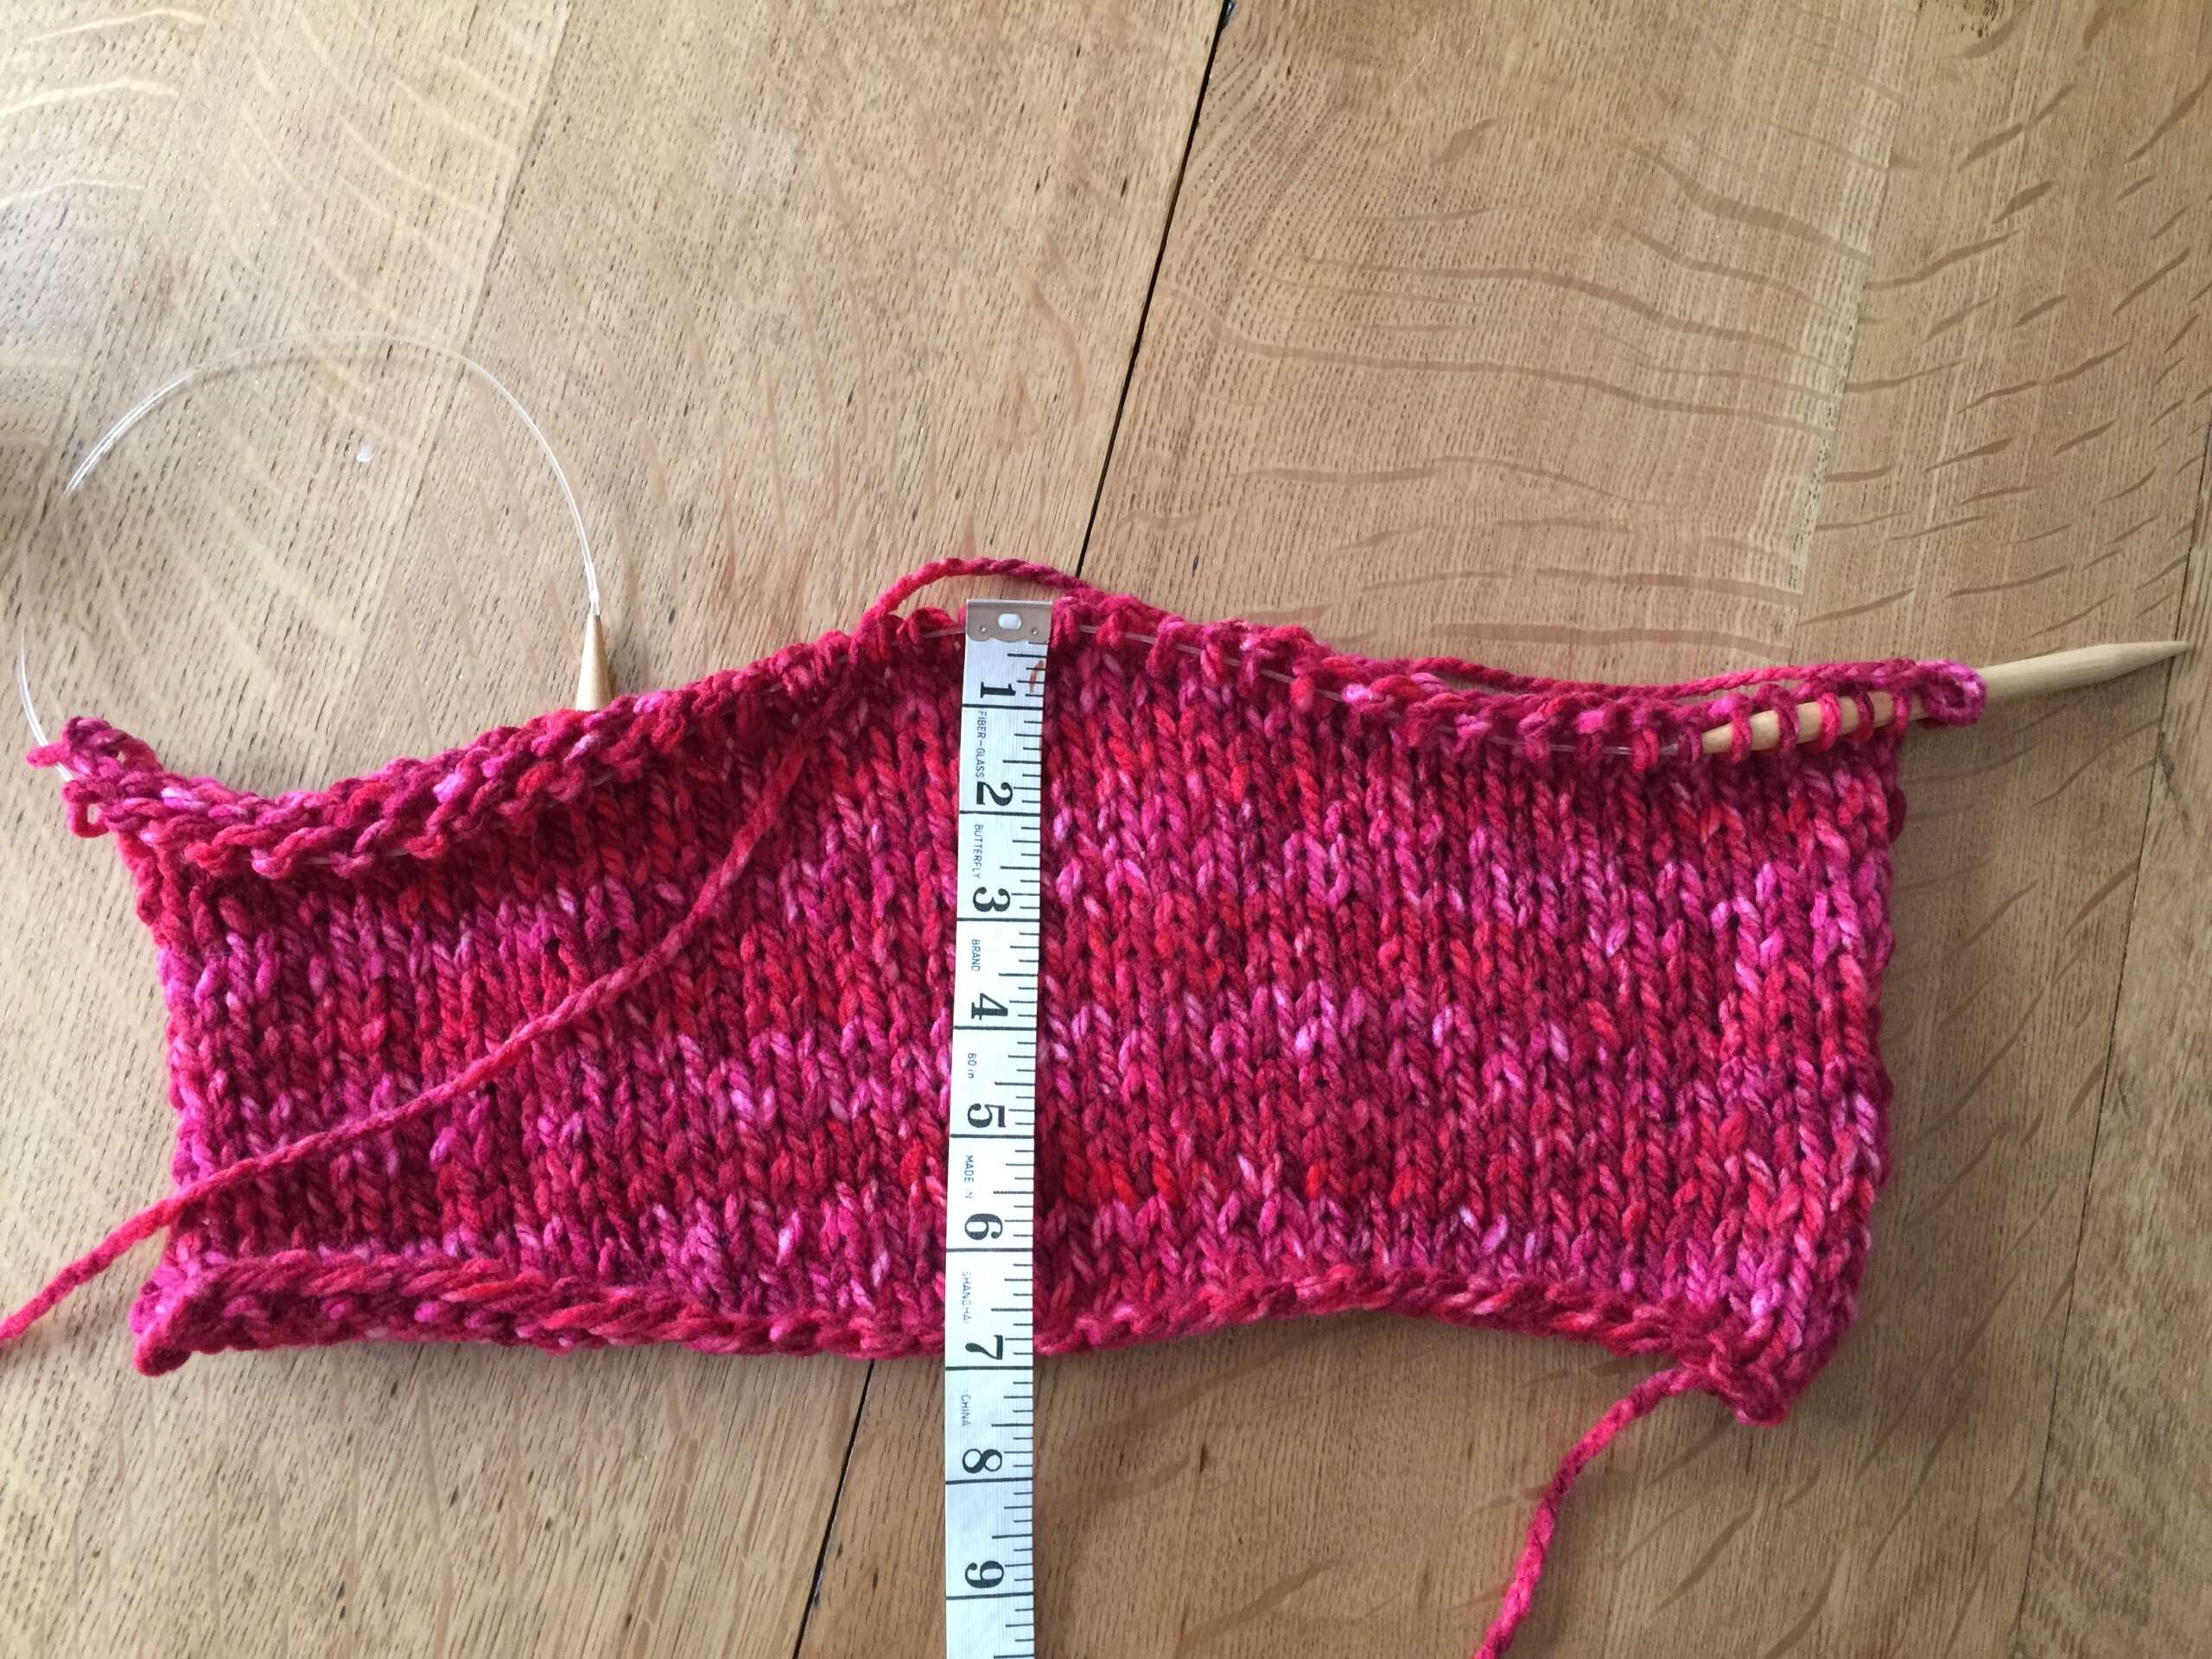
Gauge: 9 sts x 14 rows = 4 inch square (10 cm)
Measurements: Finished piece laid flat measures 9″ wide by 8″ high.
*Note: If you do not want a single crochet border, you would substitute Rows 1 and 2 below with a seed stitch as follows:
Row 1: *K1, P1. Repeat from * to end = 40 sts
Row 2: *K1, P1. Repeat from * to end = 40 sts
Instructions:
Cast on 40 stitches.
Row 1: Knit.
Row 2: Purl.
Row 3: Knit.
Row 4: Purl.
Rows 5-22: Repeat rows 3 & 4 until piece measures 7 inches (17.5cm) from the beginning or where you want the crown to start.
Shape the crown.
Round 1: K1 *K2tog, K2 repeat from * to the last stitch, K1 = 30 sts
Round 2: Purl.
Round 3: *K1, K2 tog, repeat from * to end = 20 sts
Round 4: Purl.
Round 5: *K1, P1. Repeat from * to end = 20 sts
Round 6: *K1, P1. Repeat from * to end = 20 sts
Cast Off.
Sew Seam. Weave in ends.
Add single crochet border.
With right side (knit side) facing, pick up back loop of each stitch and single crochet loosely once around. Join with a slip stitch to the first single chain. Cut yarn and weave in ends.
16 Responses
Very nice Marni and Loren – looks perfect!
hello! If I wanted to knit this on circular needles (in the round) what length would I choose? I’m just beginning and have had problems choosing the correct length. Thanks
Hi Sarah, You would need the shortest circular needles you can find – or else choose a set of double pointed needles, which is probably what I would do. With 5 double pointed needles you could divide the stitches equally on 4 and then use the 5th needle to work in the round. Make sense?
Hi Marni, Thanks for your reply! I’ll have a go on the circular as that’s what I have, if I can’t do it I’ll invest in some double pointed needles. happy New Year!
I’m using the 9mm needles but the ending is a bit loose,looking like it has holes , , I’m using the 2 rows seed stitch as I cant crochet, any ideas please
So sorry for the delay – if it’s too loose I would grab a smaller pair of needles to see if that helps!
I’ve done the seed STITCH edging on 6mm which has made it better, do I do the rest of the hat on 9mm or continue with 6mm pkease as I’ve never used chunky wool before , many thanks
Most likely you would use the same size needles, but now your gauge may be different. You should check to make sure it will be the right size before you continue. You can do this by looking at how many stitches per inch you have and doing the math. The total circumference should be a little less than your head to allow for stretching and fitting snugly but not too snugly.
Hi I’ve got 4 stitches per inch on the hat on 6mm needles how do I calculate it please
Here is how I calculated your gauge. If you are getting 4 stitches per inch, and the hat is 18″ around (9 inches flat) then you would need to cast on 4 x 18 = 72 stitches.
See my math worked out here: https://www.marnimadeit.com/wp-content/uploads/2021/02/messybun-hat-helen-scaled.jpg
Thank you so much for this beautiful pattern!
I just finished this great easy pattern, thanks. However, I think you should revise the instructions for the first two and last two rows. The way they are now will produce ribbing, not seed stitch. I checked your video to be sure, the second row each time should start with P1, K1.
Thank you for your great suggestion!
Here to ask this myself, i caught that as well. Im gonna go with the k1, p1 repeat and then p1, k1 repeat as im pretty confident now thats what it should be or at least how id like it to be.
Would the seed stitch to replace the crochet border be K1, P1 and then k1 p1 again or is it a typo and should be k1 p1 row 1 and then p1, k1 row 2?