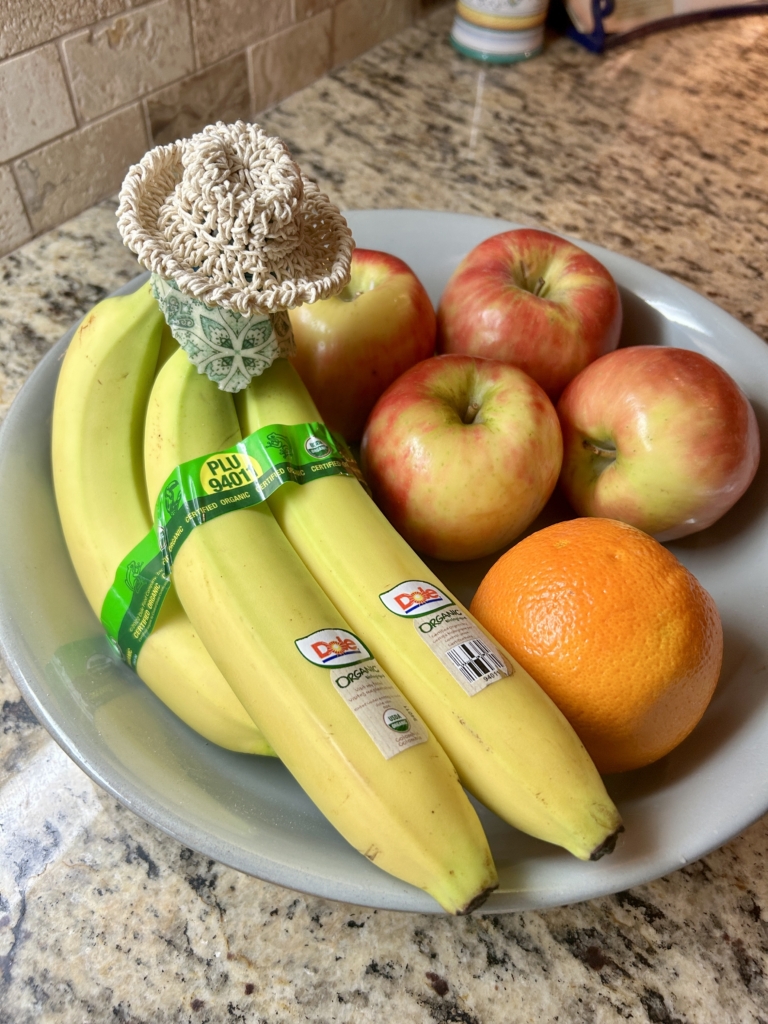
If you’ve ever spotted those adorable crocheted banana hats online, you might have wondered—do they actually help keep bananas fresh? The truth is, the crochet part is just for fun; sealing off the banana stems can help contain the ethylene gas they naturally emit, which plays a role in ripening. As one study found: “Throughout this experiment it was discovered that bananas exposed to the ethylene gas naturally emitted by ripening bananas did have a faster rate of decay.” (Wright State University) The good news? You can DIY your own beeswax wraps for this purpose—and top them off with a cute crocheted Panama hat!
Bananas release ethylene gas from their stems, which speeds up ripening. Wrapping the stems in an airtight material like plastic wrap, beeswax wraps, or silicone caps helps slow this process. Adding a crocheted banana hat? That’s just for flair—and I’m all about fun AND function.
Ethylene gas plays a significant role in the ripening process of bananas. Research indicates that bananas exposed to ethylene gas naturally emitted by ripening bananas exhibit a faster rate of decay. (Wright State University)
Additionally, a study published in the Journal of Experimental Botany found that ethylene response factors are involved in banana fruit ripening through the transcriptional regulation of ethylene biosynthesis genes. (PMC)
You know I had to do some research! Here is what I learned. Despite its name, the Panama hat originates from Ecuador. Indigenous Ecuadorian cultures have been weaving straw hats for centuries, with evidence dating back to 1200 B.C. Spanish conquistadors observed the local people wearing these lightweight hats made from toquilla palm fibers in the 16th century. The finely woven hats became internationally known when they were exported via Panama, and their association with the Panama Canal further solidified the misleading name.
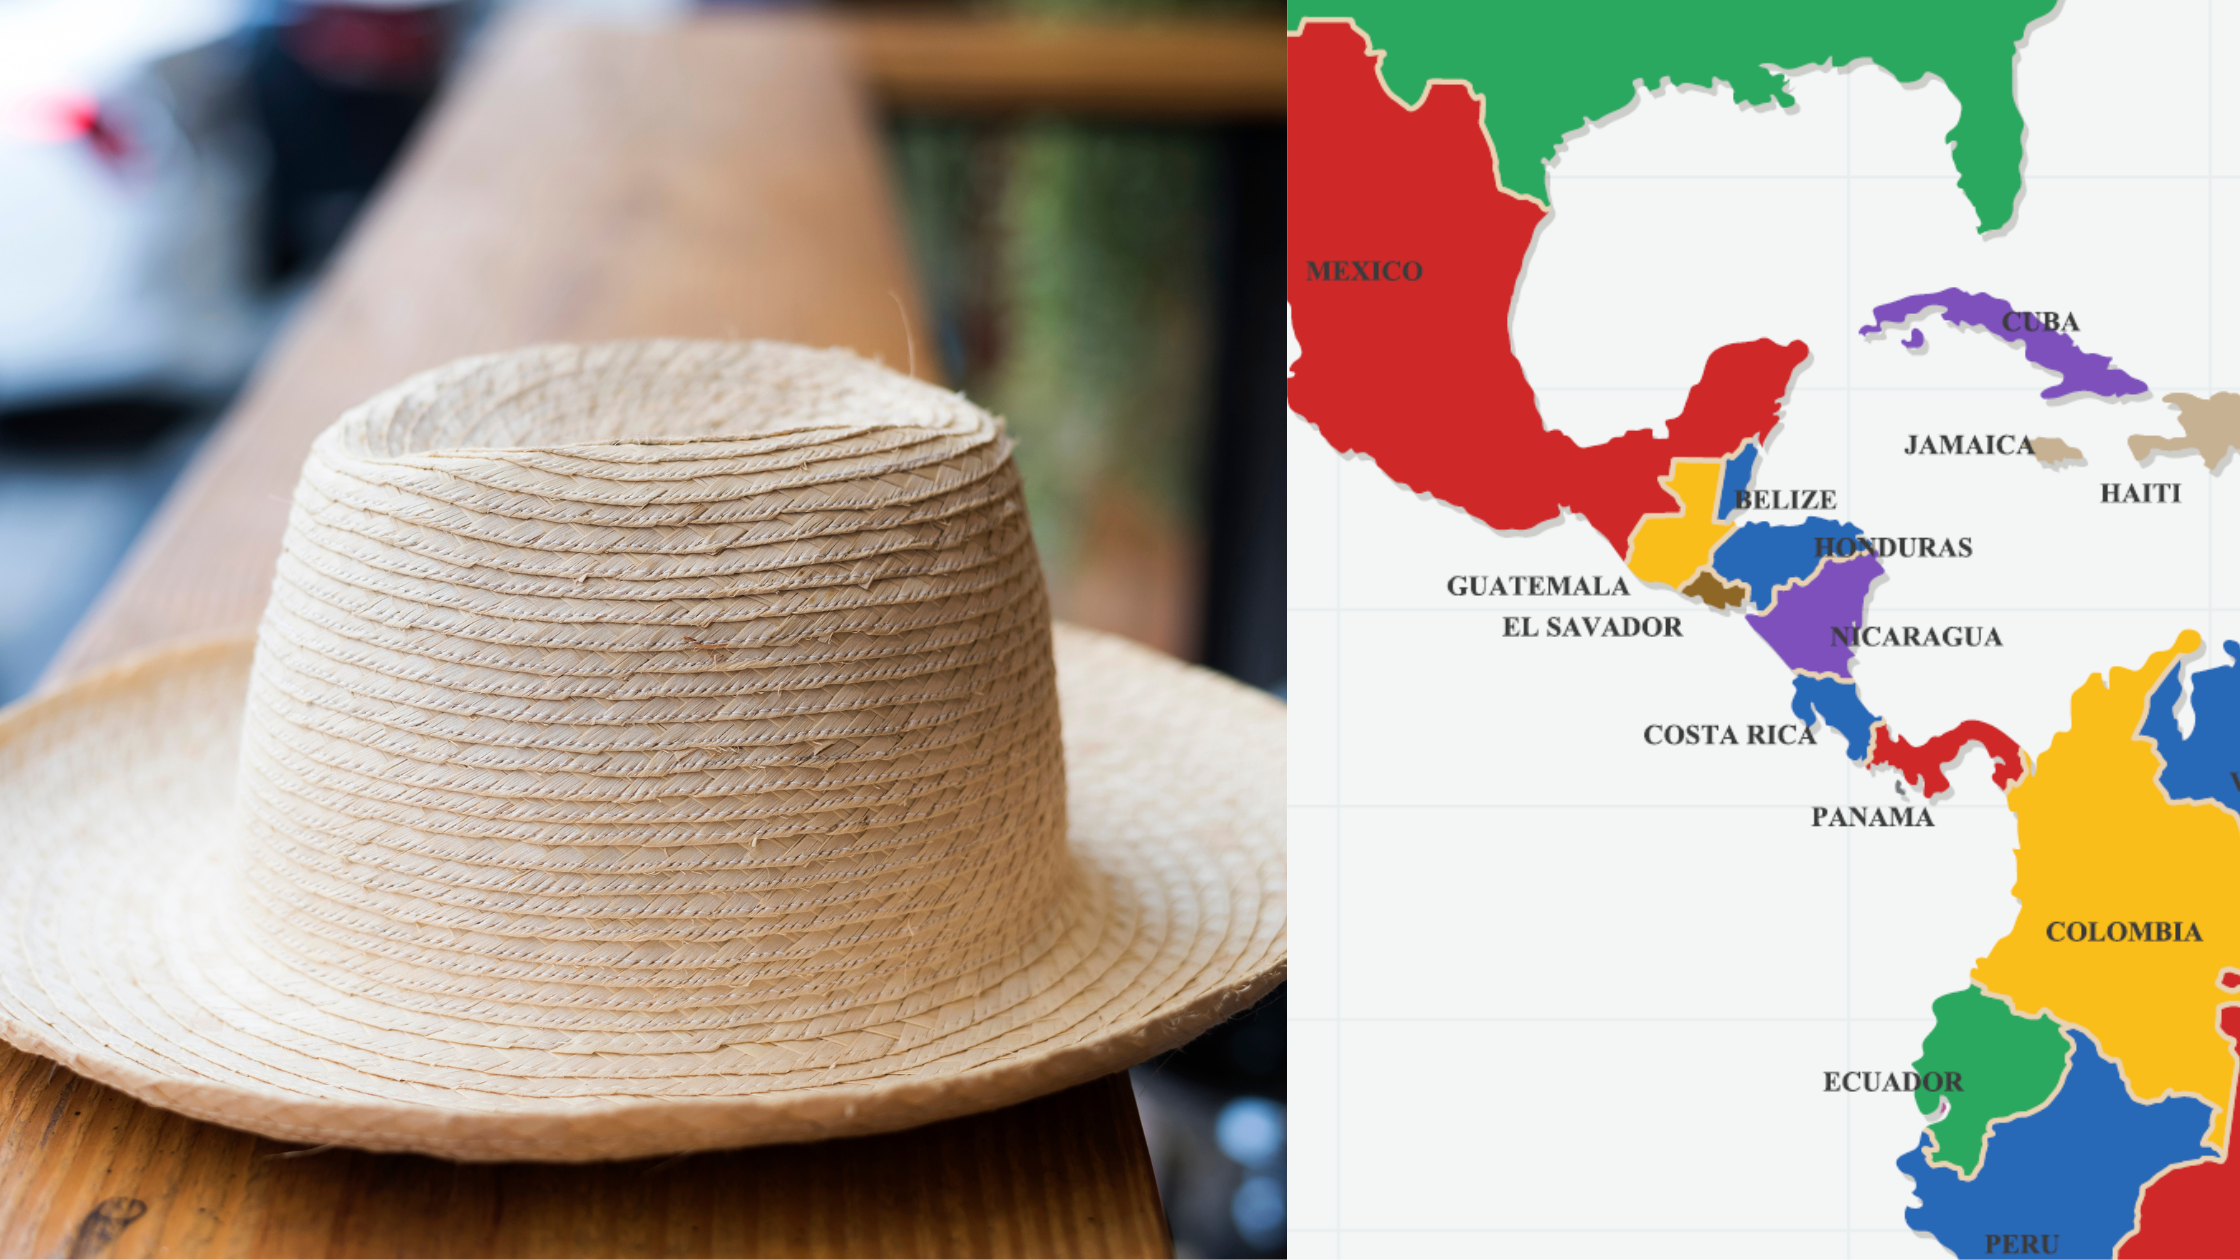
The highest quality Panama hats, known as Montecristis, are still handwoven in Ecuador, and in 2012, the traditional weaving of the toquilla straw hat was recognized by UNESCO as an Intangible Cultural Heritage. (Read more about Panama hats)
Ok now that the science and history lesson is over, let’s get to making! 😀
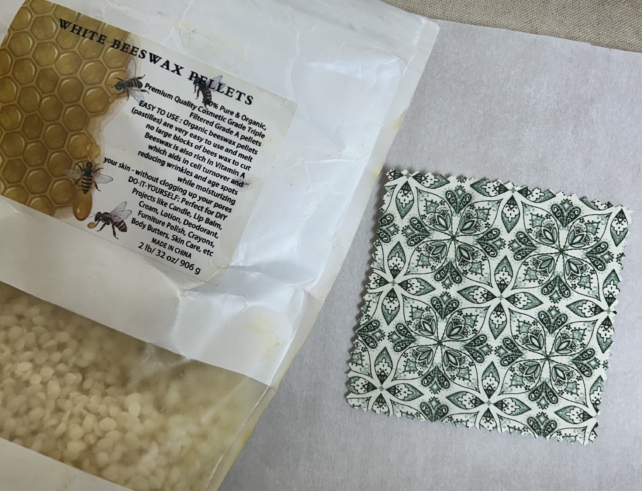
You’ll need:
Instructions:
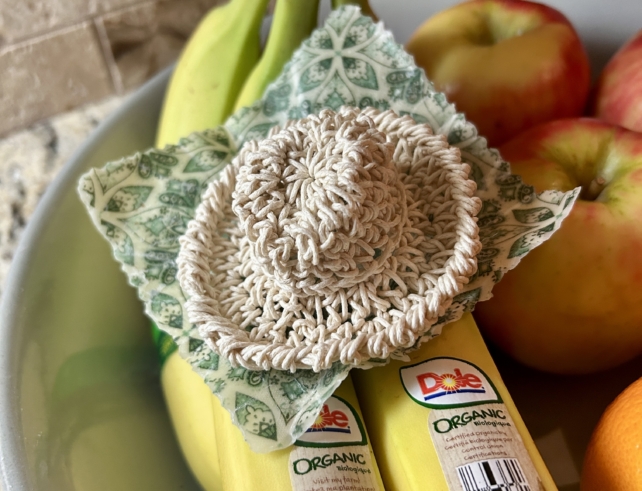
Now you have a reusable, plastic-free wrap perfect for sealing banana stems!
(Note: This crocheted banana hat pattern includes two variations—one using sport weight yarn as a great stashbuster, and another using hemp or waxed cotton cord for a more structured look.)
Materials (Version 1 – Stashbuster):
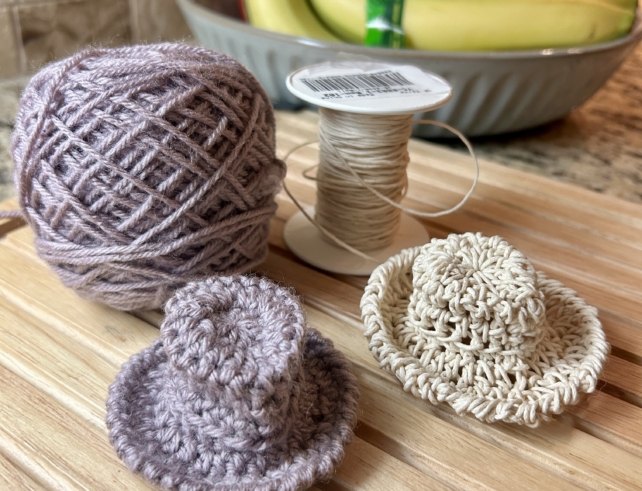
Materials (Version 2 – Authentic Look):
Pattern:
*How to Crochet the Crab Stitch (Reverse Single Crochet):
*****************
Copyright Notice: This pattern is copyrighted and designed by Marni Reecer. It is free to use for personal projects, and I encourage it to inspire your creativity! If this design inspires your own original work (e.g., a woven piece adapted to knit), I kindly ask that you credit me, Marni Reecer, as the source of inspiration. Sharing credit builds our creative community!
For selling finished items made from this pattern, a Commercial Use License is required. Learn more at https://www.patreon.com/c/TheYarnyWay. Reselling or redistributing this pattern in any form is strictly prohibited.
*****************
Once your beeswax wrap is ready, tightly wrap it around the banana stems and secure it with a rubber band if needed. Then, pop your crocheted Panama hat on top for a fun and functional way to keep your bananas fresher for longer!
The famous Panama hat is a testament to craftsmanship, tradition, and elegance—woven with skill and worn with pride. Just like a well-made hat, a thoughtful handmade project carries warmth and character. As they say in Ecuador:
“Un buen sombrero no solo cubre la cabeza, sino que cuenta una historia.”
(“A good hat doesn’t just cover your head; it tells a story.”)
So why not let your bananas tell a story too? ️
Would you love more fun, fiber-filled projects? Subscribe to The Yarny Way for more creative patterns, DIYs, and yarn-inspired joy!
Warm stitches and kind vibes,
Marni