Updated May 25, 2018 to include a great demo on how to slip stitch and form the base.
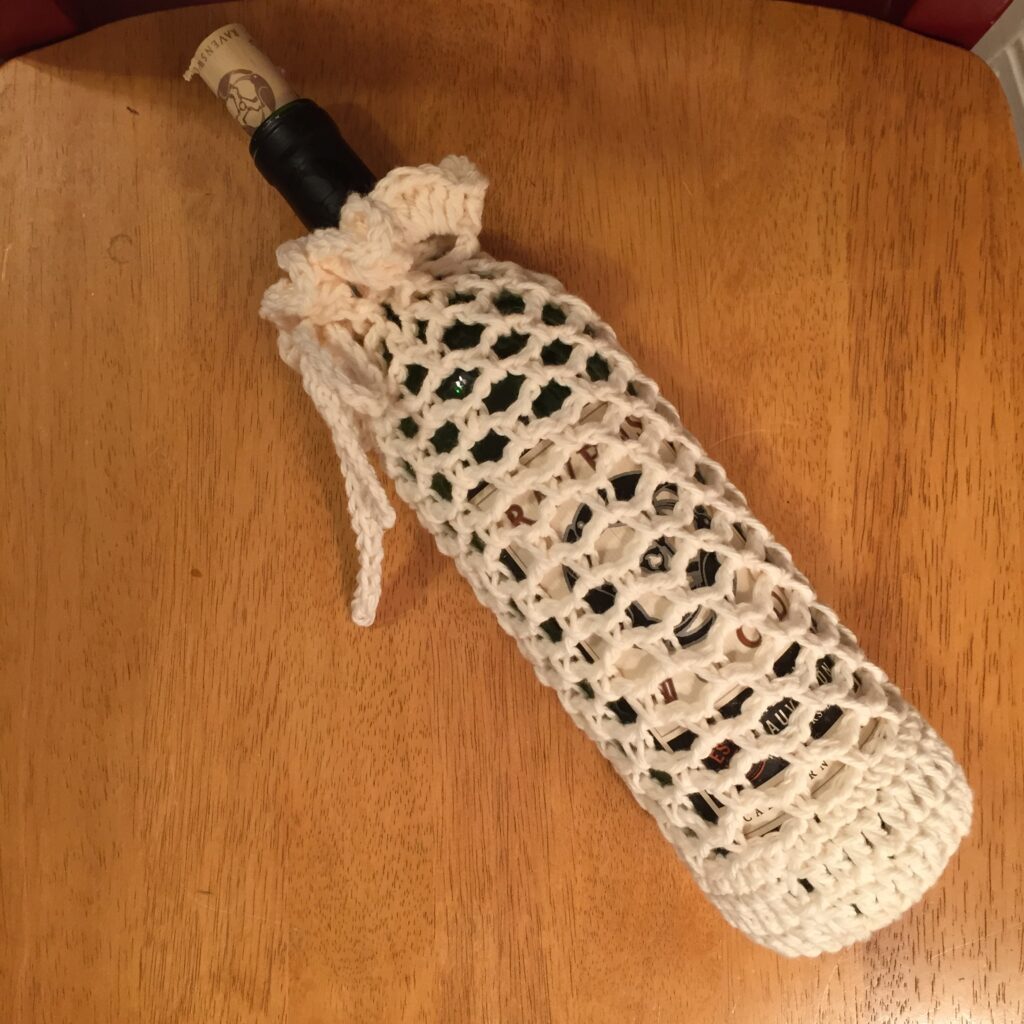
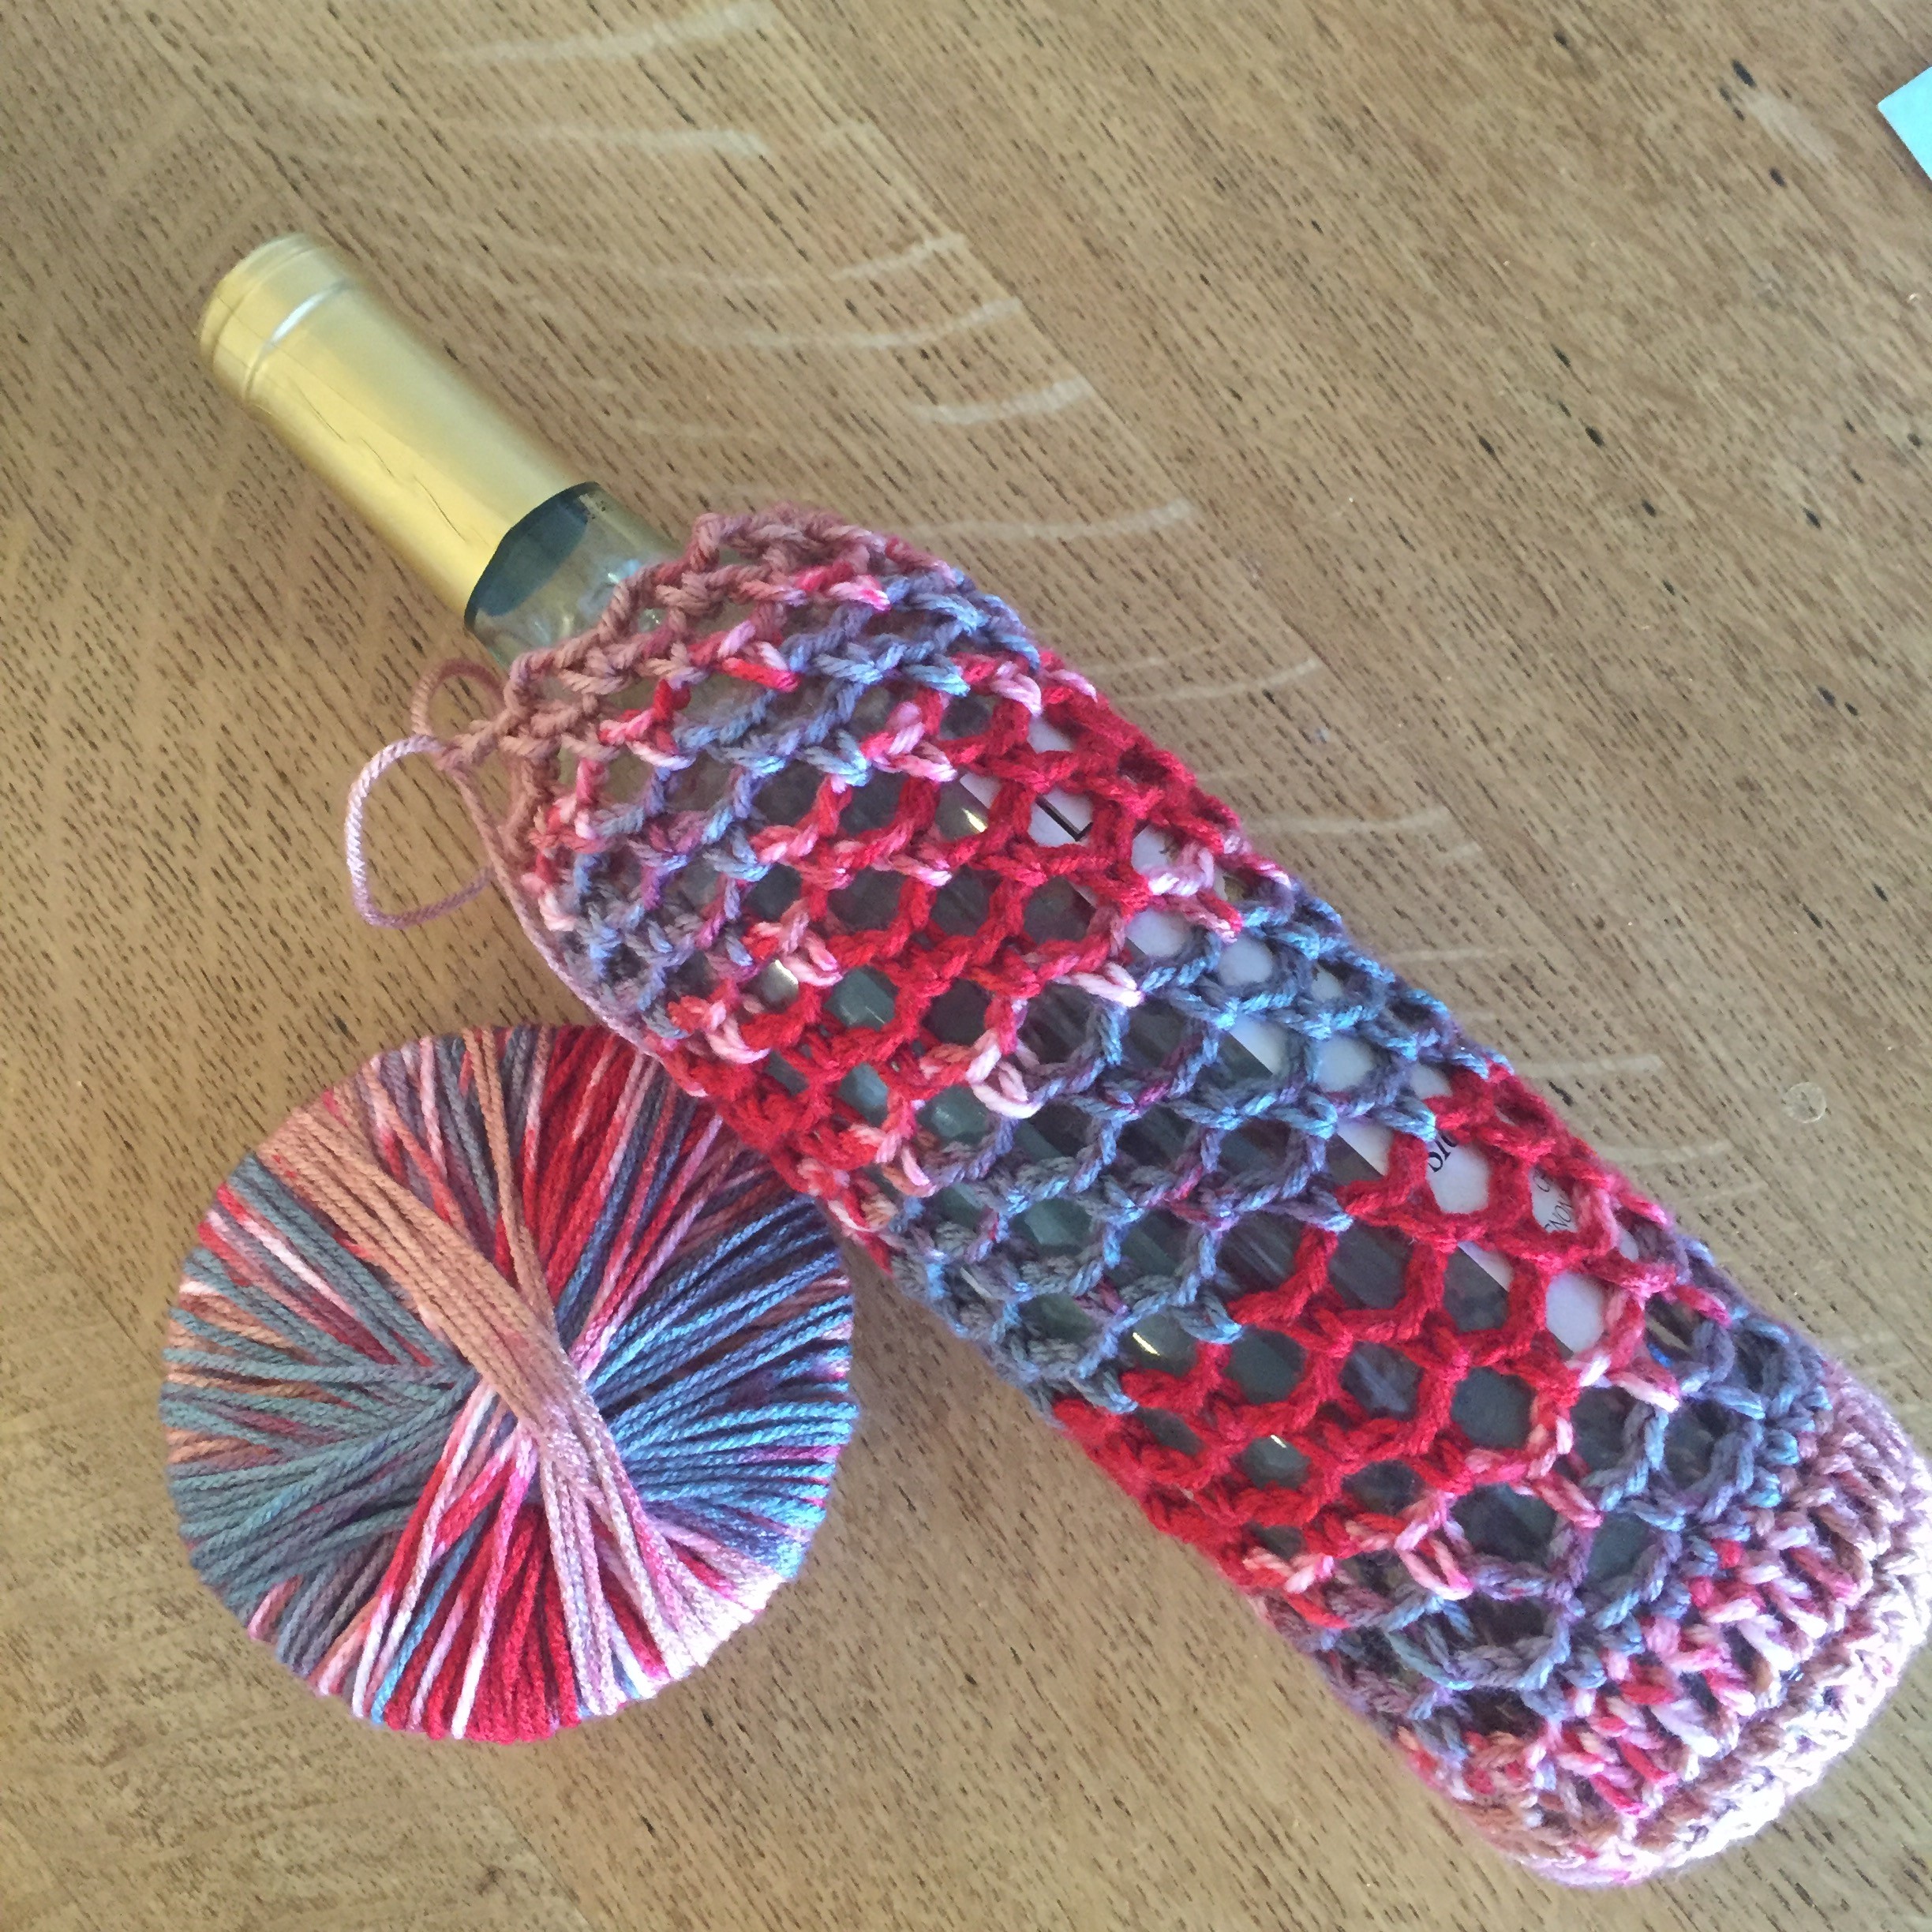
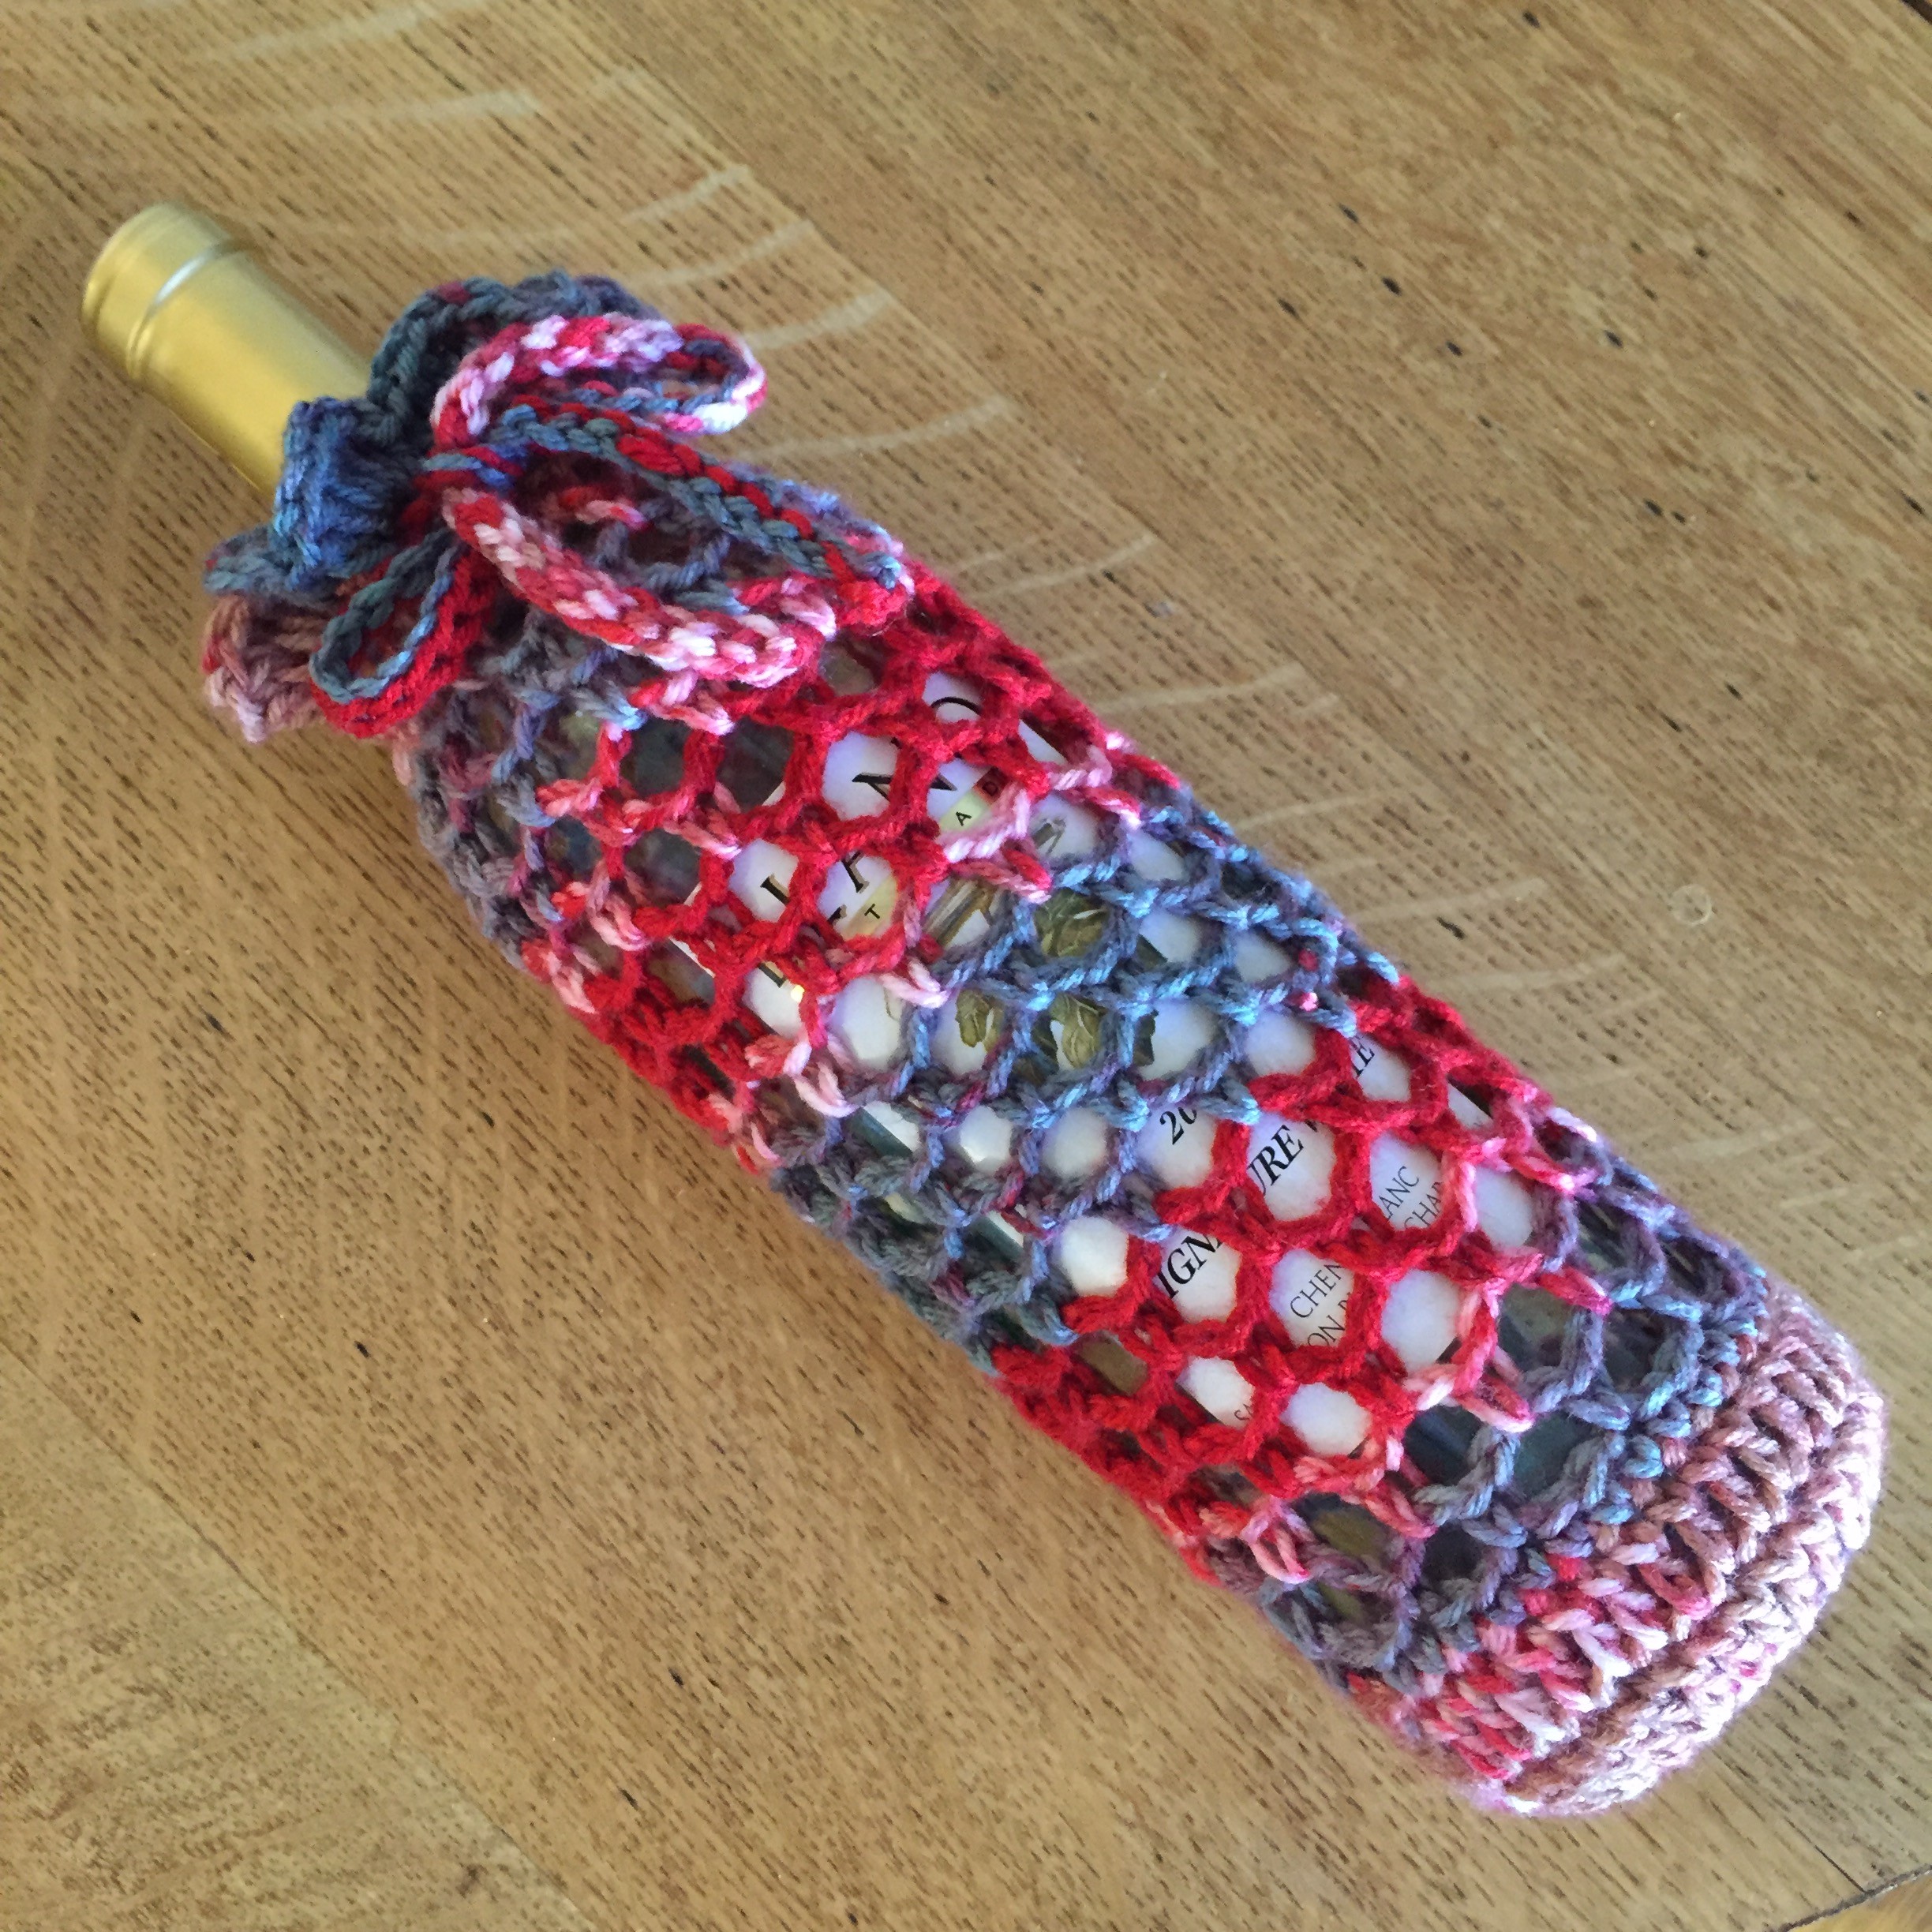
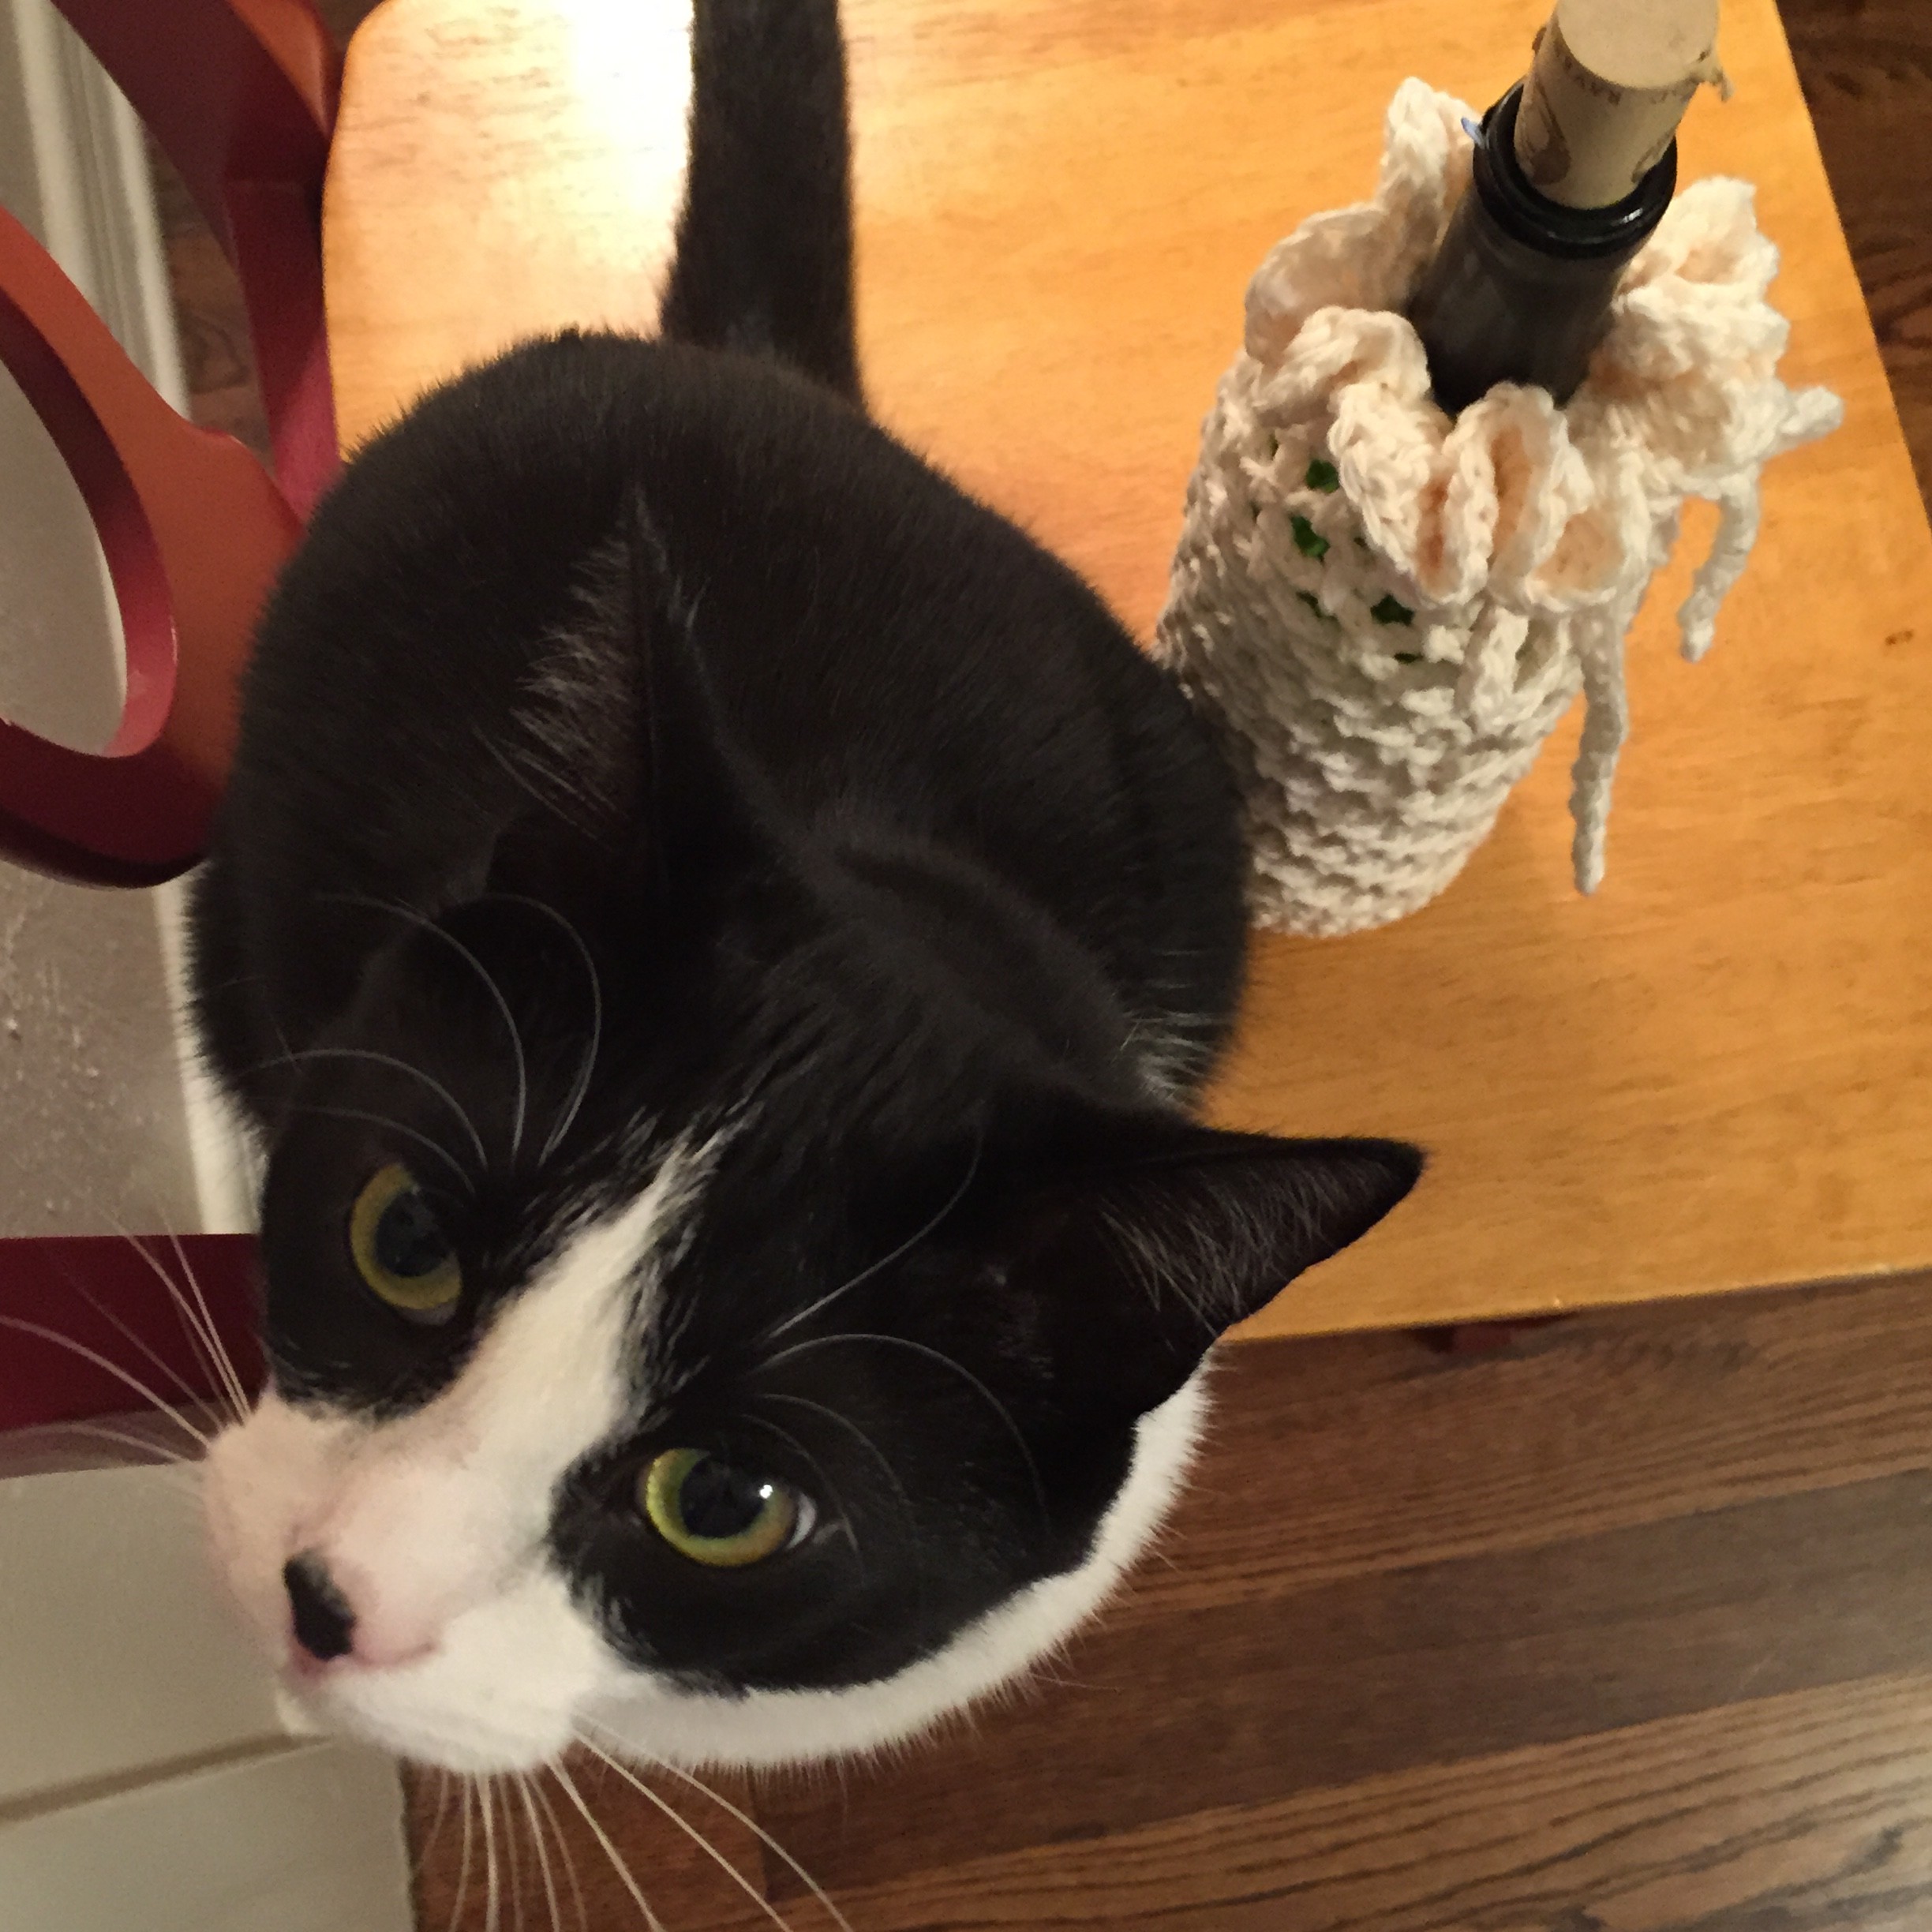
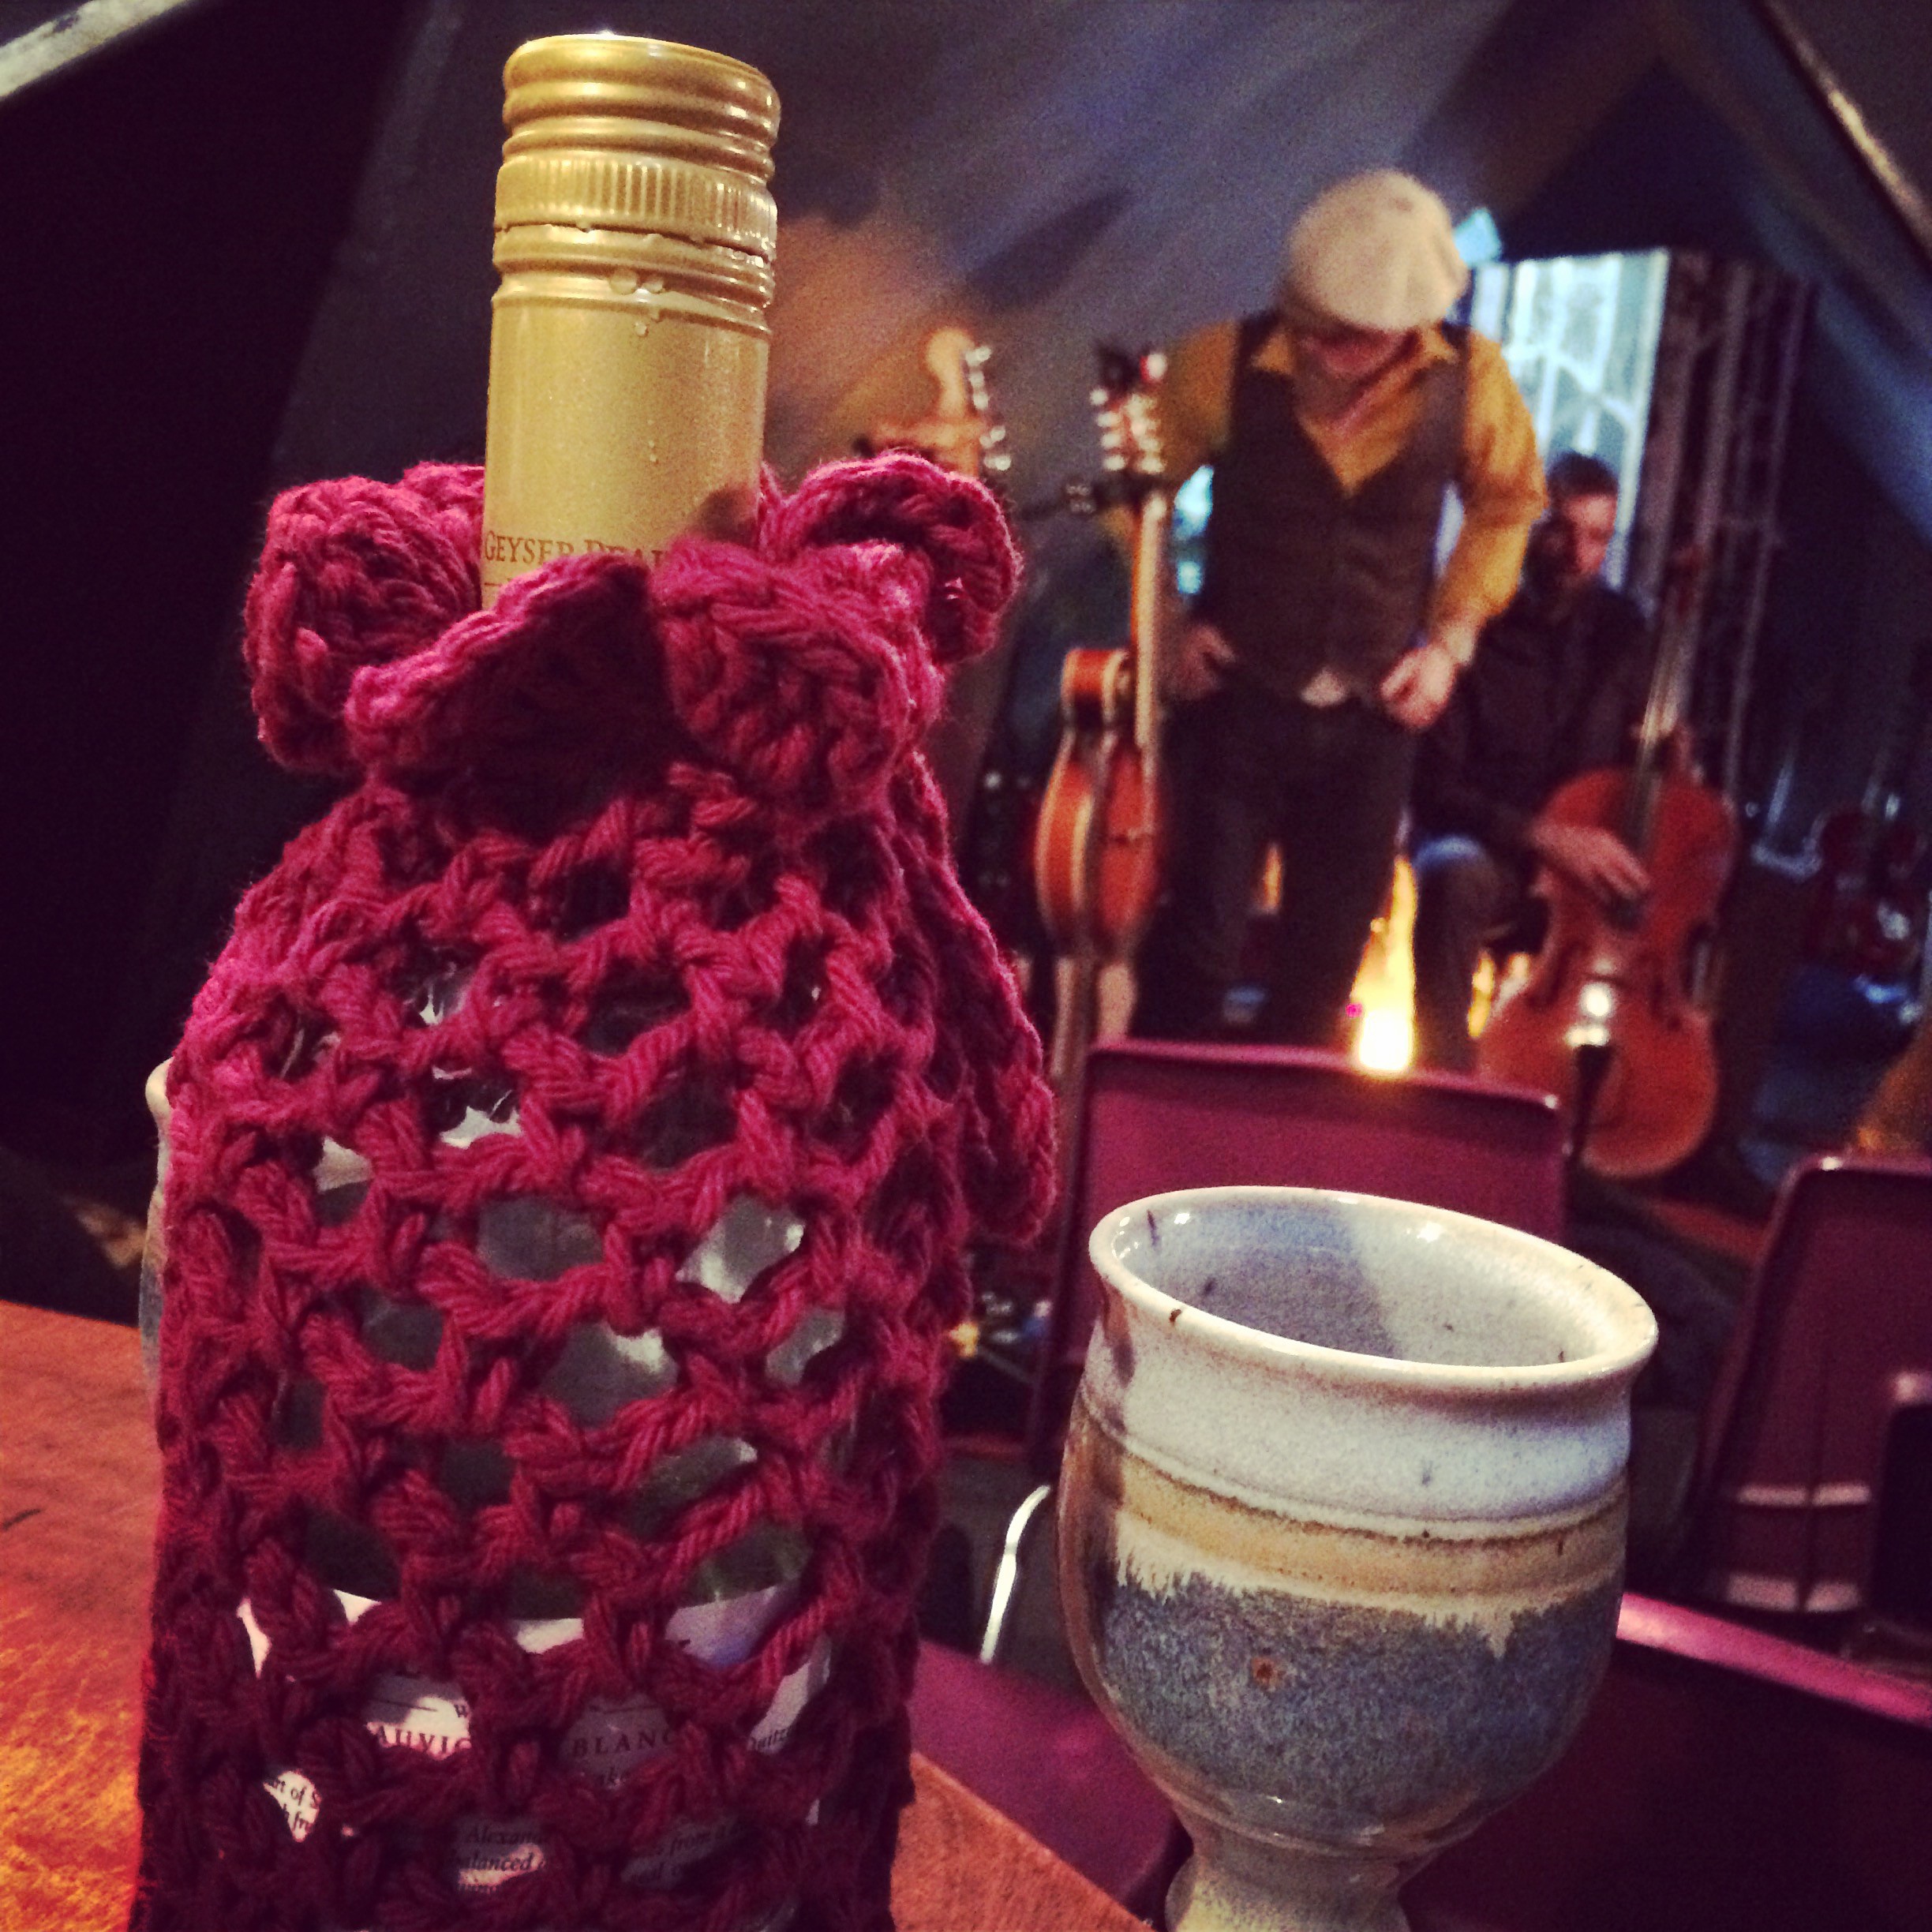
Every now and then my husband and I go to a BYOB house concert. I pack a basket with a thermos of coffee, cups, sugar, cream for later 😉 and a couple of sturdy wine glasses with a bottle of wine, dressed in a crocheted wine bottle cozy. It keeps things from clinking around in the basket and, identifies your wine so as not to have someone mistakenly help themselves to a glass, and well, it just looks cool.
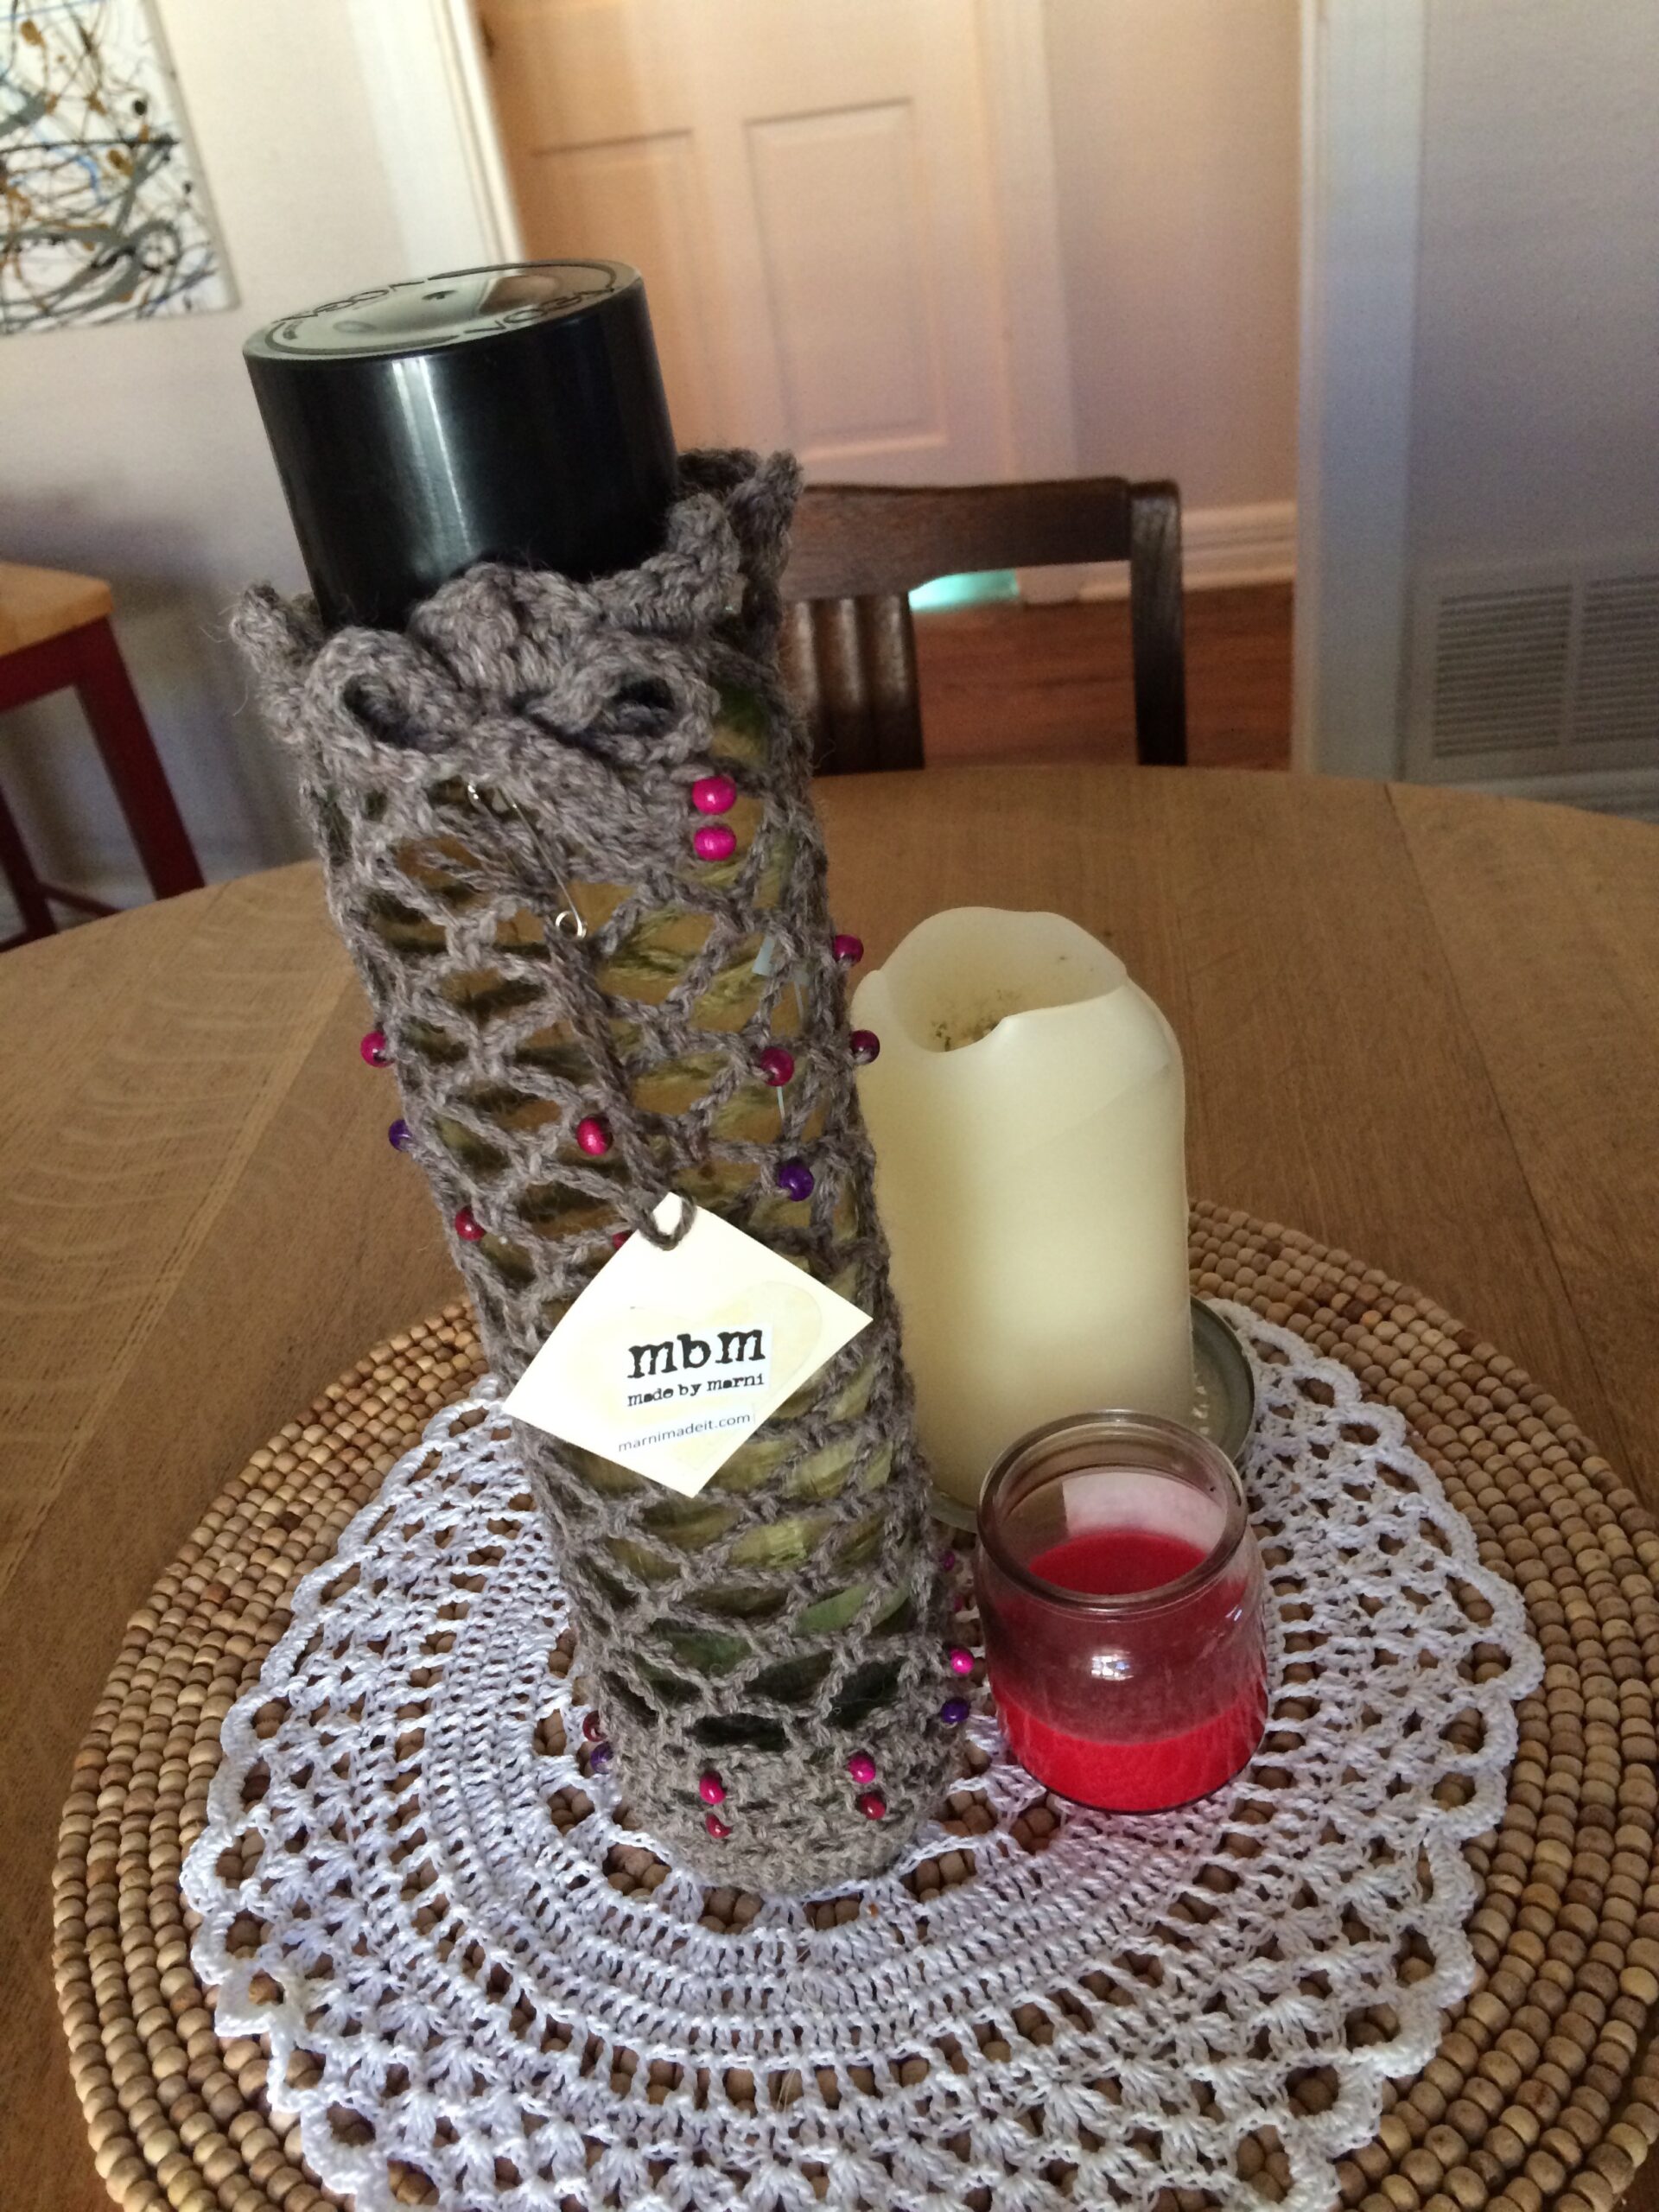
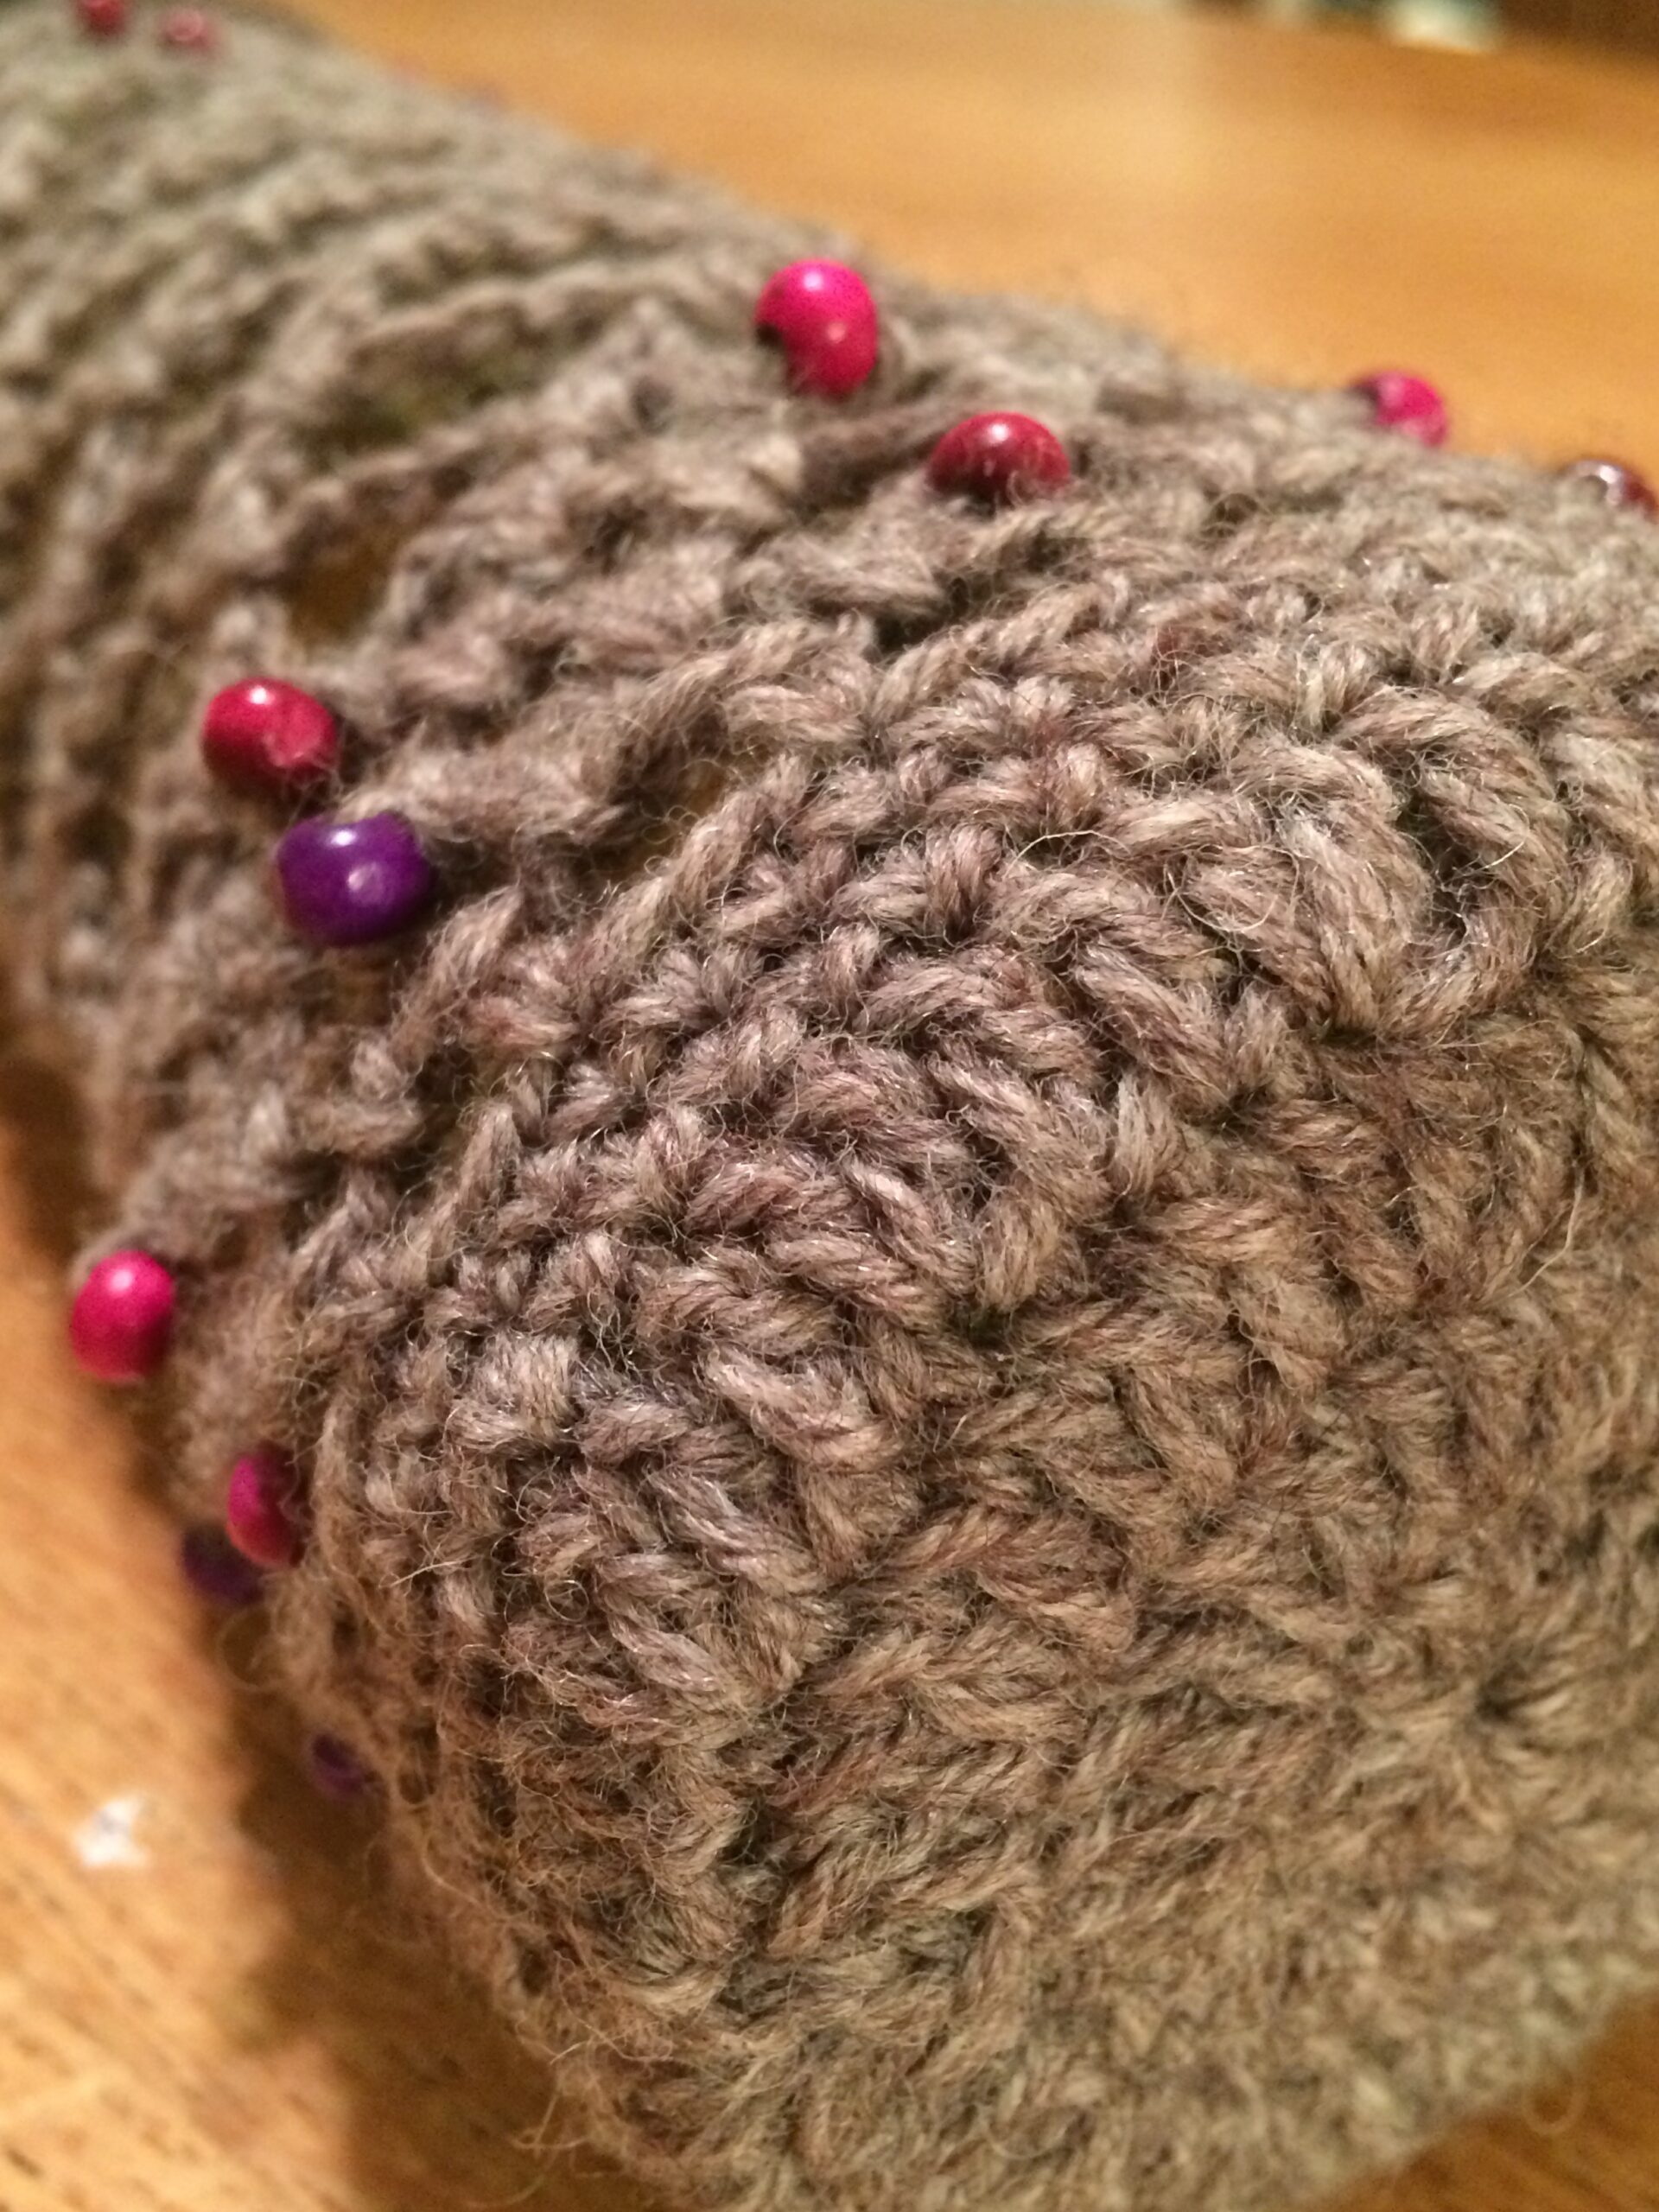
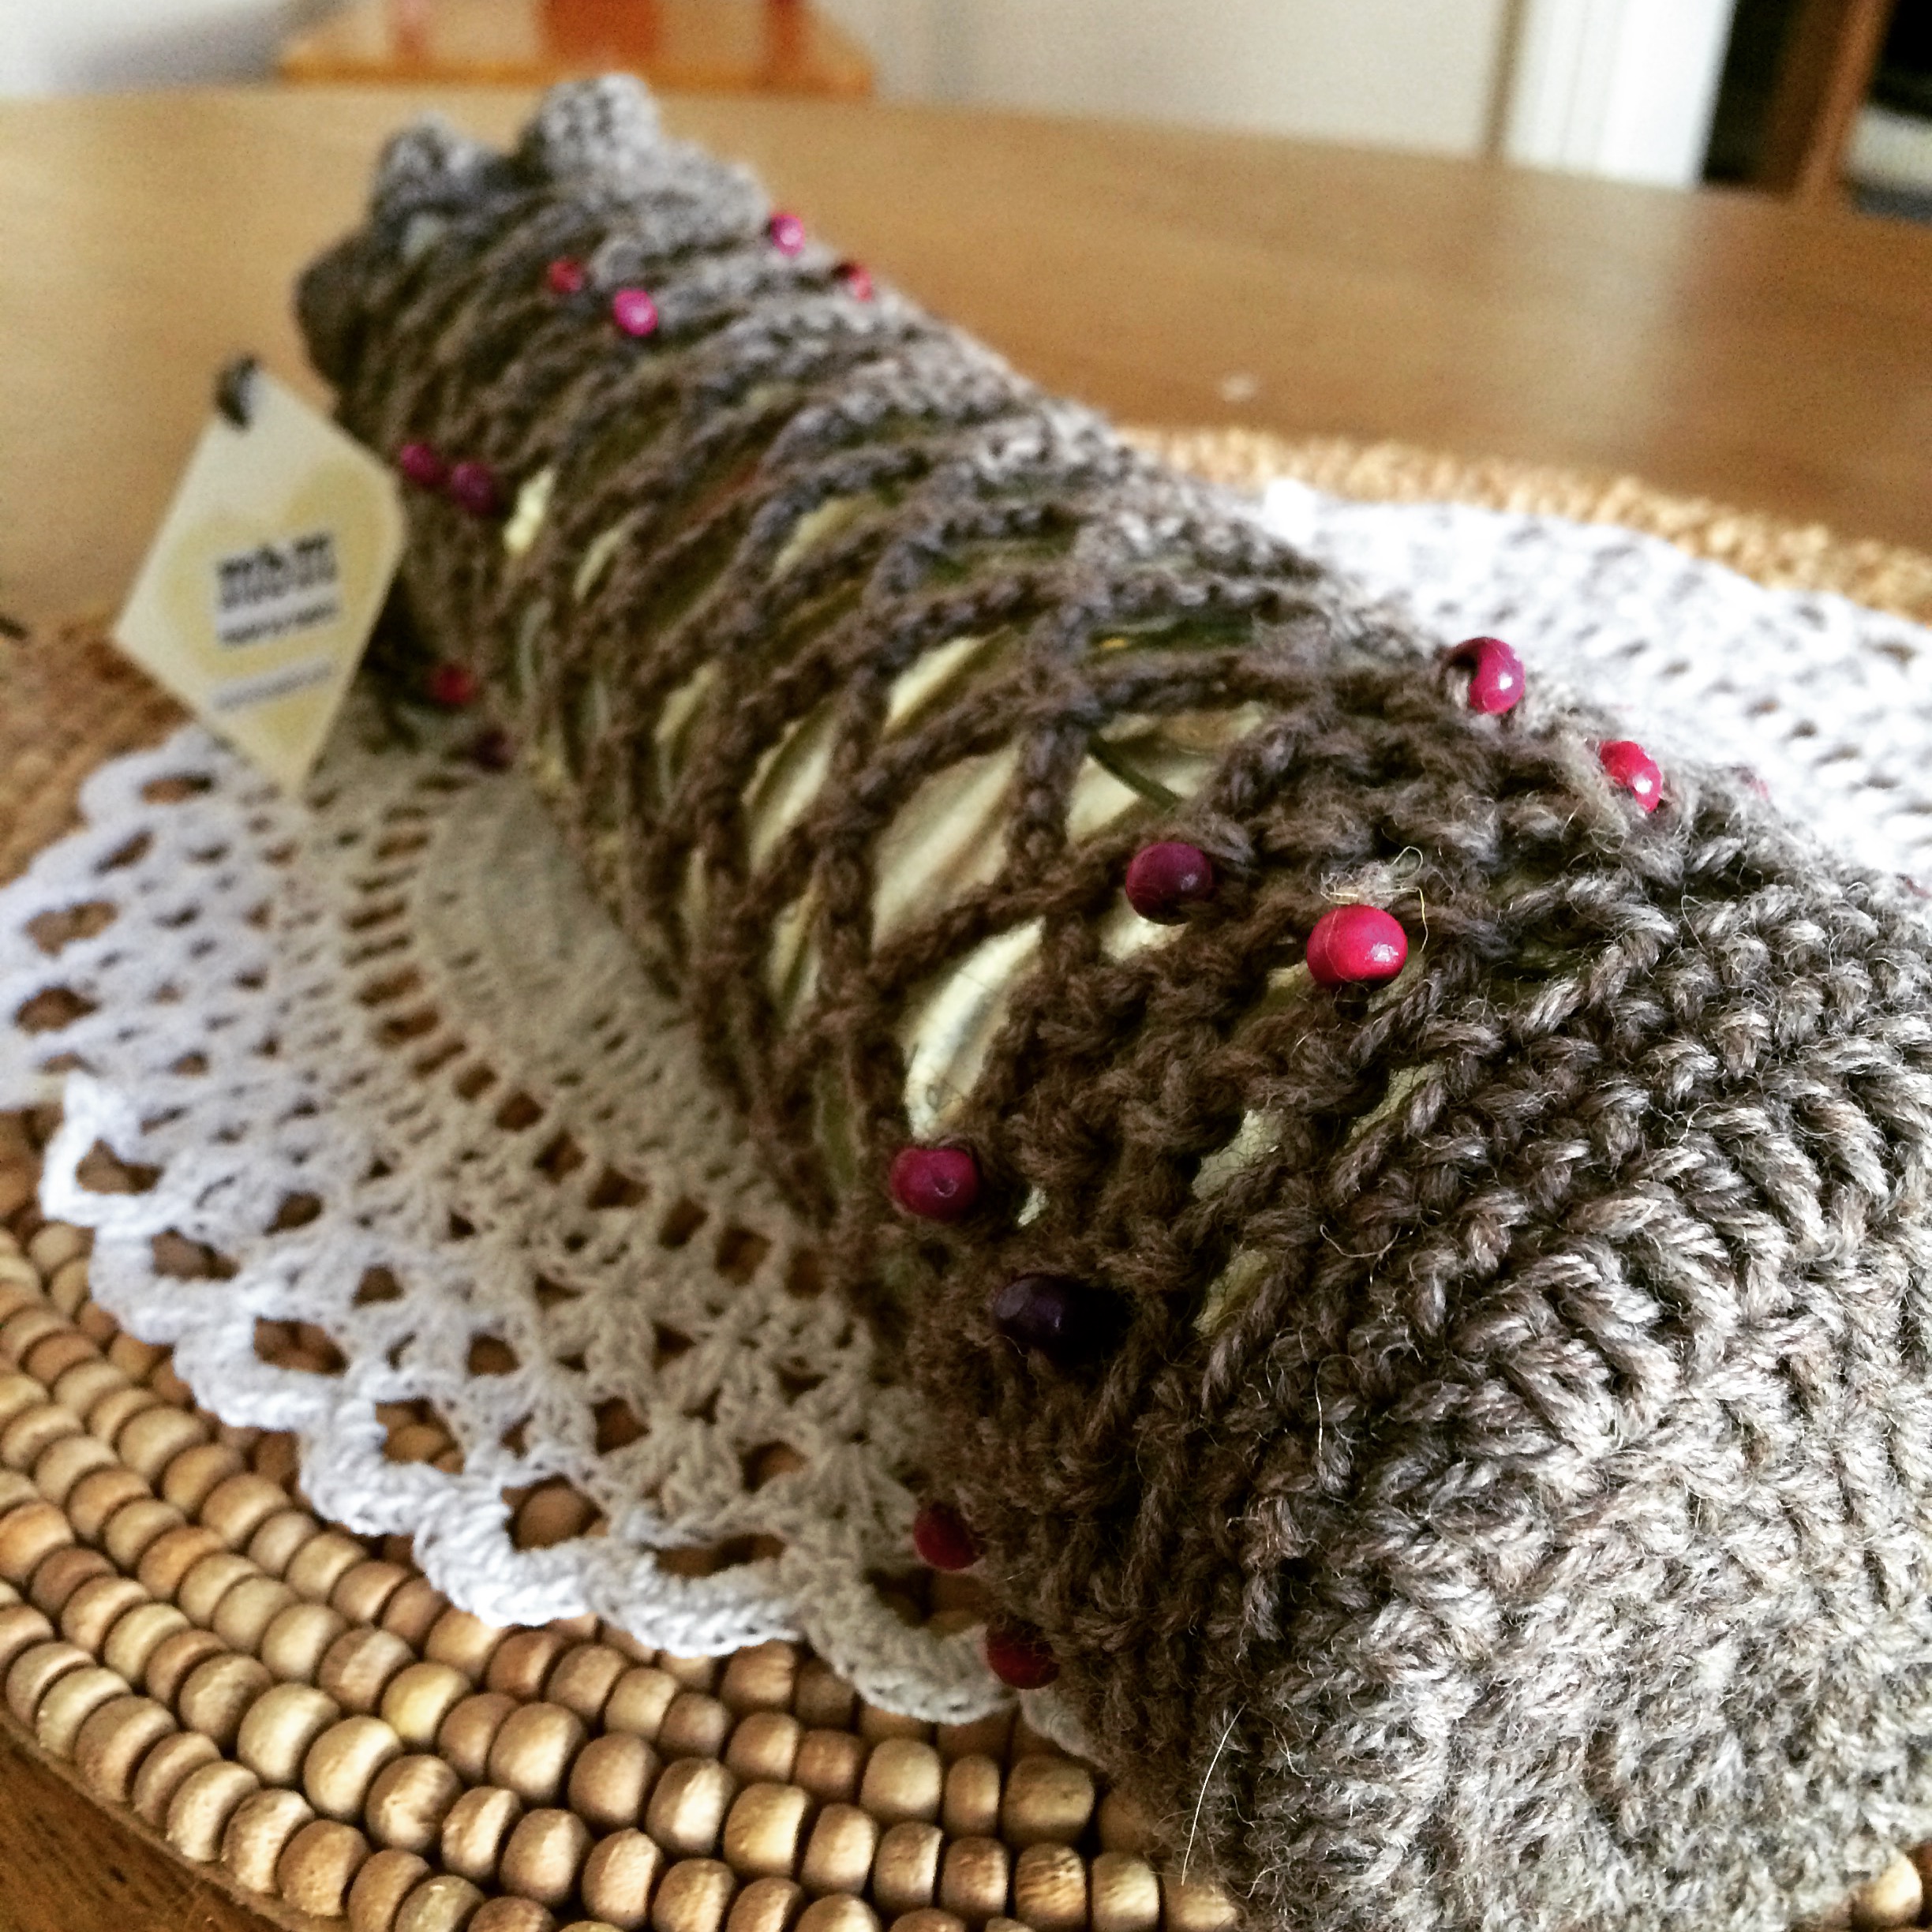
I usually use cotton yarn, but I’ve also used sock yarn and a smaller hook and added beads!
This simple pattern is a great way to use up stash, and wine bottle cozies make awesome gifts. So the next time you have about 30-60 minutes in front of the TV, or in the car, pick up your hook and give it a try!
You’ll see photos here from a previous crocheted wine bottle holder I made with sock yarn and beads too!
Crocheted Wine Bottle Cozy – round by round
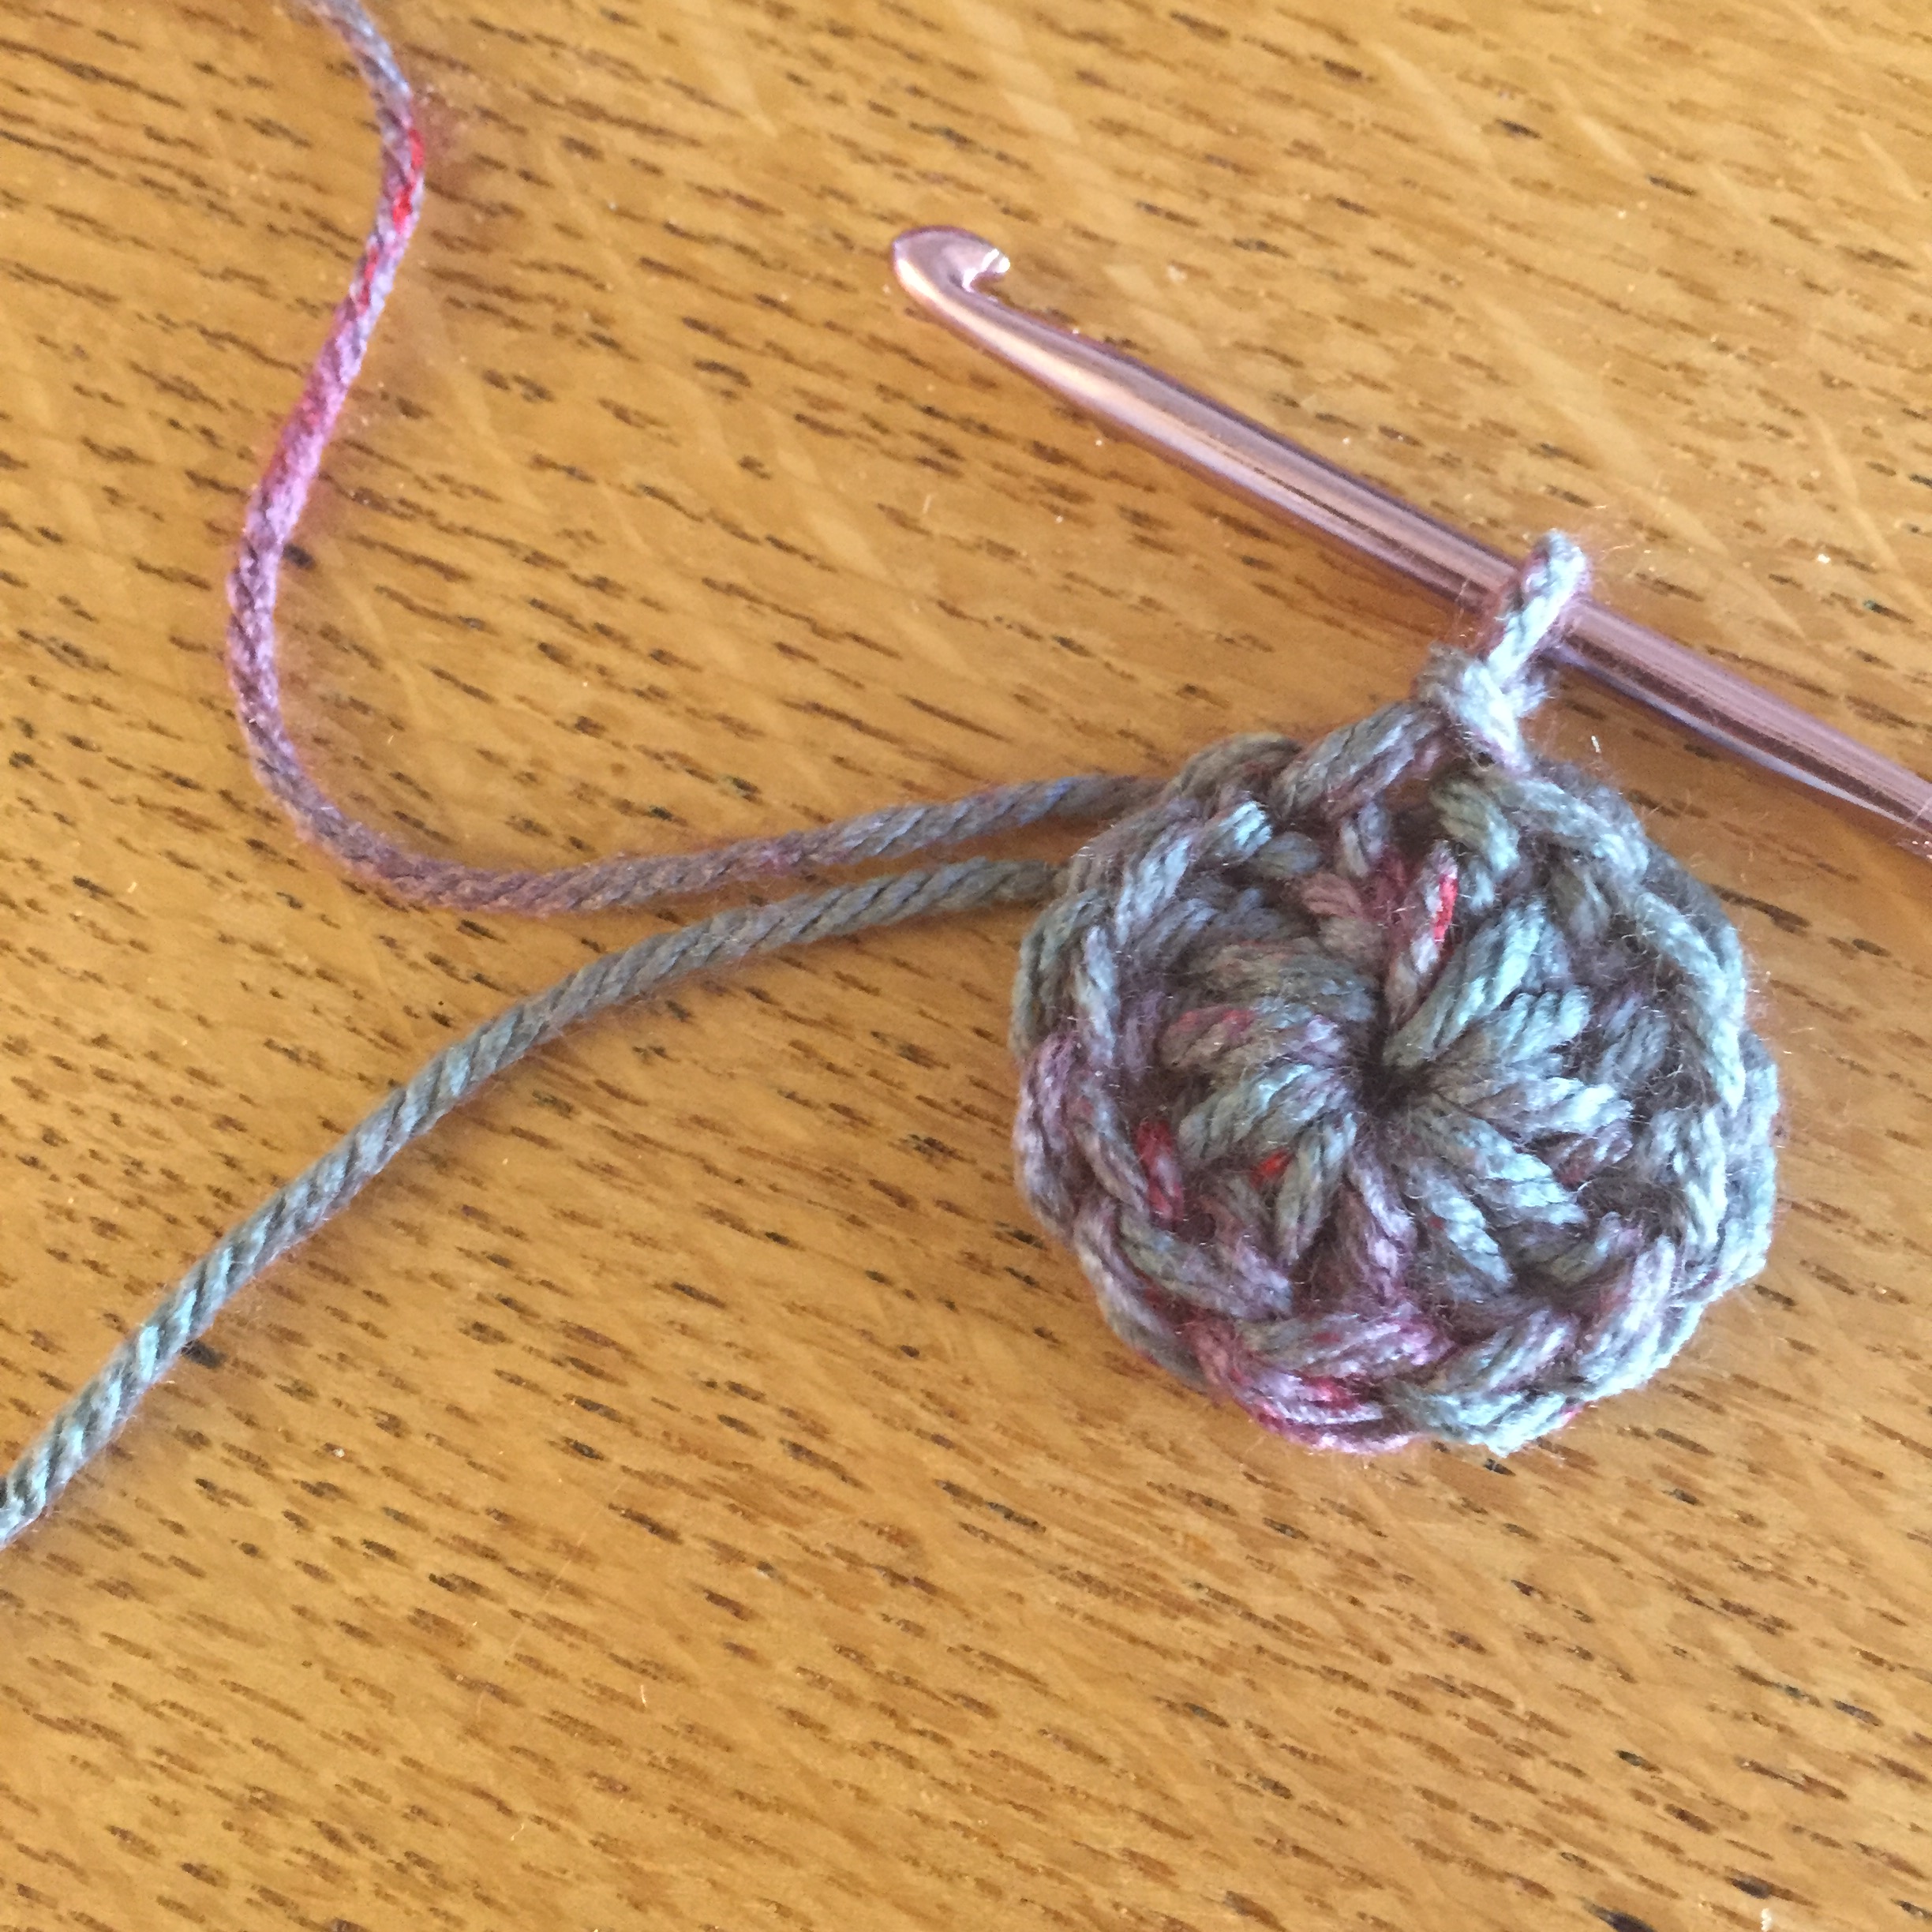
Base
Chain 4, slip stitch to form a ring.*
Round 1: Ch 3, 11 dcs in the ring for a total of 12 double chains. Slip stitch in top of first double chain.
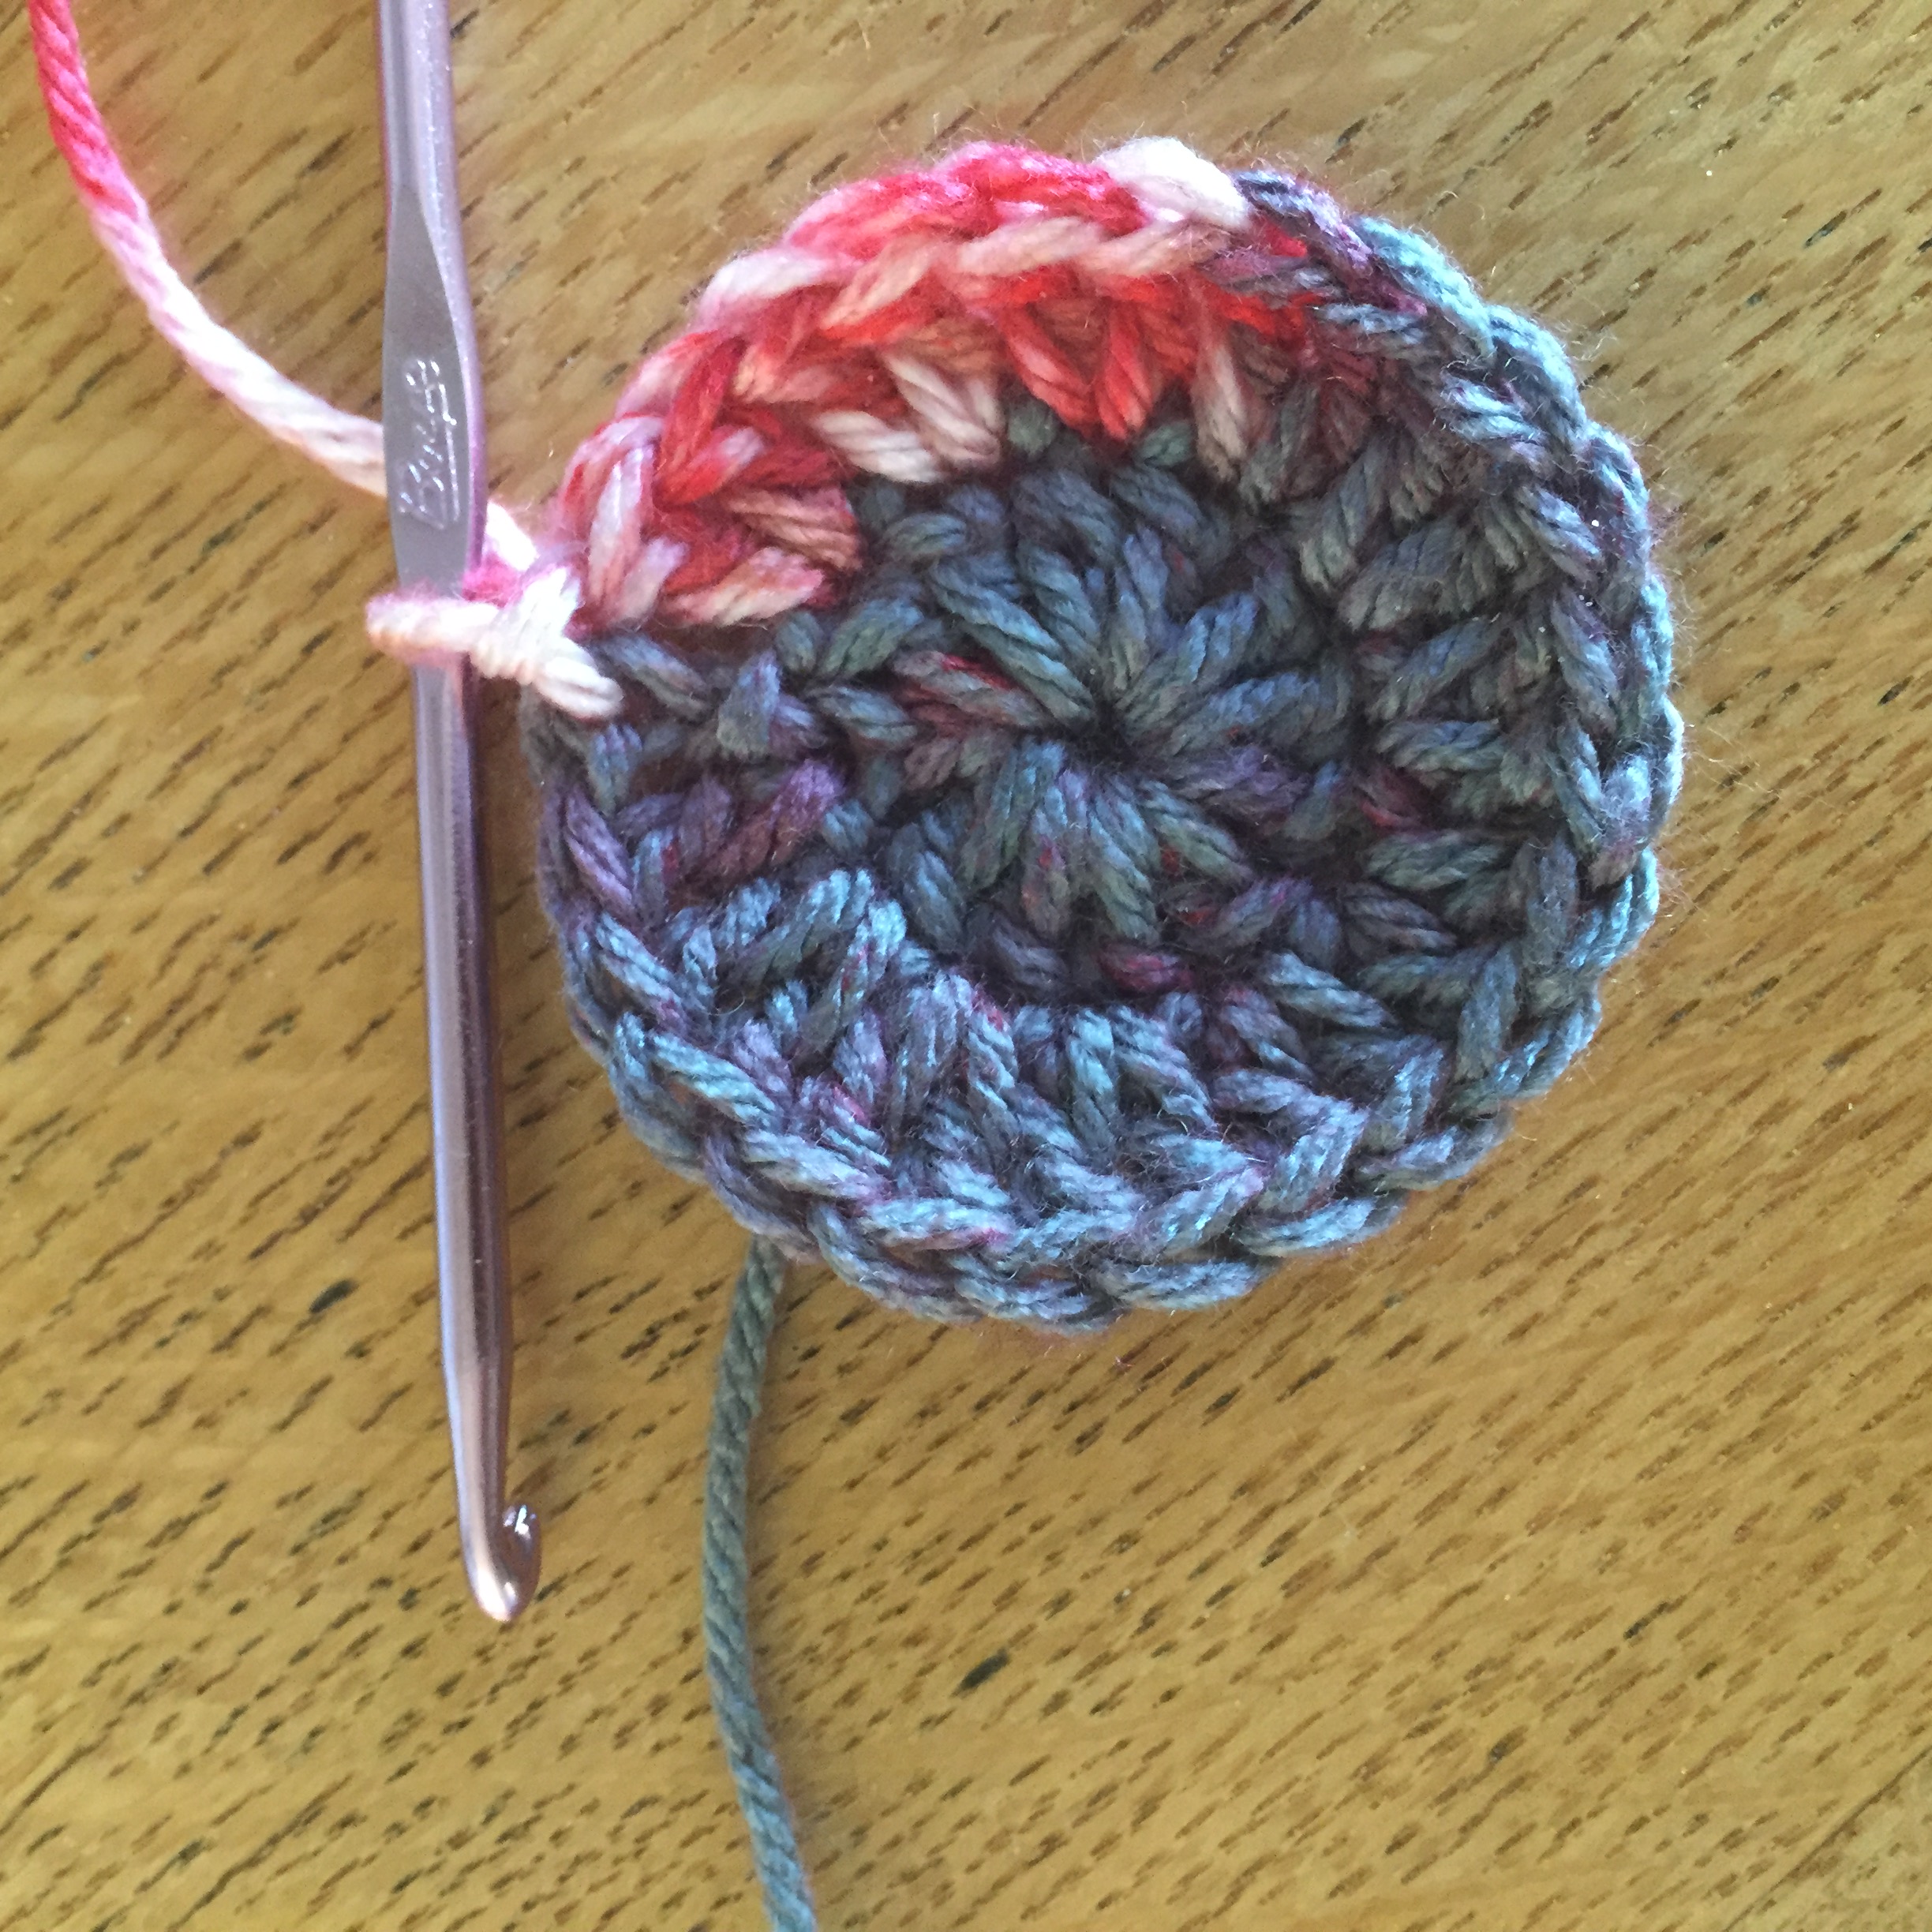
Round 2: Ch 3, dc in same stitch, 2 dc in each around for a total of 24 double chains. Slip stitch in top of first double chain.
Round 3: Ch 3, dc in same stitch, *dc in next stitch, 2 dc in next stitch*, repeat around = 36 double chain stitches. Slip stitch in top of first double chain.
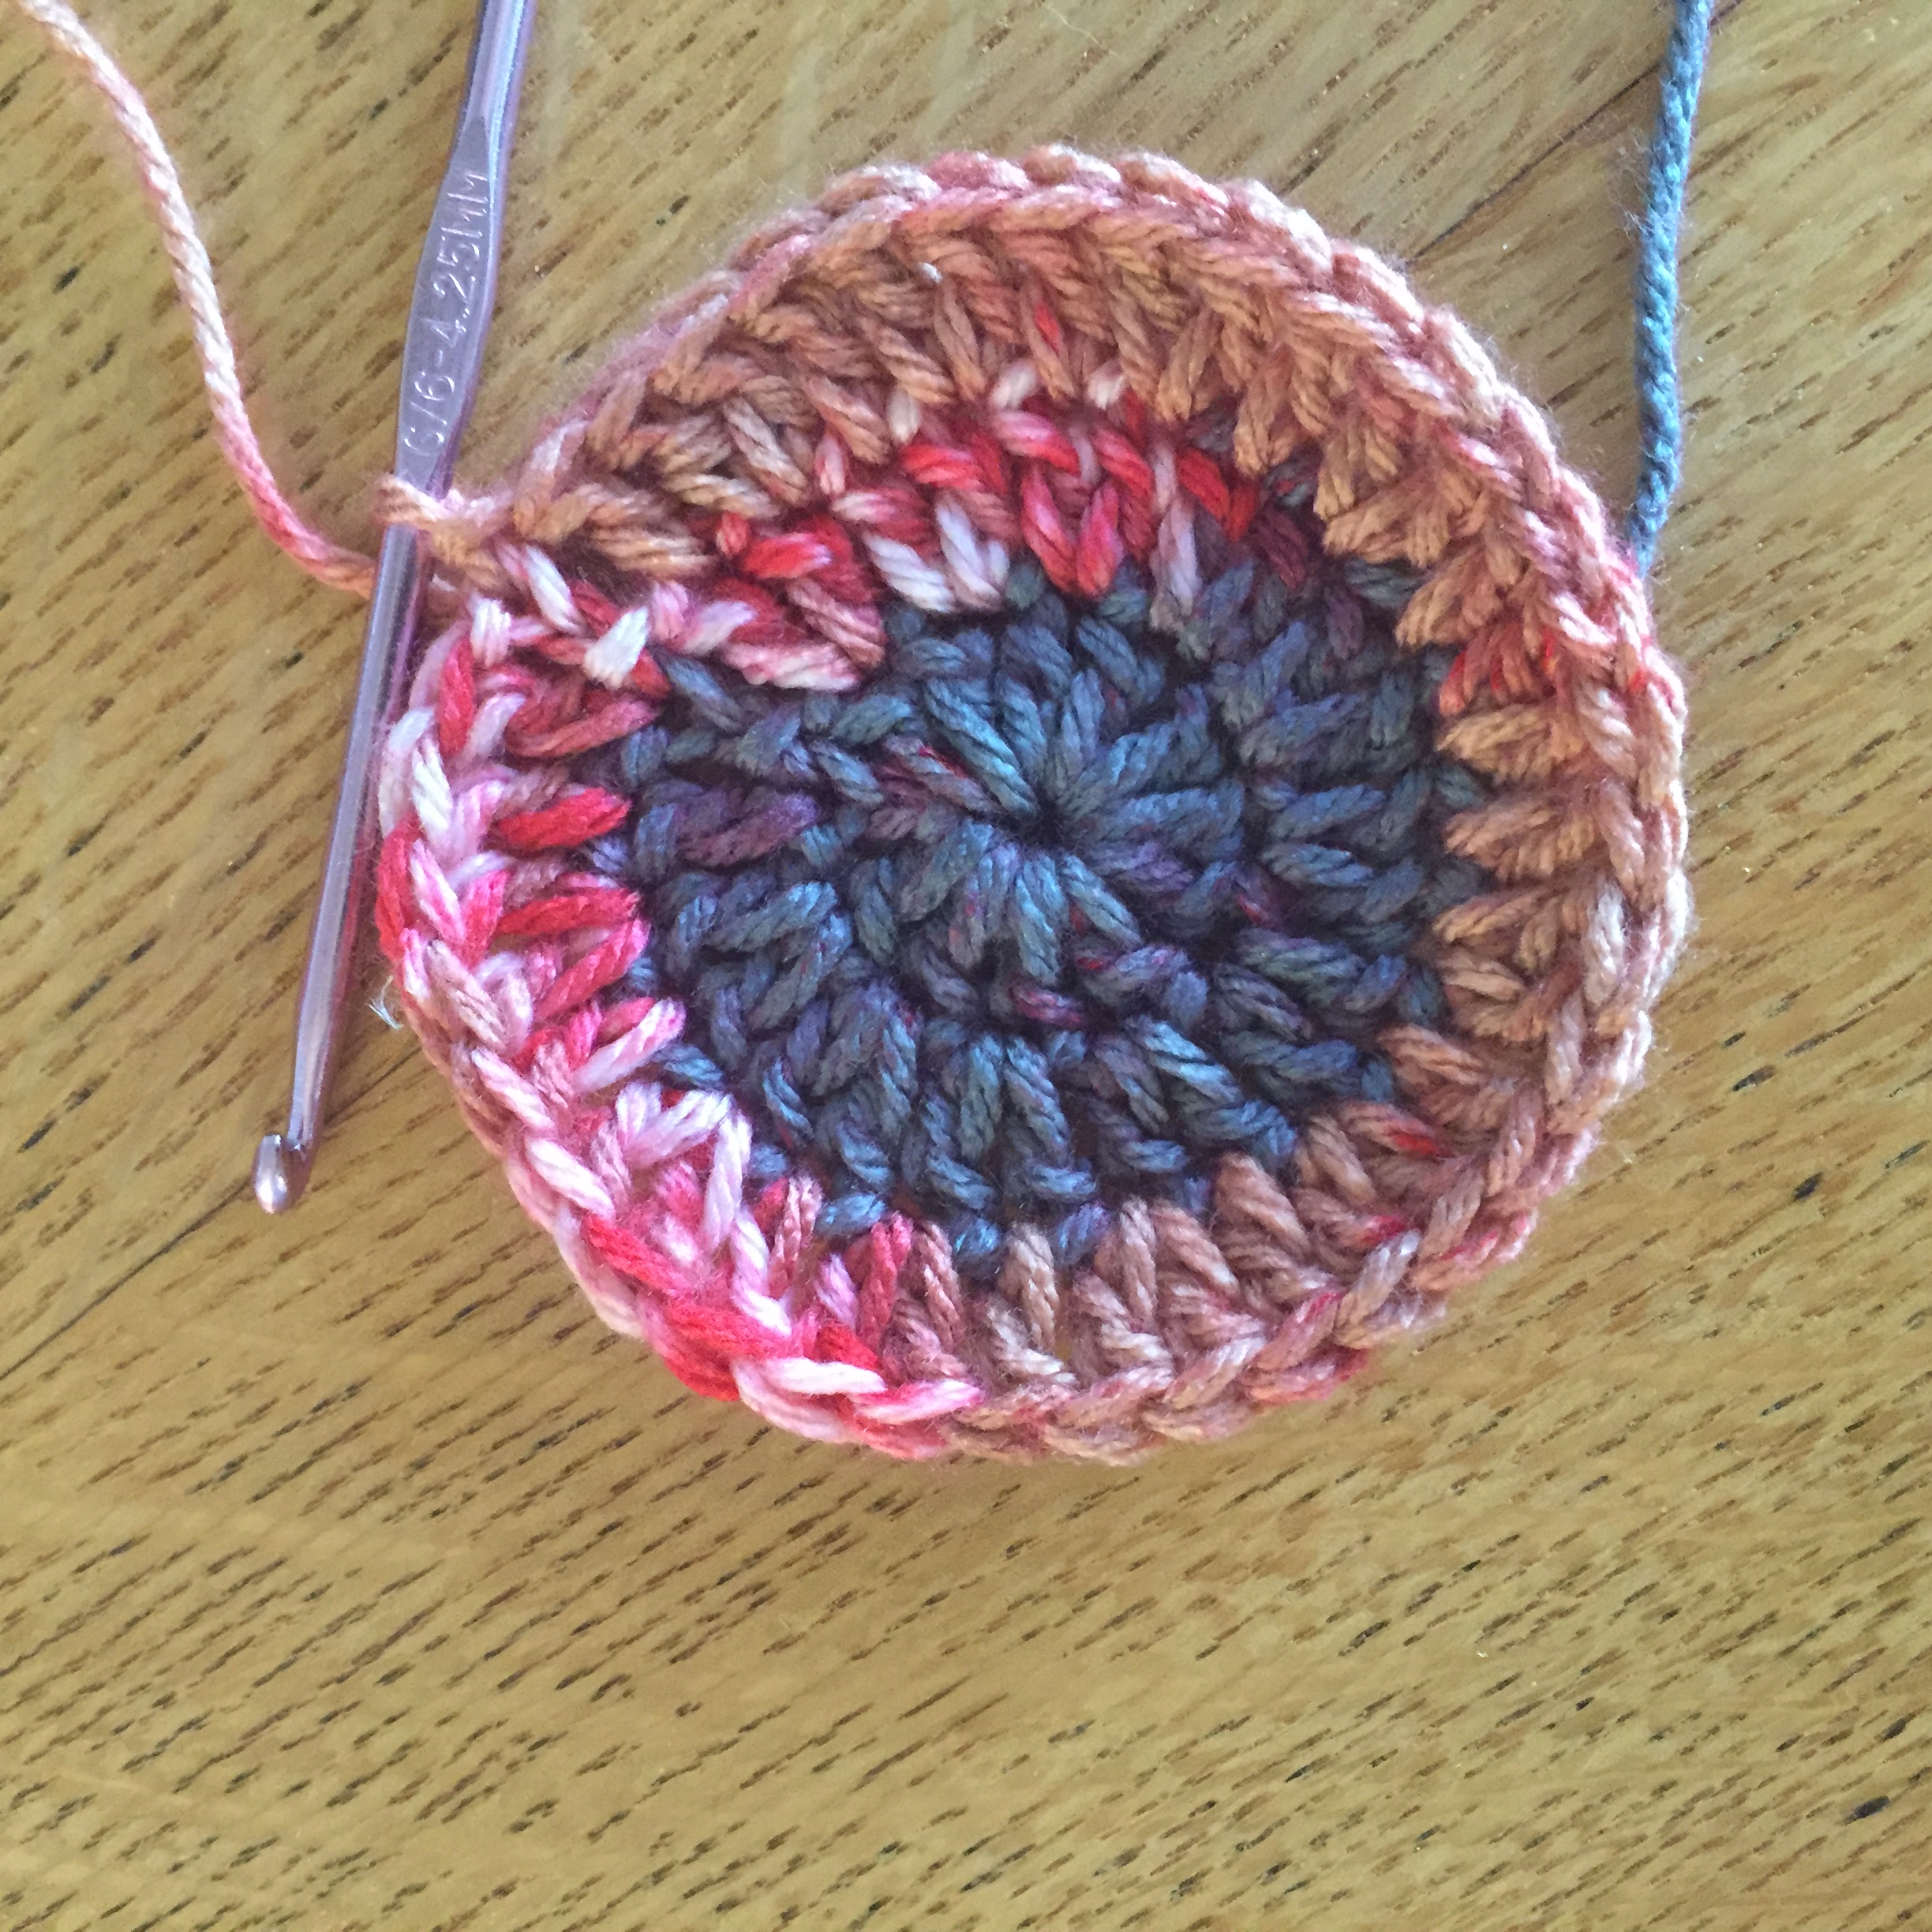
Round 4: Chain 3, dc in each stitch around. Slip stitch in top of first double chain.
Round 5: Chain 1, sc in each stitch around. Slip stitch in top of first double chain.
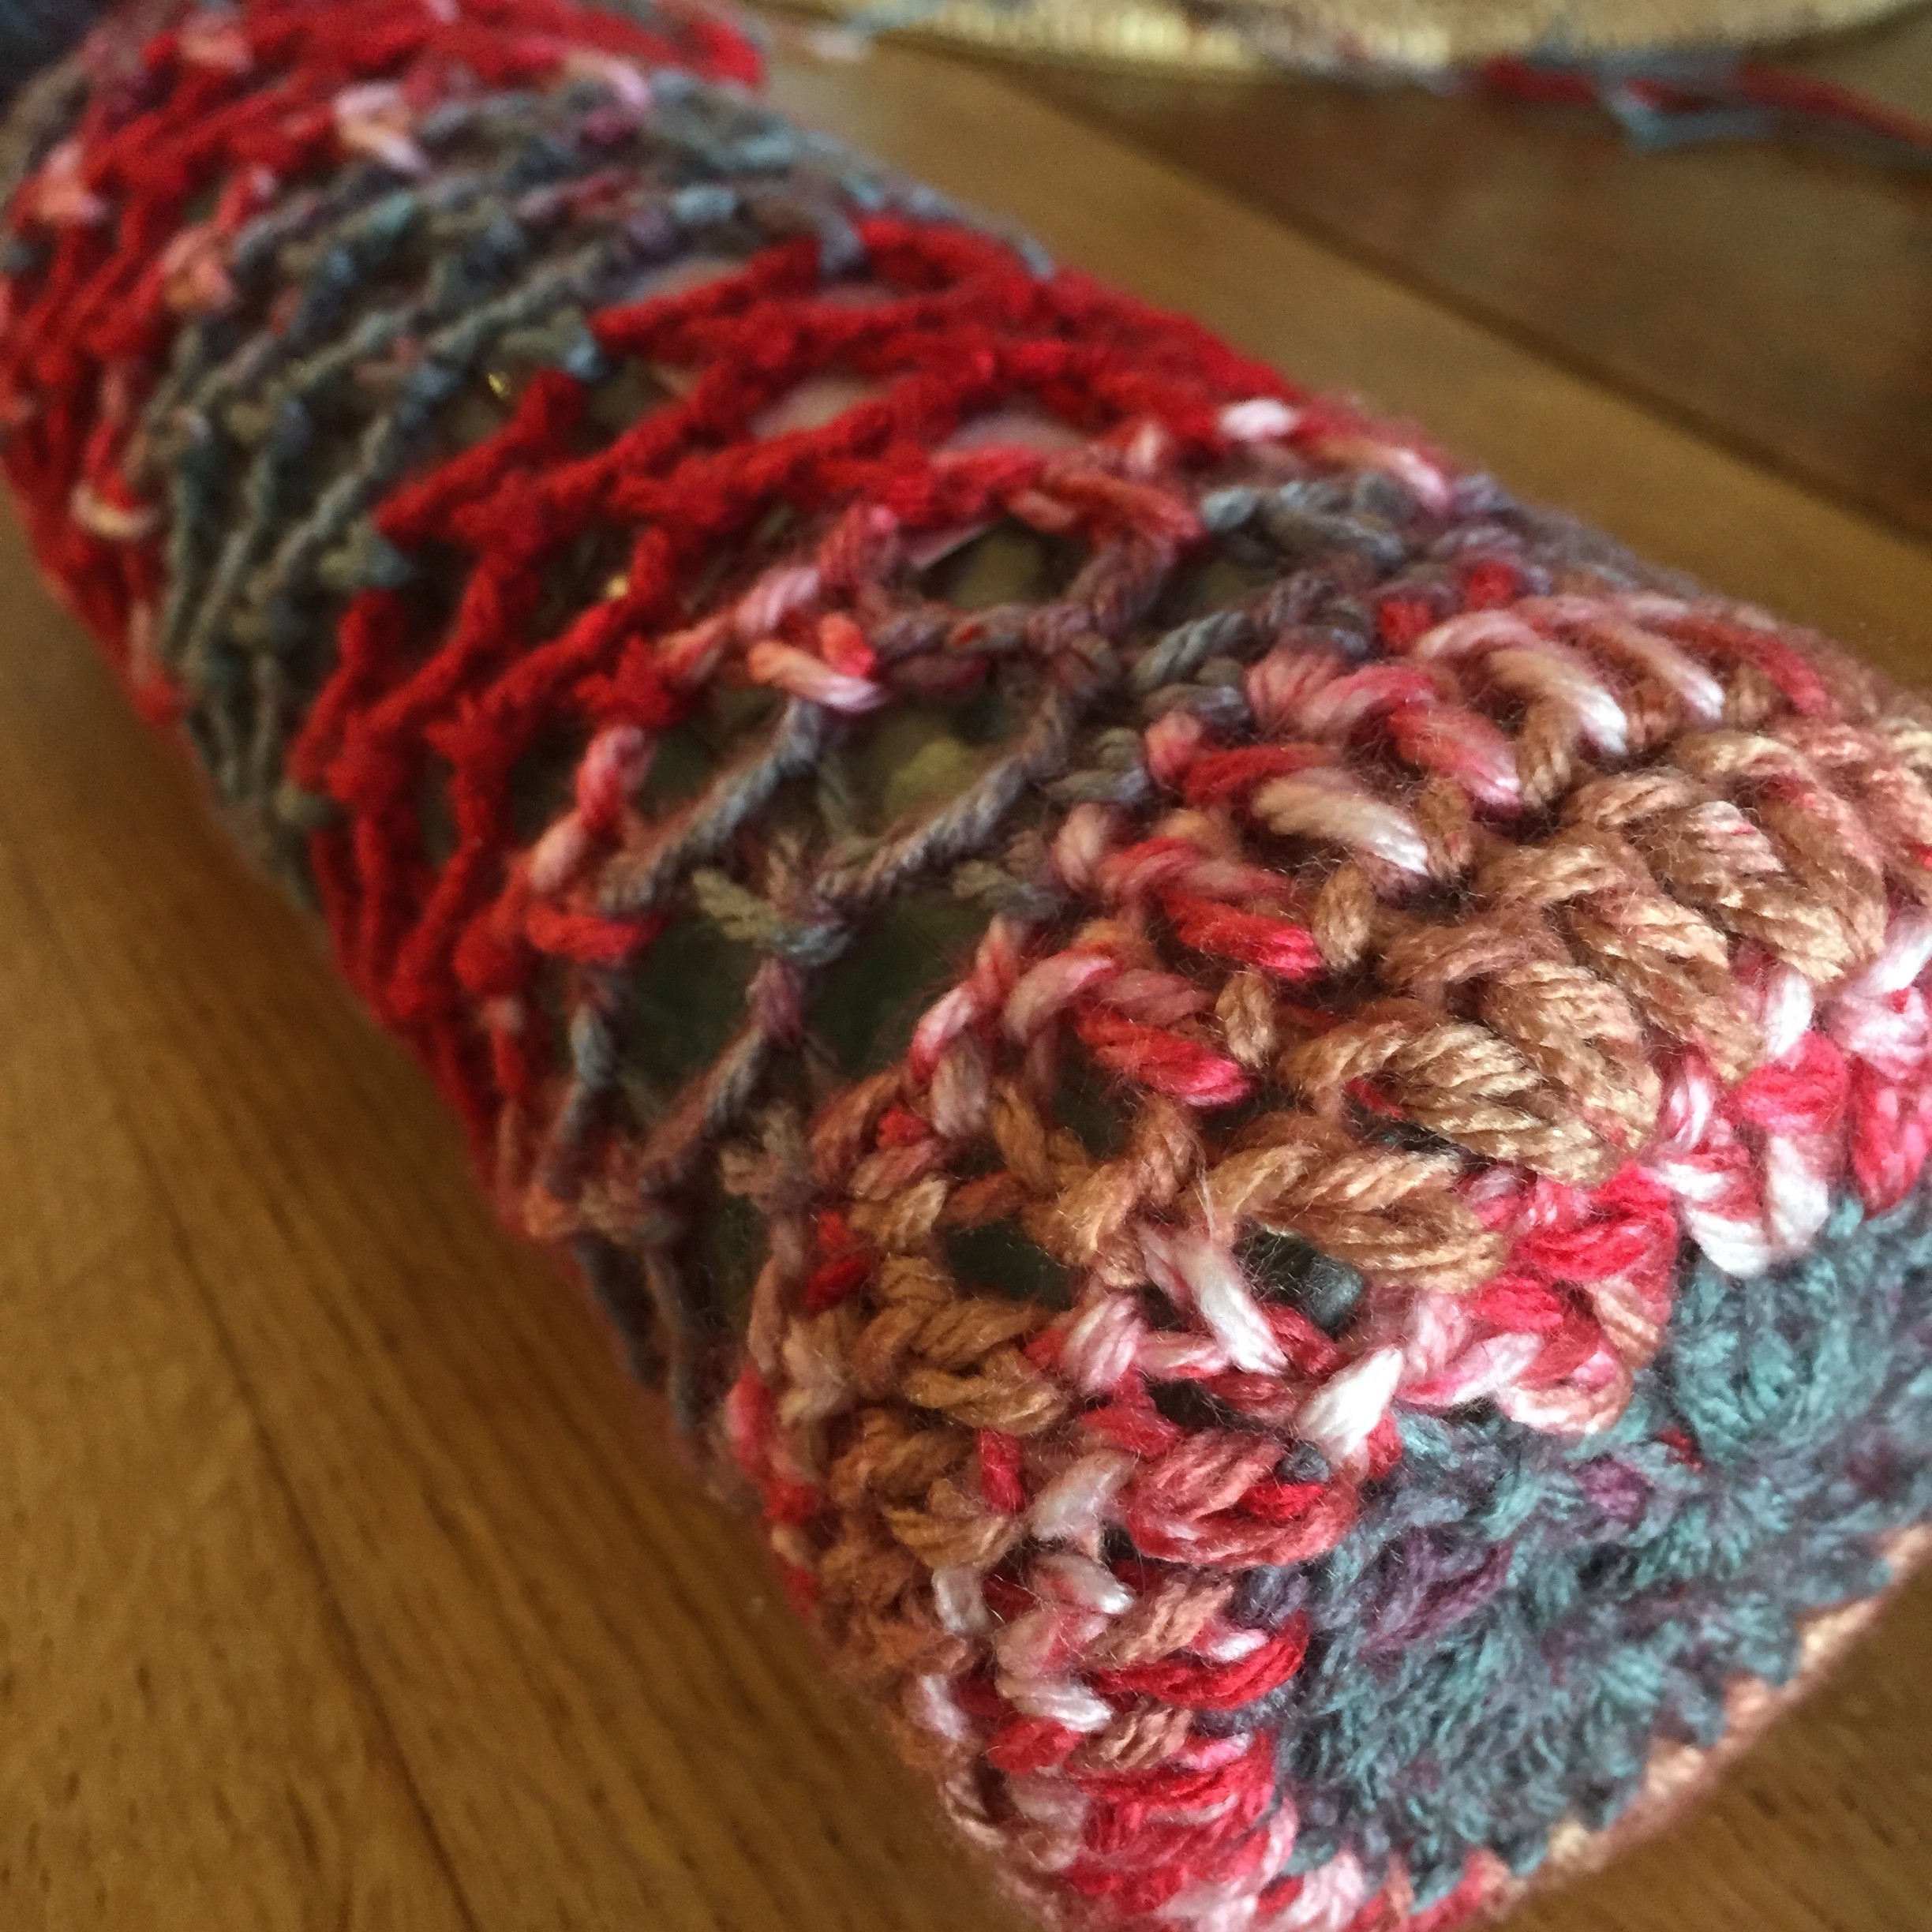
Body
Round 6: Ch 3, Skip 2 stitches, SC in next stitch, *Ch 3, skip 2, sc in next stitch* repeat around.
Round 7: Ch 3, sc in the chain 3 space, *Ch3, sc in next chain 3 space* repeat around.
Repeat row 7 until the desired length to the next of the bottle. For me this is about 9 chain three spaces. Remember that it will stretch. You want it to reach just below the neck of the bottle, so that when it’s tied it stretches and you can see the chain three spaces nicely.
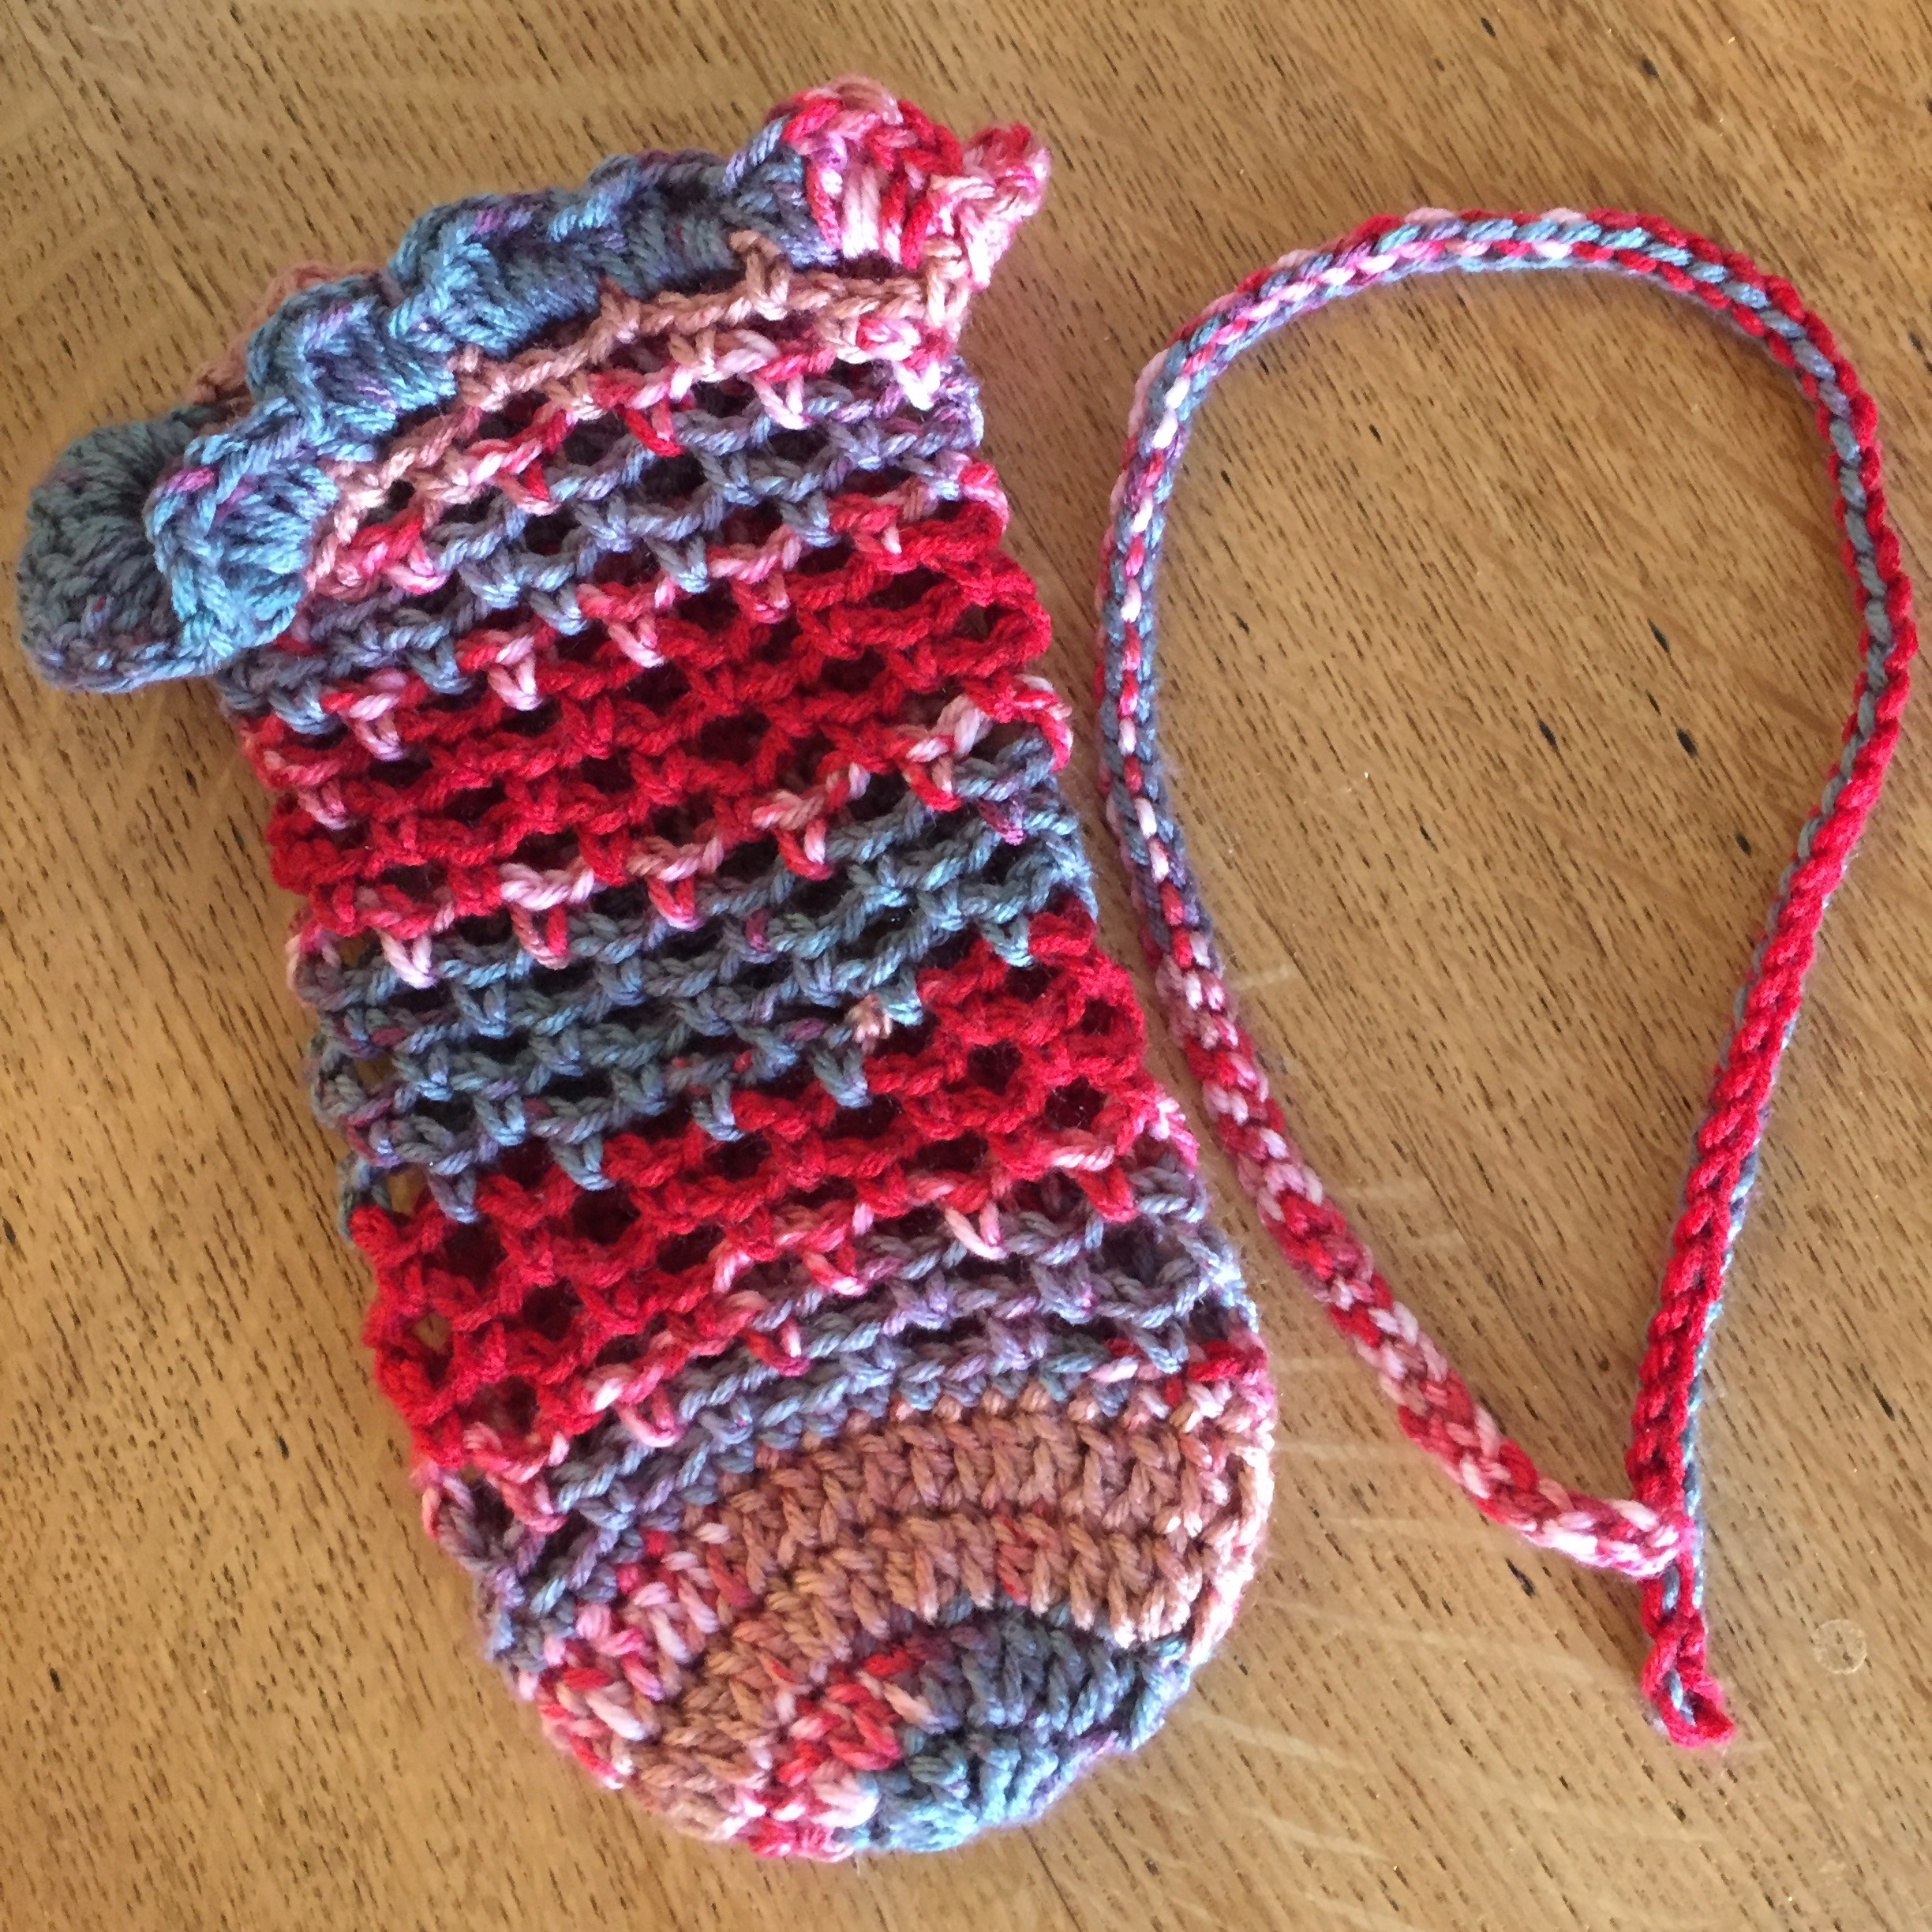
Scalloped top
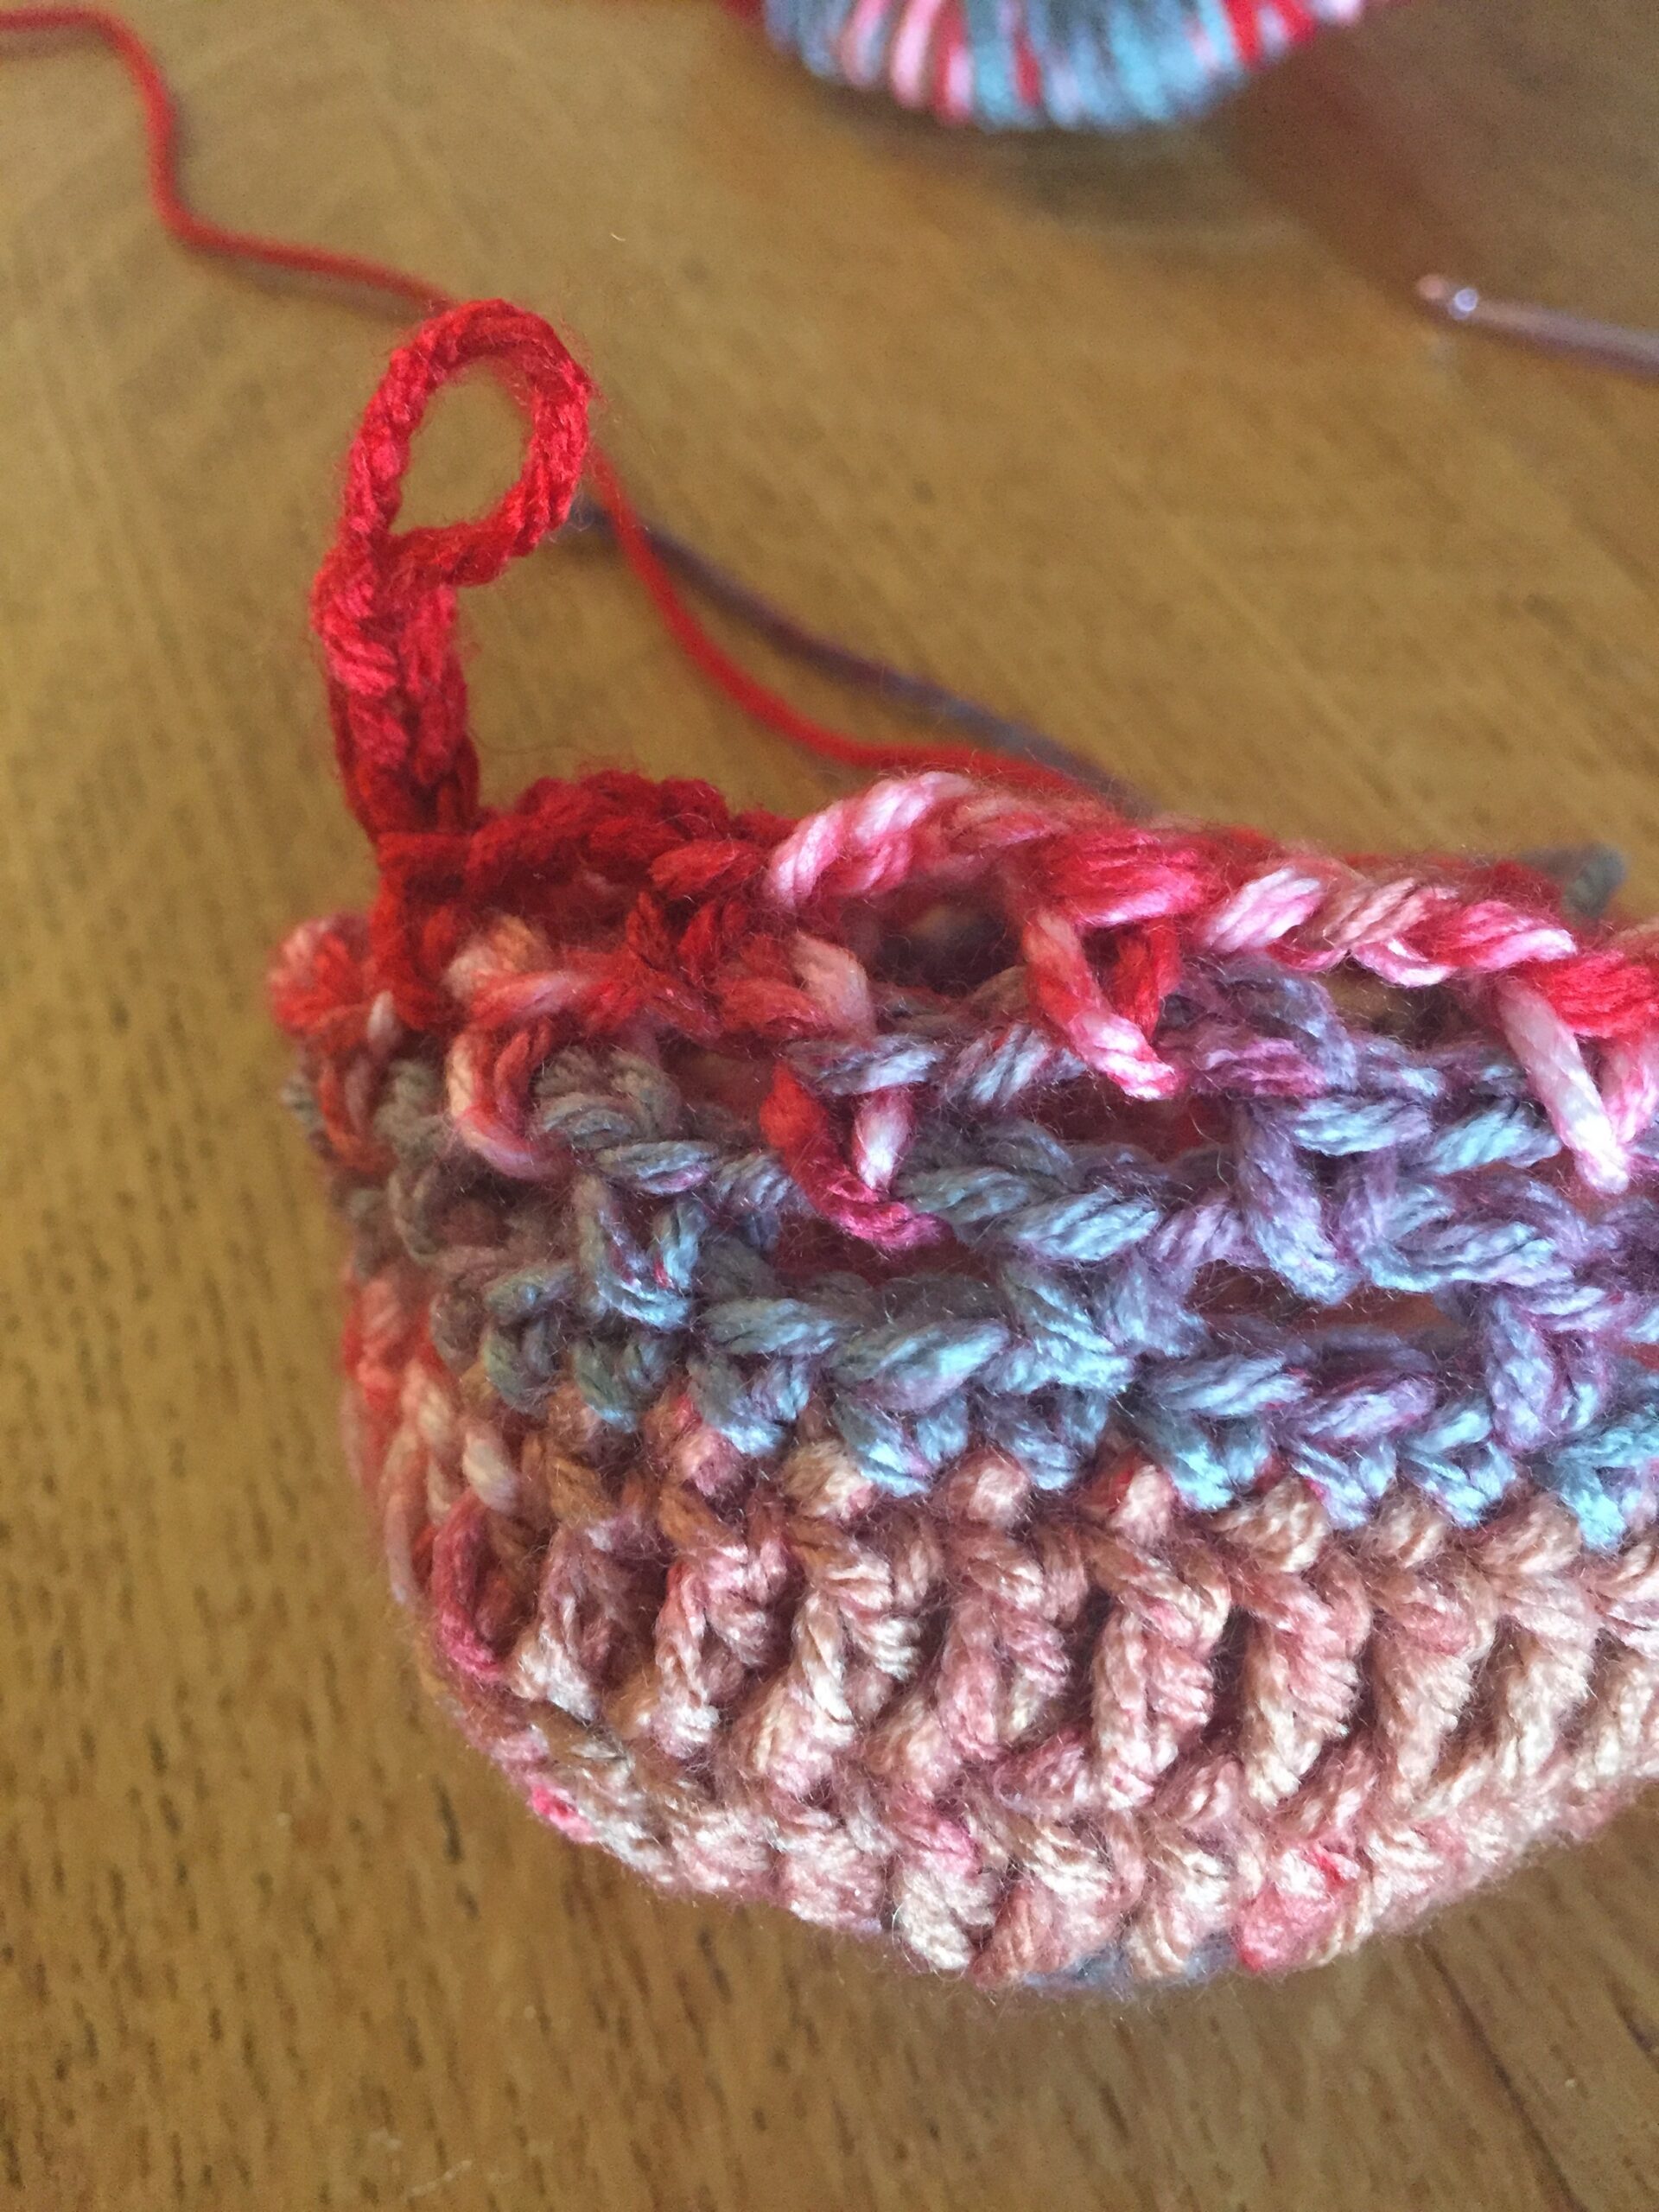
In each chain 3 space do the following: *hdc, dc, dc, tc, dc, dc, hdc*
Slip stitch to beginning hdc and cut yarn.
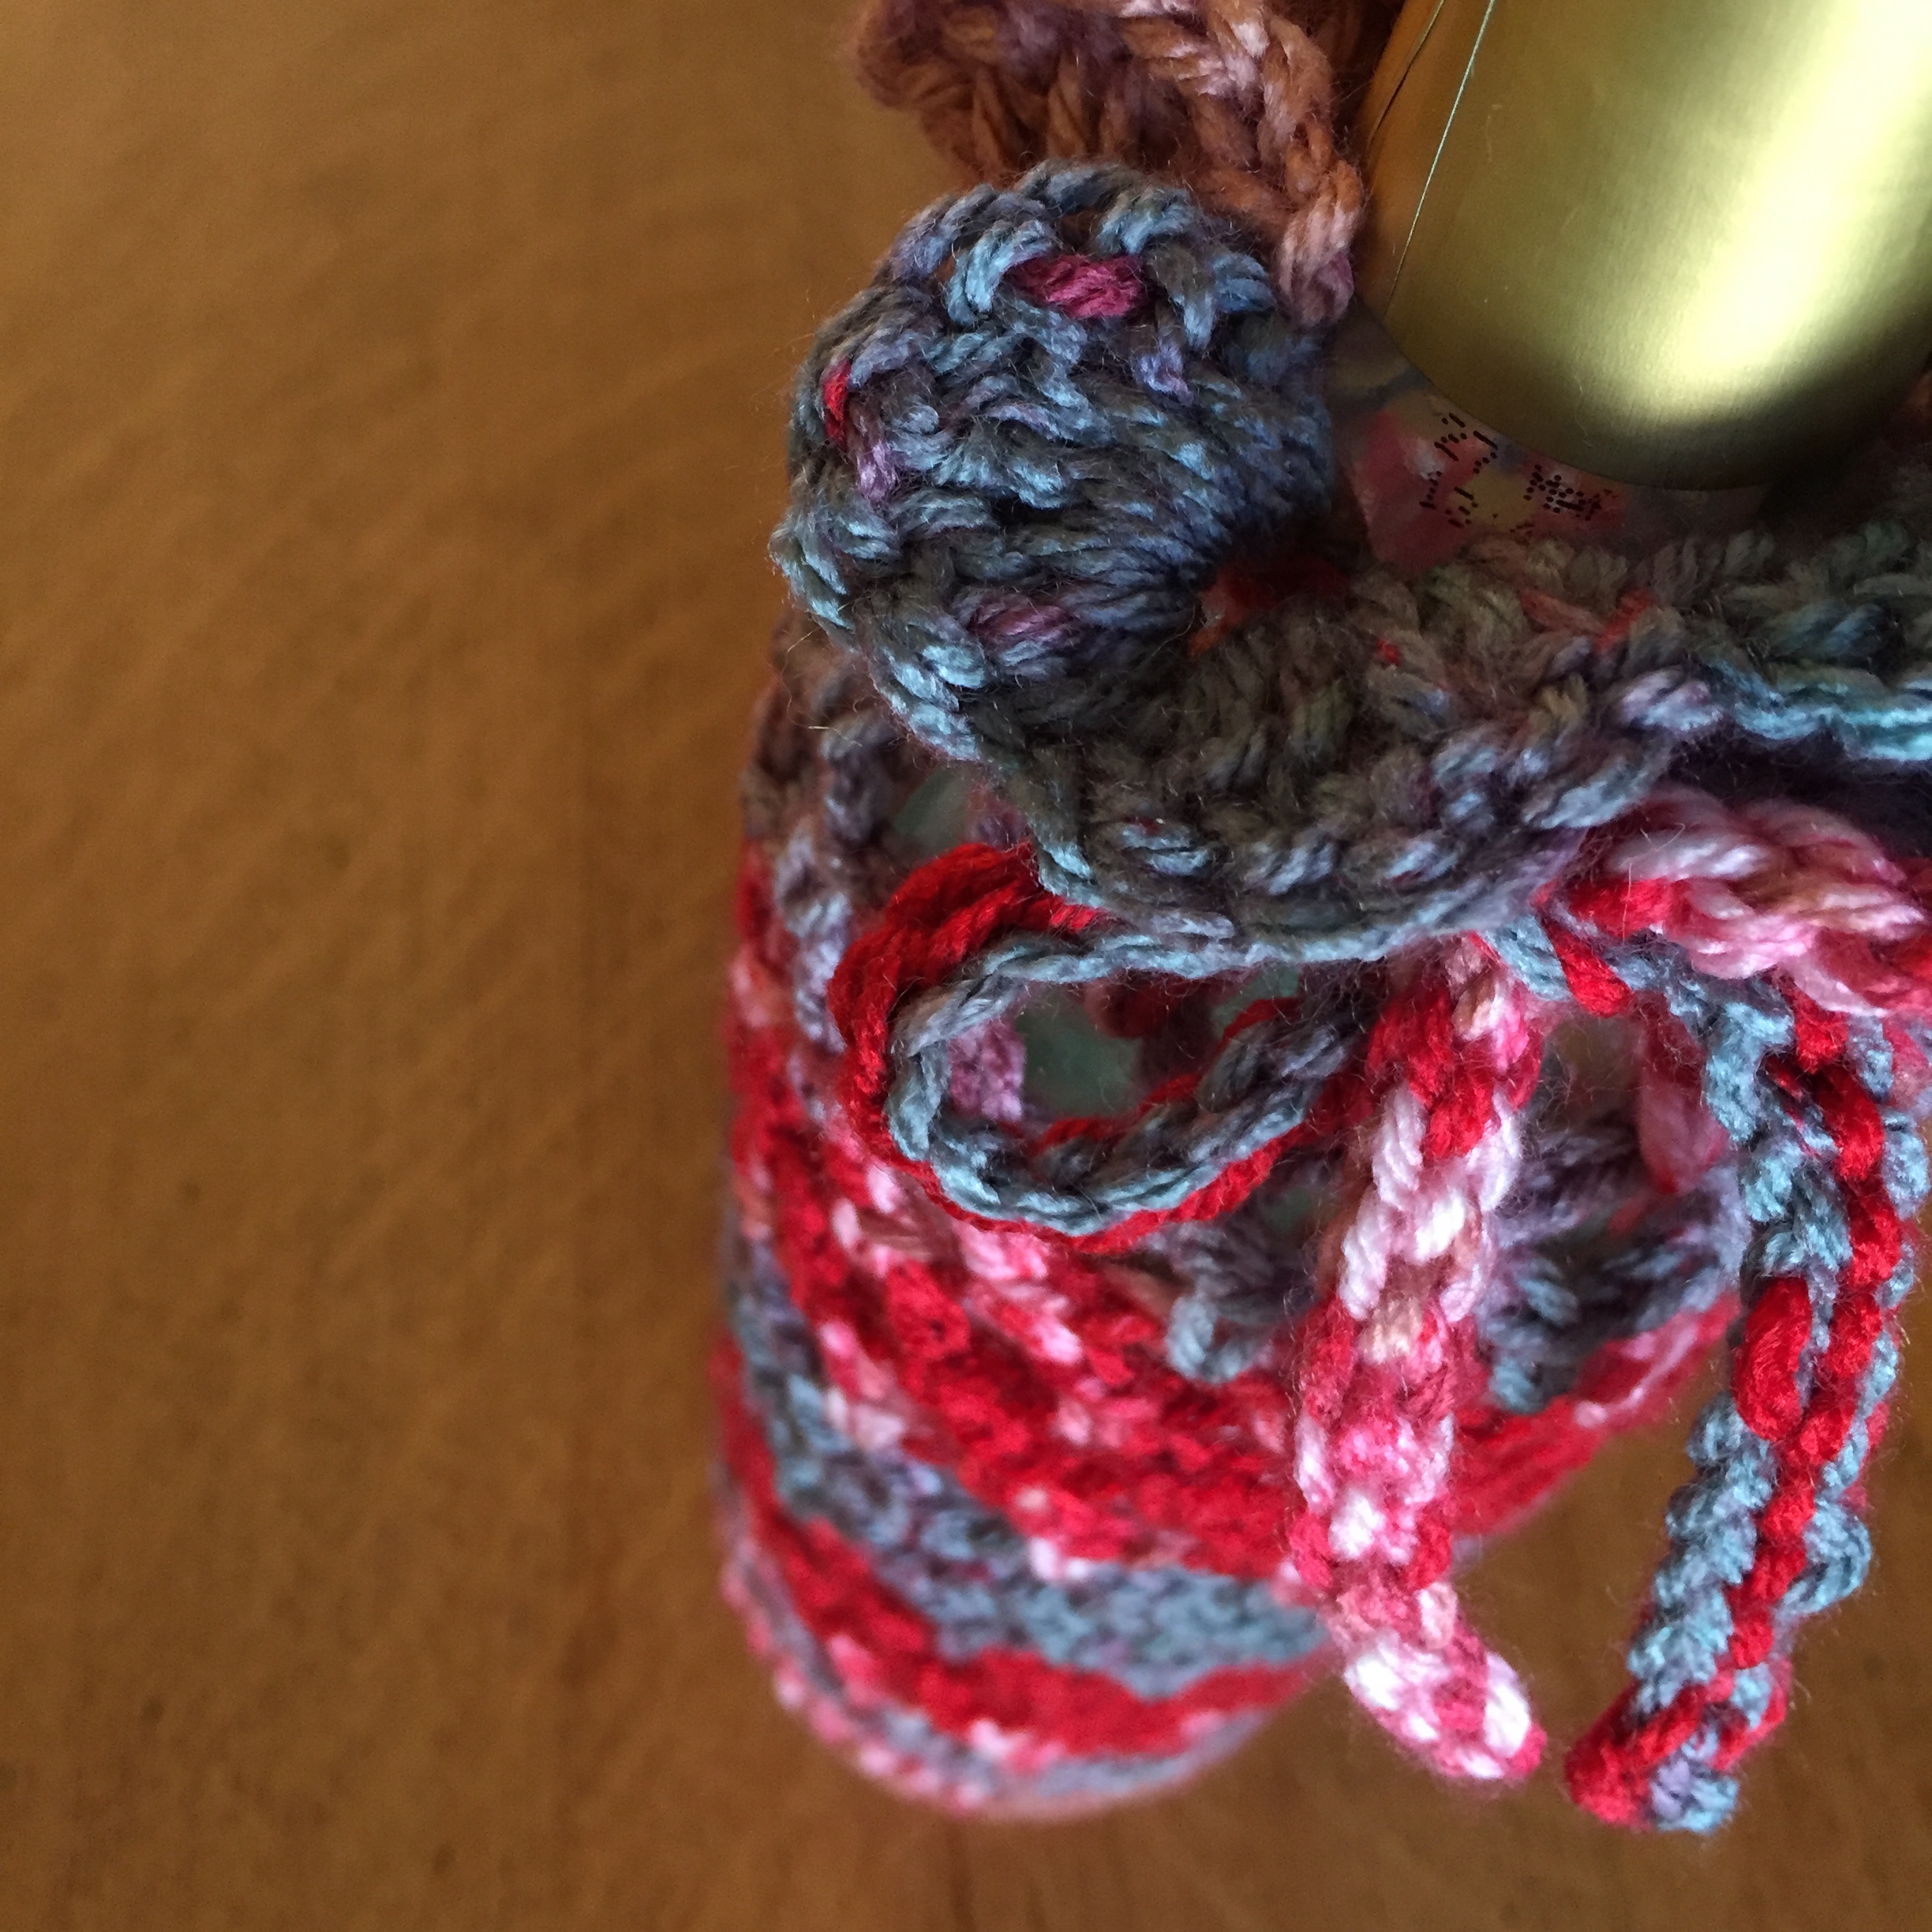
Cord
A simple cord inserted in and out of the spaces just below the scallops then tied around the neck of the bottle.
Chain 80 stitches.
Slip stitch into 1st chain from the hook and sl st in every chain around.
Finishing
Slip cord through the chain-3 gaps beneath the scallops and tie. Weave in all ends.
*If you need help understanding how to slip stitch to form the beginning circle and the basic idea of creating the base, I found a great video from Bella Coco, that demonstrates how to crochet a flat circle. I’ve started it at about 2 minutes in, which is where you’ll see how to slip stitch to close.
Step by step picture tutorial
Round 1 – 12 dc in a ring
Round 2 – dc in each stitch = 24 dcs
Round 3 – 2dc, 1 dc around = 36 sts
Round 4 = dc around = 36 dcs
Round 5 – sc around = 36 scs
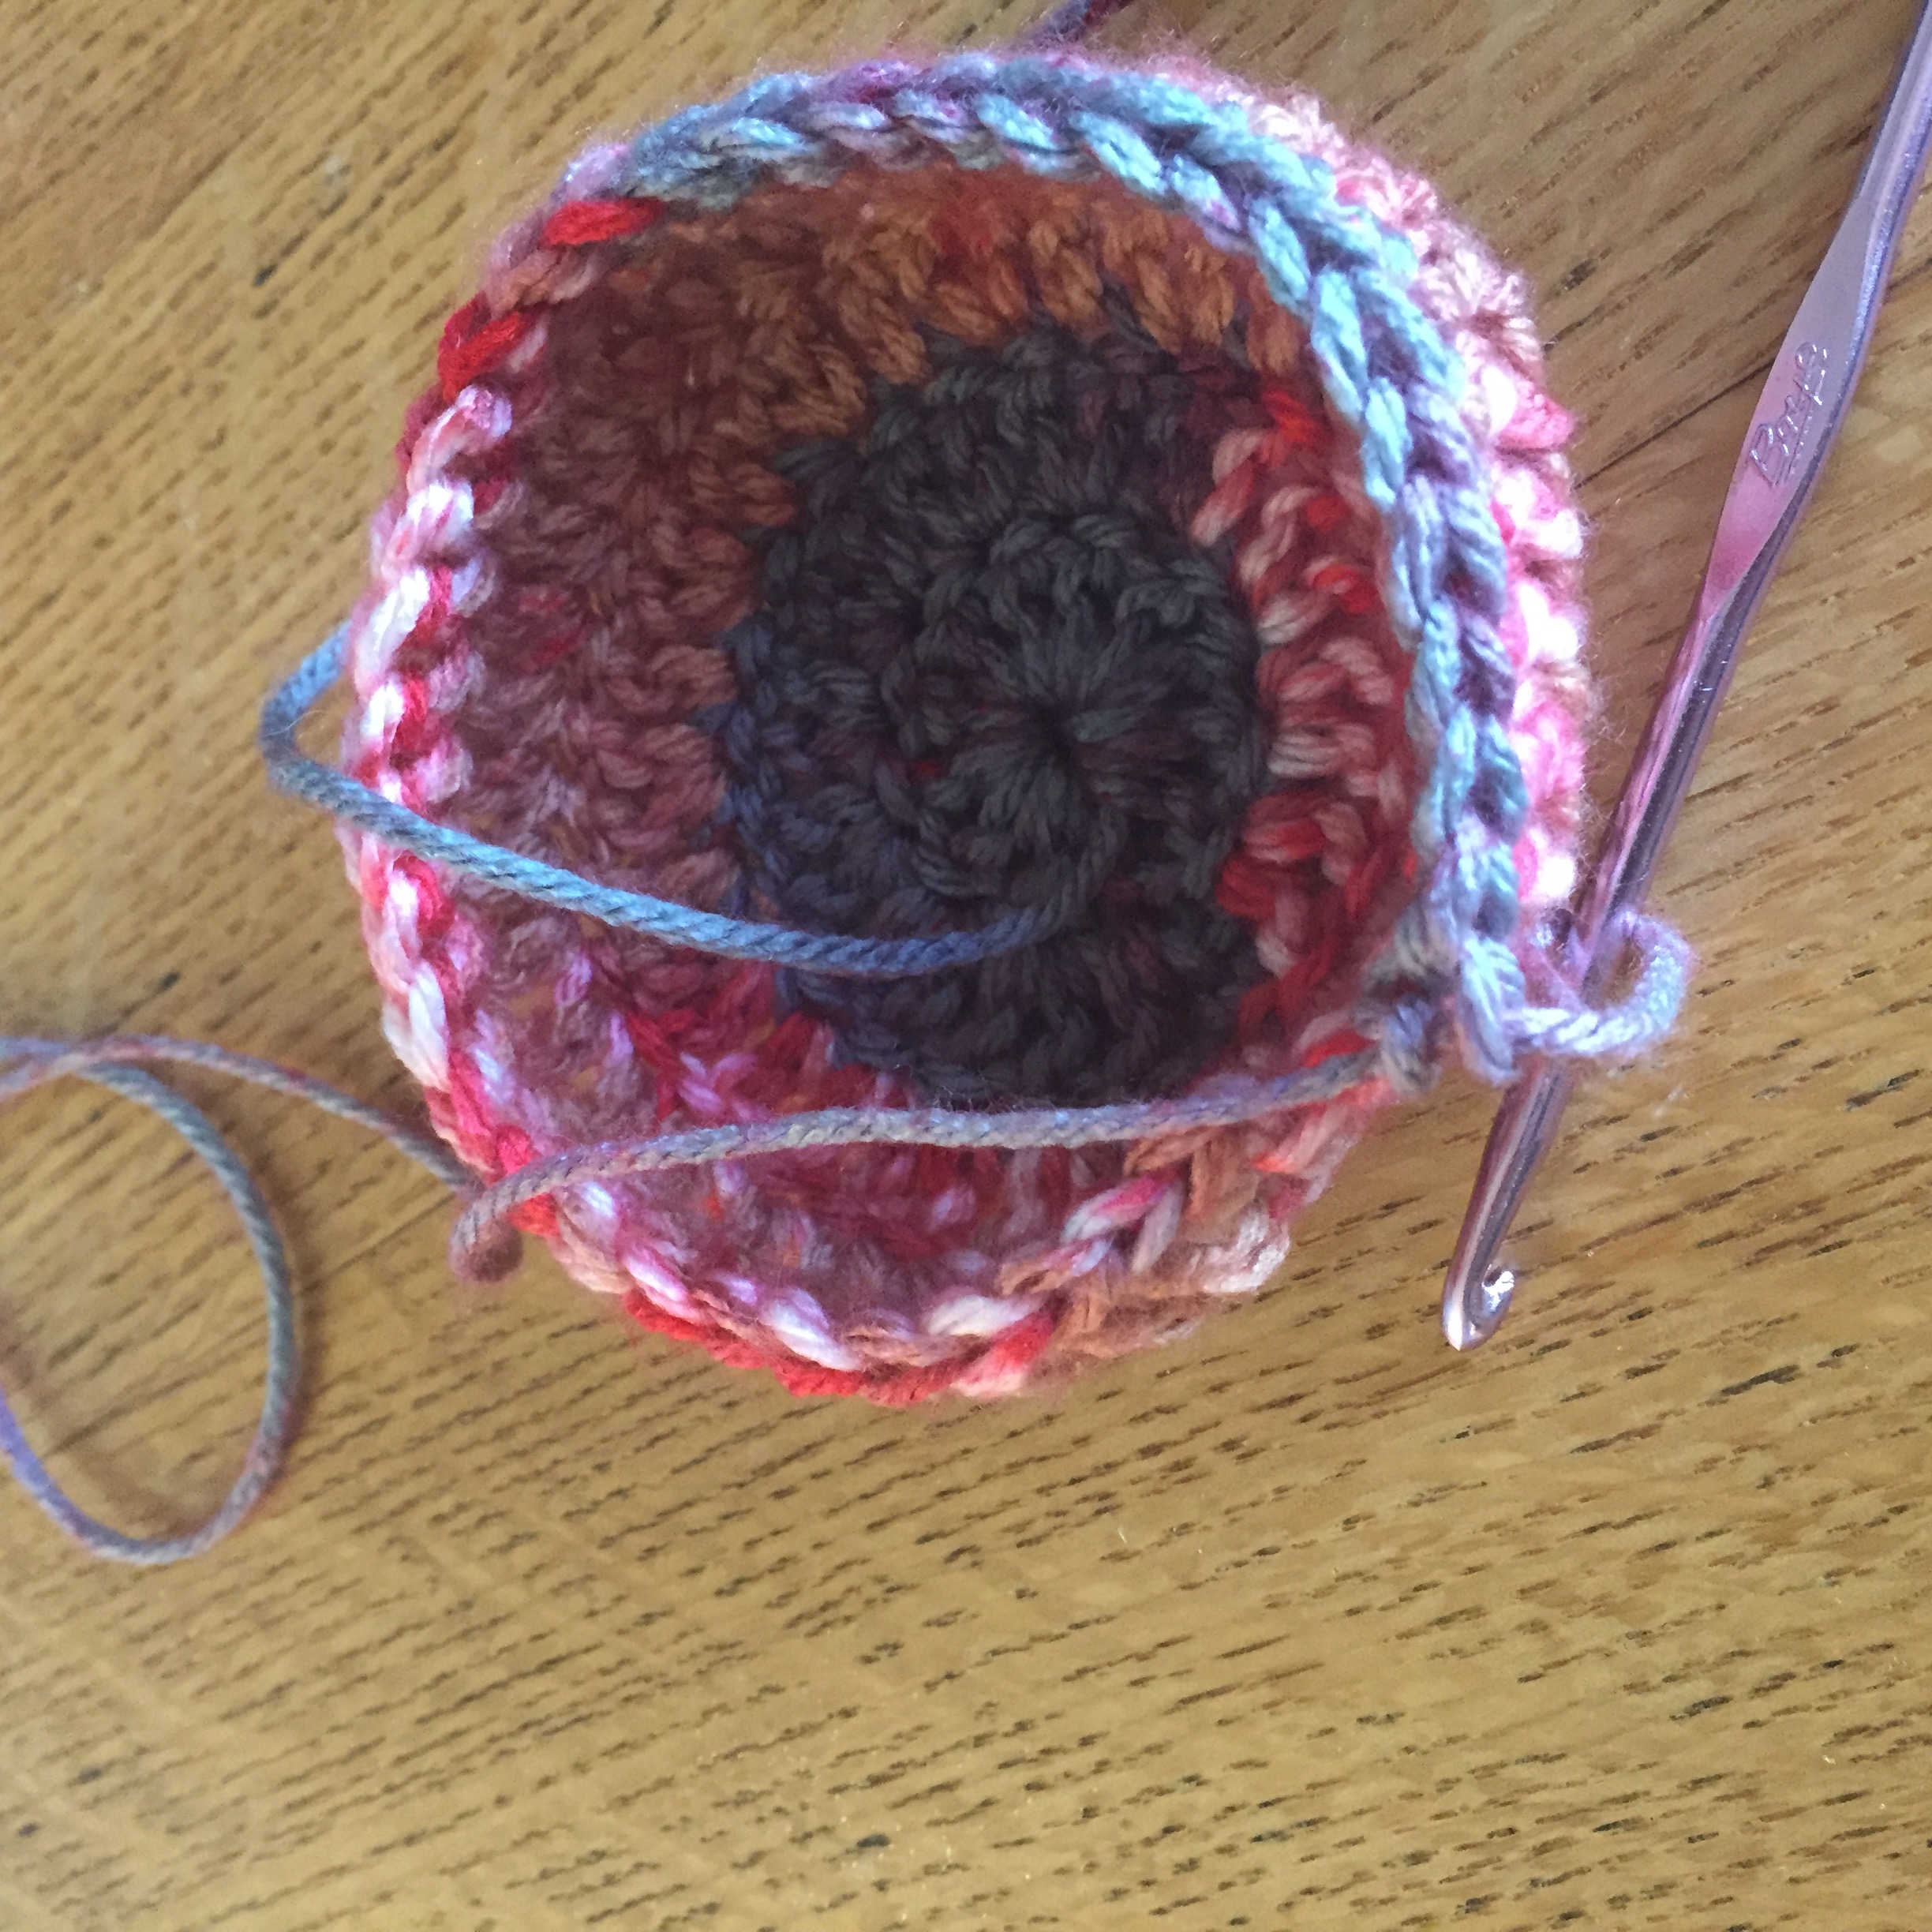
Body beginning
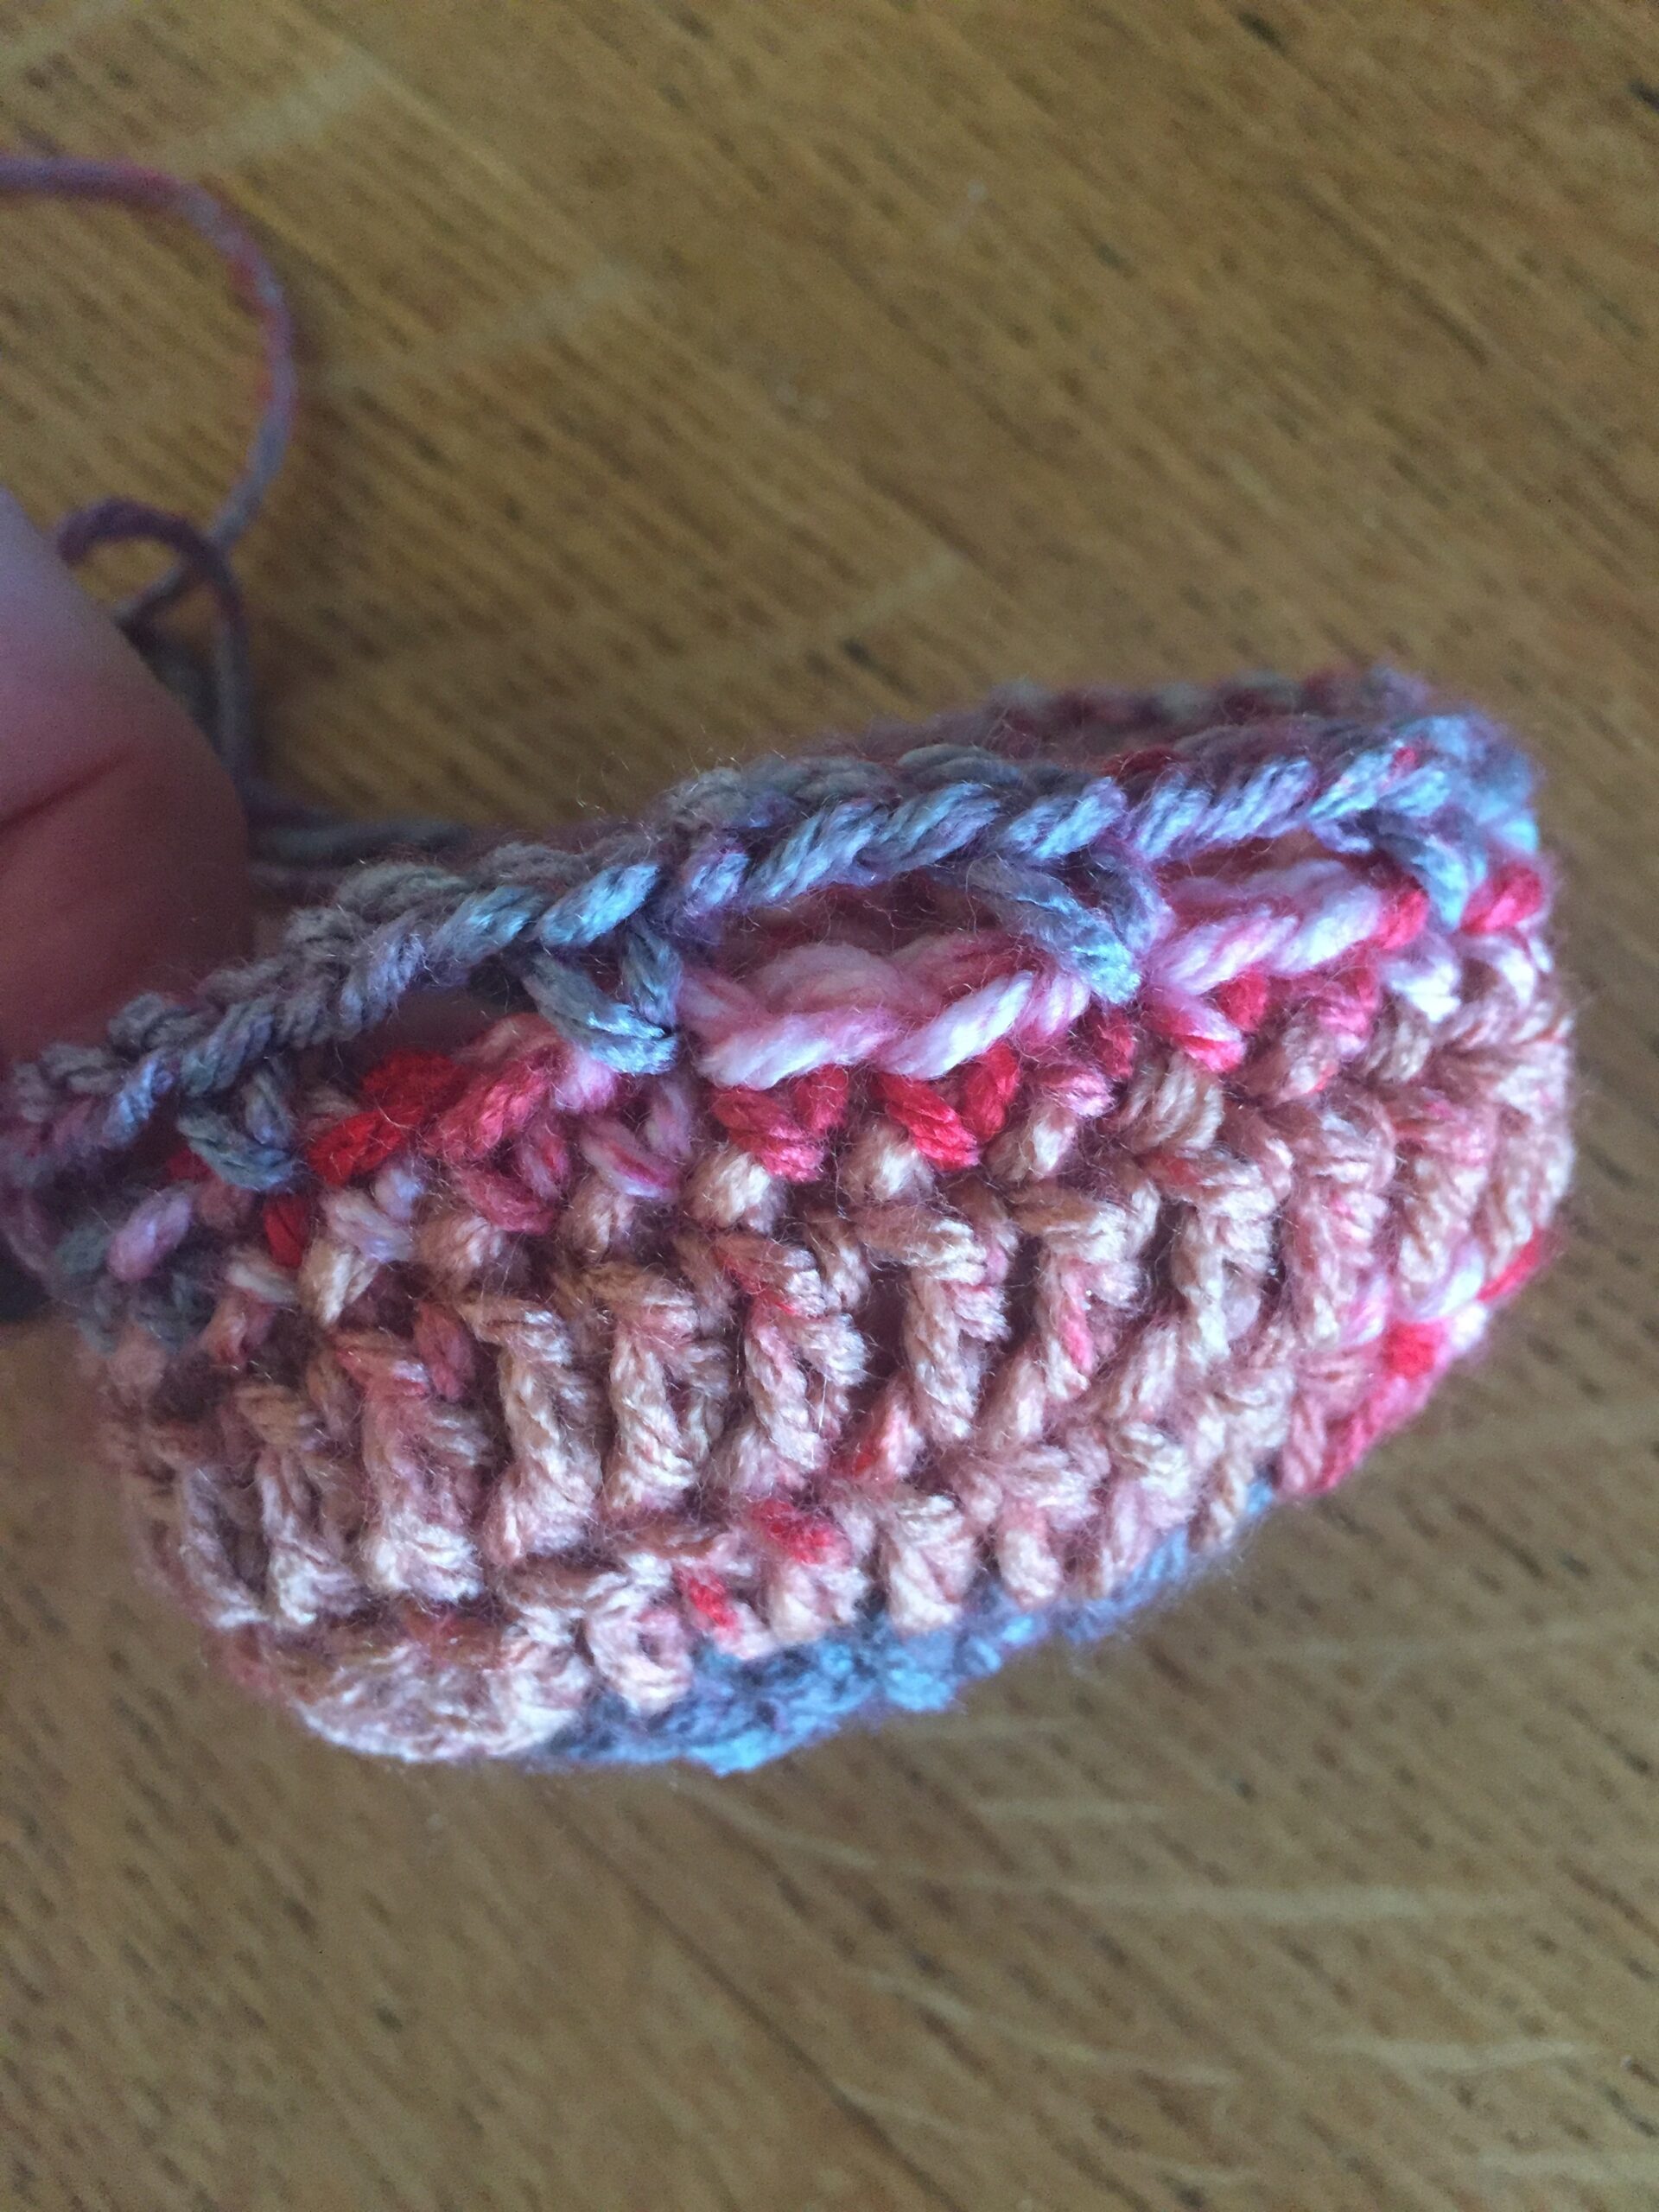
Established netting
When to stop netting
Finished cozy with scalloped top and cord
Close up of wine bottle cozy
Bottoms up!
Crocheted Wine Bottle Cozy
More fun pics
Crocheted Wine Bottle Cozy mbm
Scalloped top view
My crocheted wine bottle holder never misses a house concert 🙂
Hi Maria!
You’re comment inspired me to finally make the video I’ve been wanting to complete for some time. In it I explain the different hook size you might need depending on the type of yarn you are using. I hope you watch it and I hope it helps explain the pattern.
Best,
Marni
Thank you for this pretty wine cozy. Exactly what I have been looking for. Pattern straight-forward to follow and the video tutorial is helpful. (For Canadians U.S.A. G Hook = 4.0 mm Hook.). Cheers!
Hi Lauren,
I have updated the pattern on this post to include the “slip stitch to first DC” at the end of every row for the base. And found a really good demon from Bella Coco on how to do this. I think you’ll understand it better. Let me know! Thanks.

20 Responses
Thanks for this pattern. It makes bringing a bottle of wine extra special.
I absolutely love it! As a beginner, I’d like to ask you: what number crochet hook shoul I get for this?
Thank you in advance.
Hi Maria!
You’re comment inspired me to finally make the video I’ve been wanting to complete for some time. In it I explain the different hook size you might need depending on the type of yarn you are using. I hope you watch it and I hope it helps explain the pattern.
Best,
Marni
There’s a video tutorial for this particular project, then?
I found it! Thanks!
ok good! let me know if you have any questions! 🙂
This is an awesome pattern. Do you mind if we sell the item, as long as we link back to your blog?
Hi Sher! Thank you for asking and yes feel free to sell the cozies you make in exchange for a link to my blog! Good luck!
Thank you!
Thank you for this pretty wine cozy. Exactly what I have been looking for. Pattern straight-forward to follow and the video tutorial is helpful. (For Canadians U.S.A. G Hook = 4.0 mm Hook.). Cheers!
Hi Pamela, Thanks for your feedback. So glad you like the cozy pattern and I will add the 4.0 mm hook to it as well! ~ Marni
great idea for a hostess gift! Thanks, I’ll get right to it!
Easy and beautiful! Gives nice touch to simple present, something unique and personalized! Thank you
Thank you Mirjana! Glad you enjoy the pattern 🙂
So I’m getting started and already confused by row 2
Do I slip stitch to the first “DC” of the previous row, to finish the round?
Hi Lauren,
I have updated the pattern on this post to include the “slip stitch to first DC” at the end of every row for the base. And found a really good demon from Bella Coco on how to do this. I think you’ll understand it better. Let me know! Thanks.
Marni, thank you for sharing your pattern! this pattern was easy and a great tutorial. Karen
You’re so welcome!
Thanks so much! I found the pattern to be very easy!
You’re welcome! Thanks for commenting!