Updated May 25, 2018 to include a great demo on how to slip stitch and form the base.
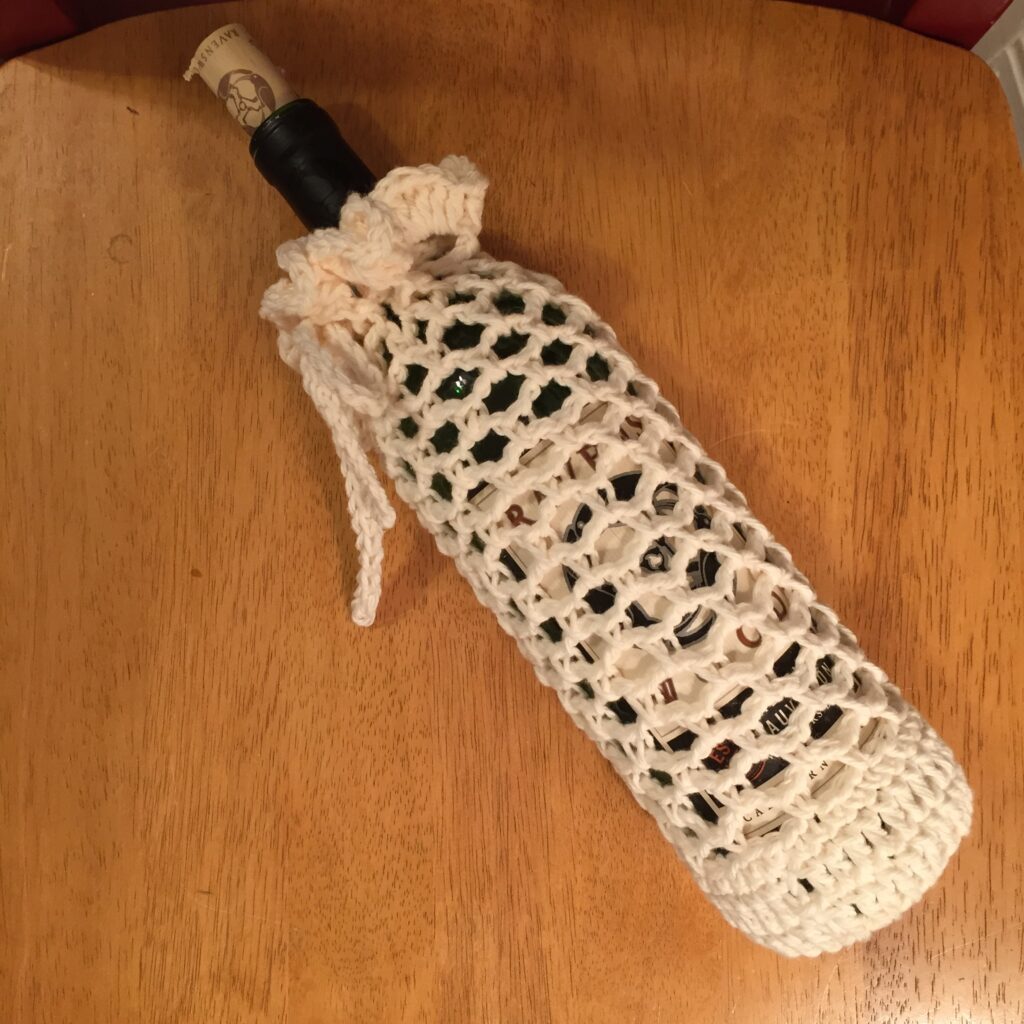
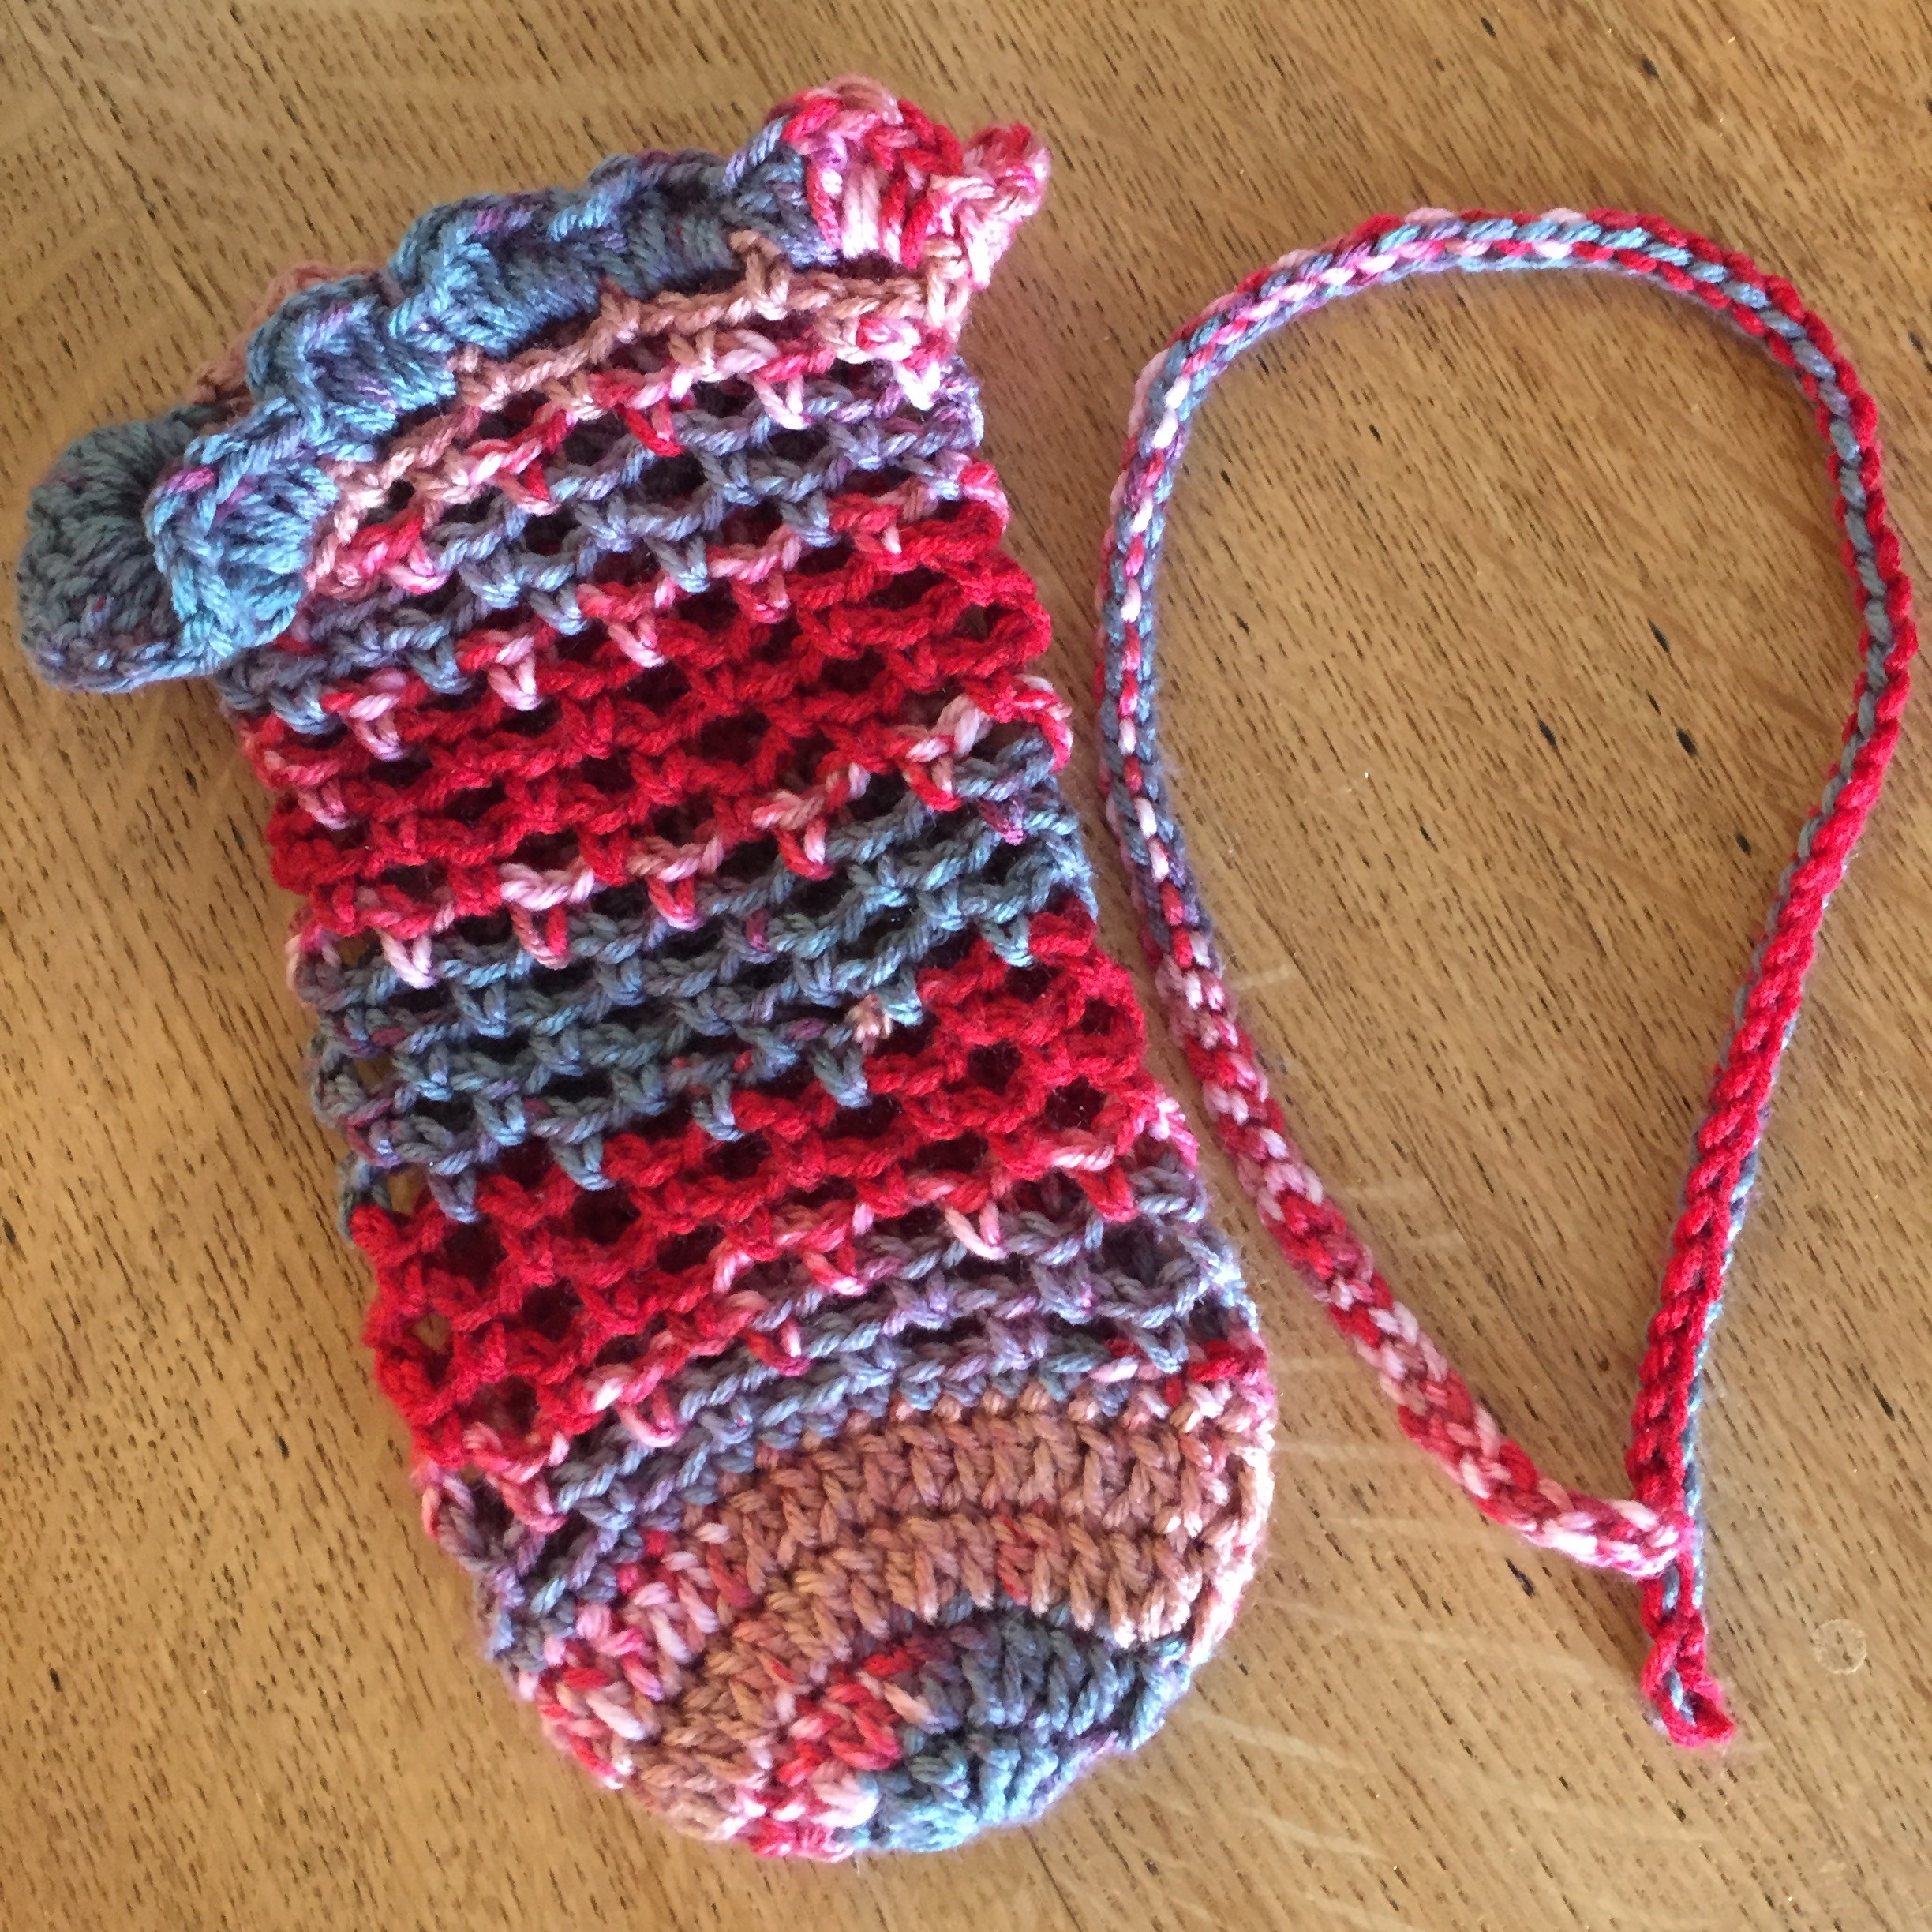
Every now and then my husband and I go to a BYOB house concert. I pack a basket with a thermos of coffee, cups, sugar, cream for later 😉 and a couple of sturdy wine glasses with a bottle of wine, dressed in a crocheted wine bottle cozy. It keeps things from clinking around in the basket and, identifies your wine so as not to have someone mistakenly help themselves to a glass, and well, it just looks cool.
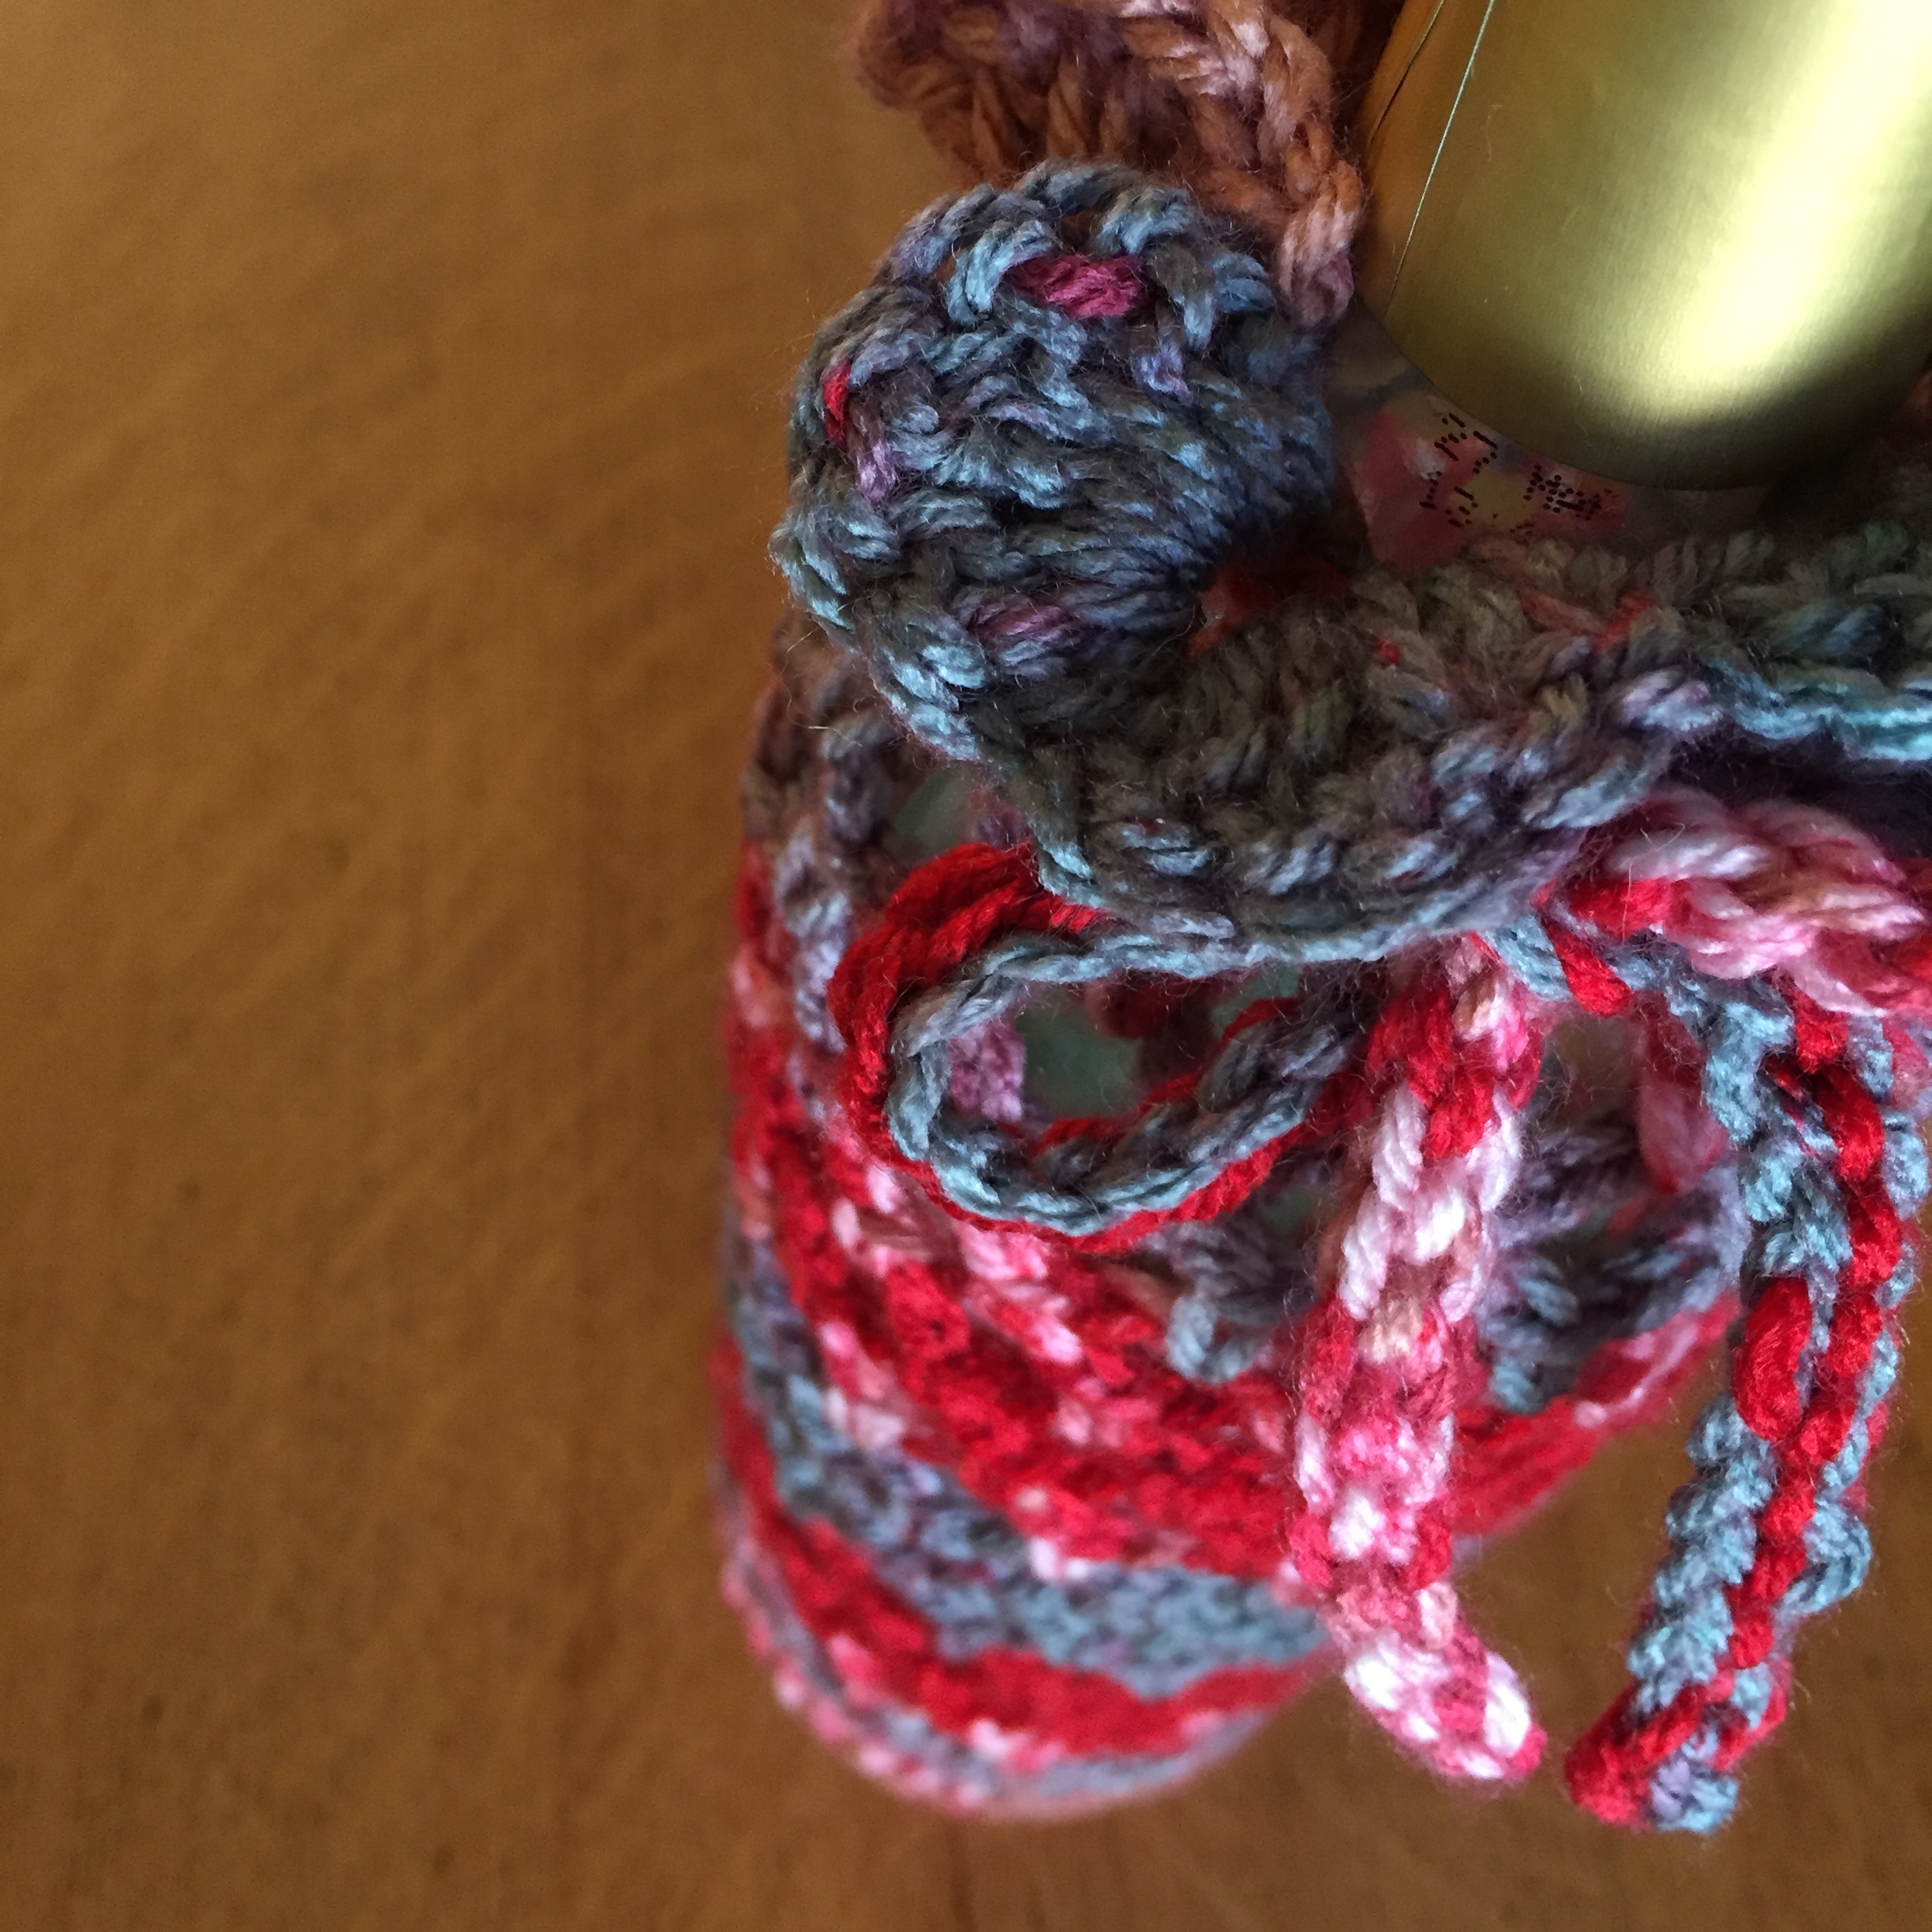
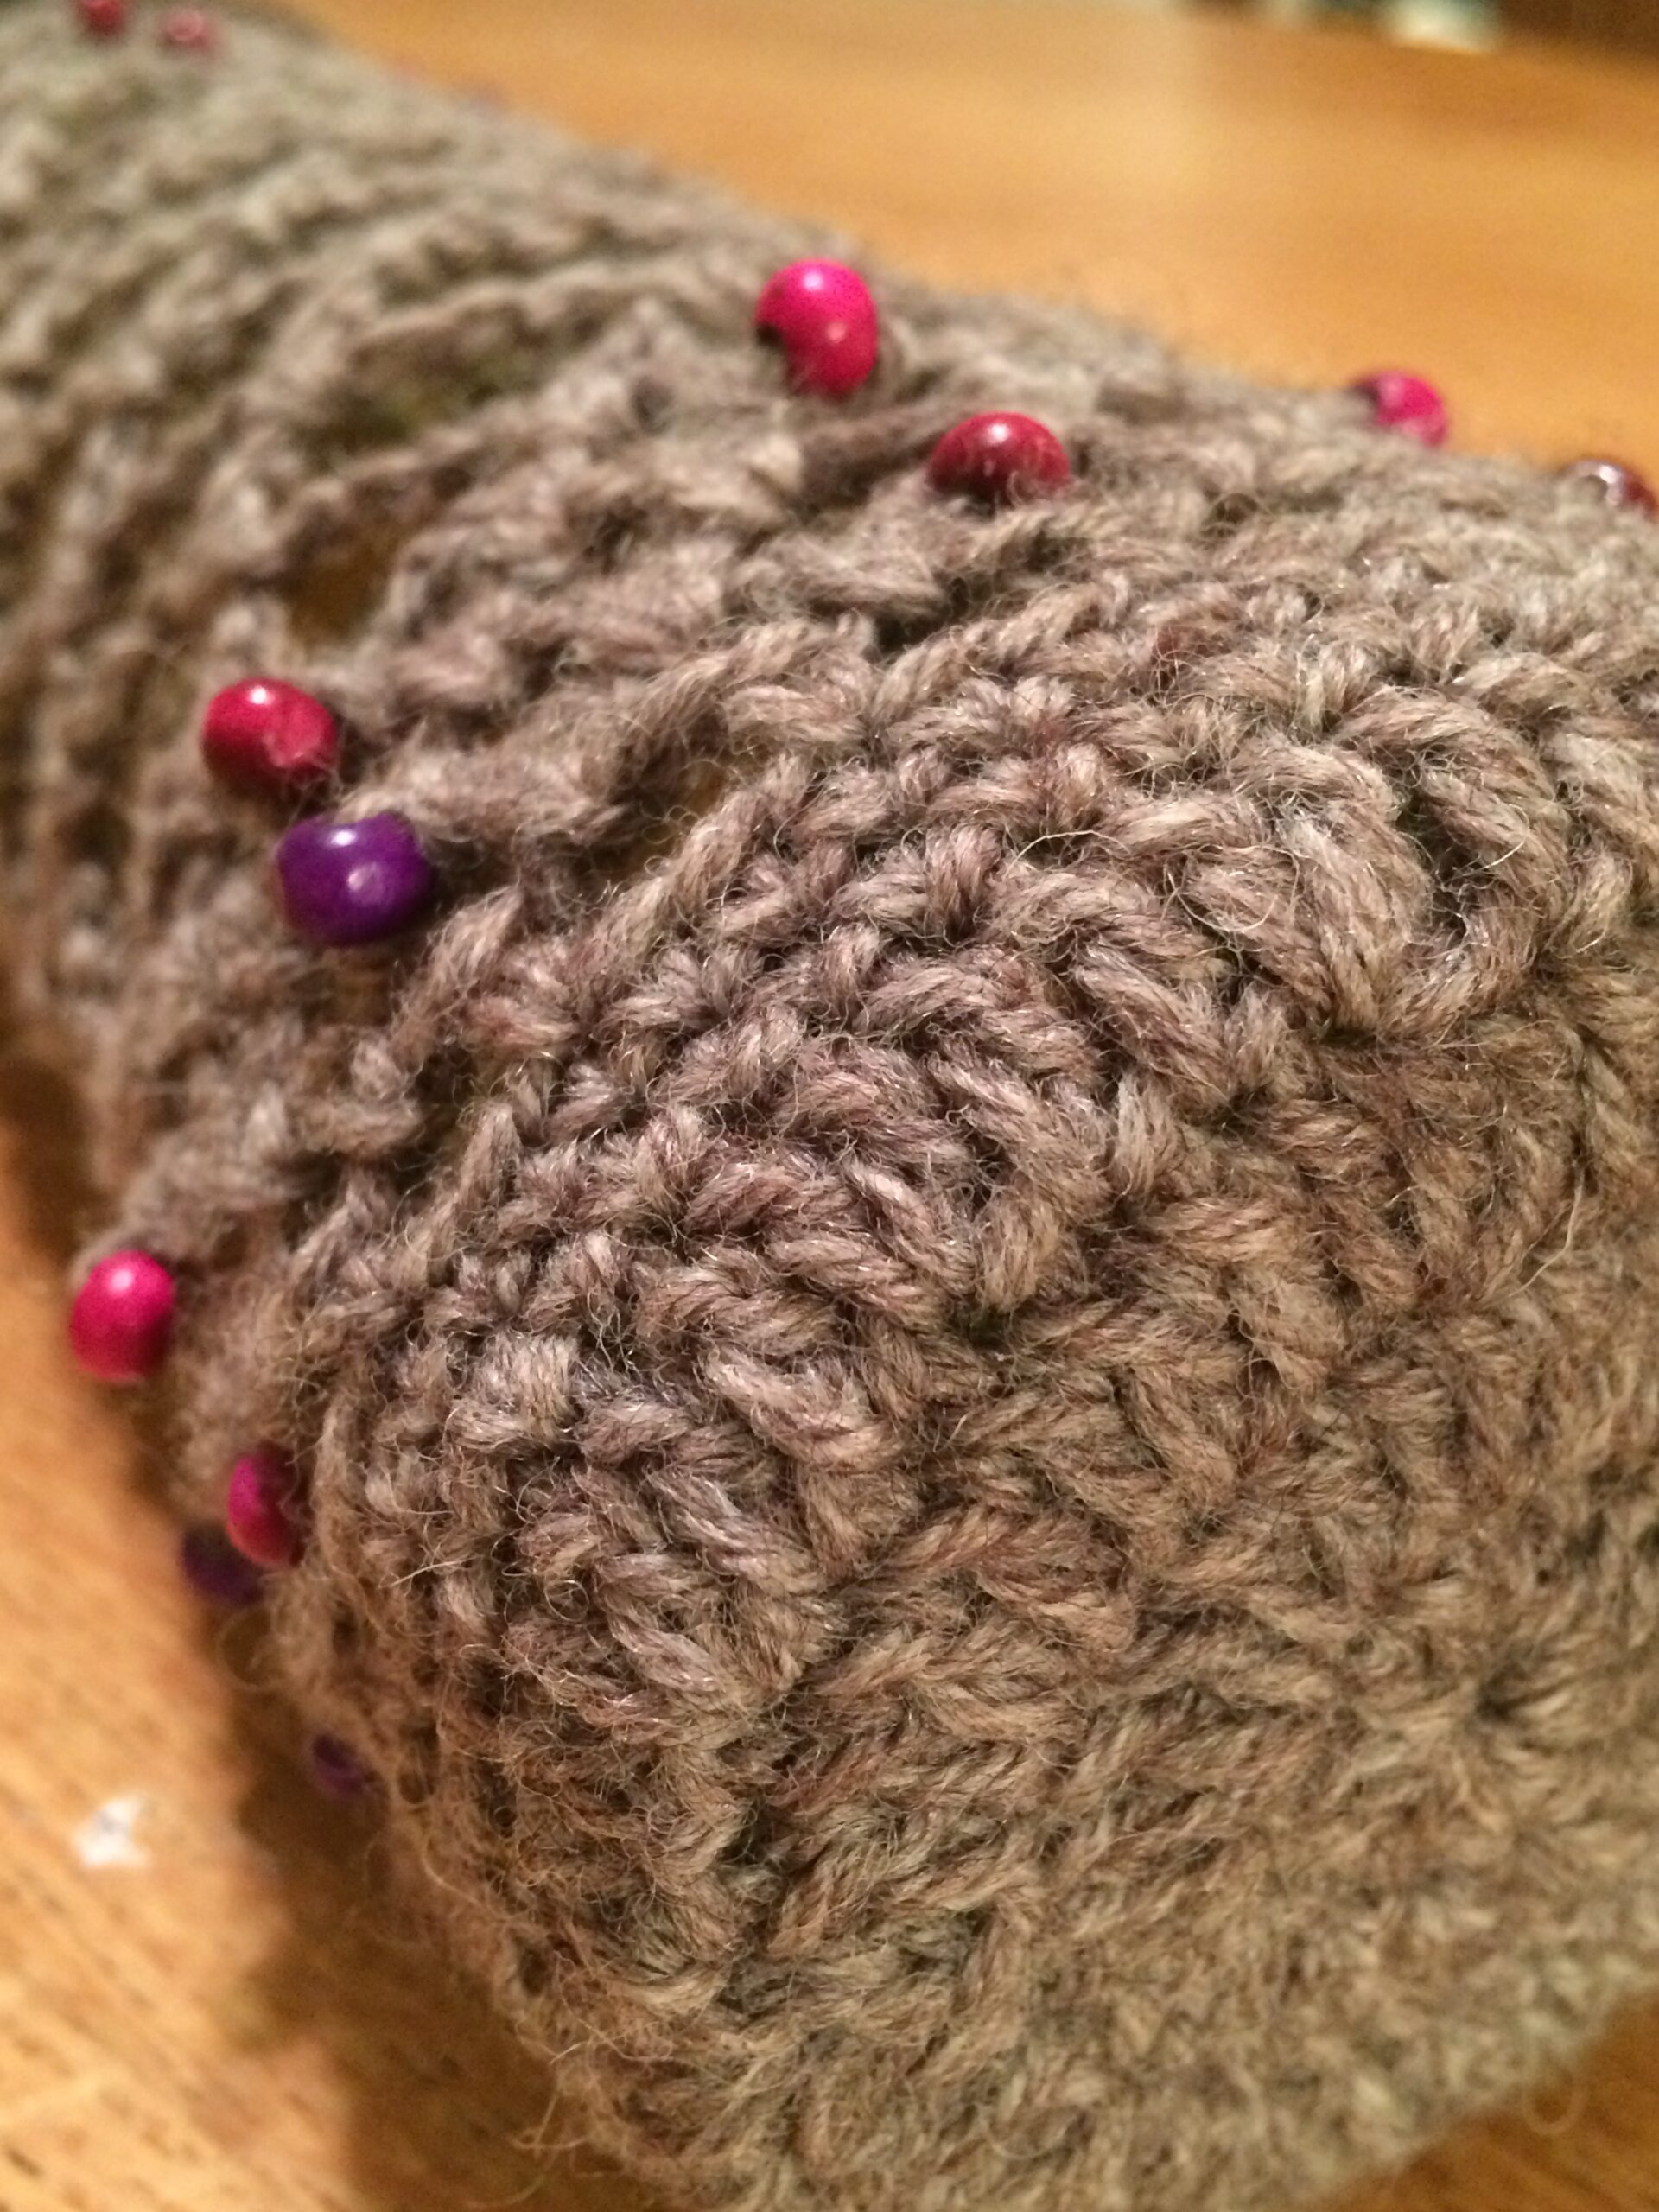
I usually use cotton yarn, but I’ve also used sock yarn and a smaller hook and added beads!
This simple pattern is a great way to use up stash, and wine bottle cozies make awesome gifts. So the next time you have about 30-60 minutes in front of the TV, or in the car, pick up your hook and give it a try!
YouTube video tutorial:
Here is my free crochet pattern using a size H crochet hook and cotton yarn – Lily Sugar & Cream or a size U.S. G (4.0 mm) hook and Deborah Norville EVERYDAY yarn.
You’ll see photos here from a previous crocheted wine bottle holder I made with sock yarn and beads too!
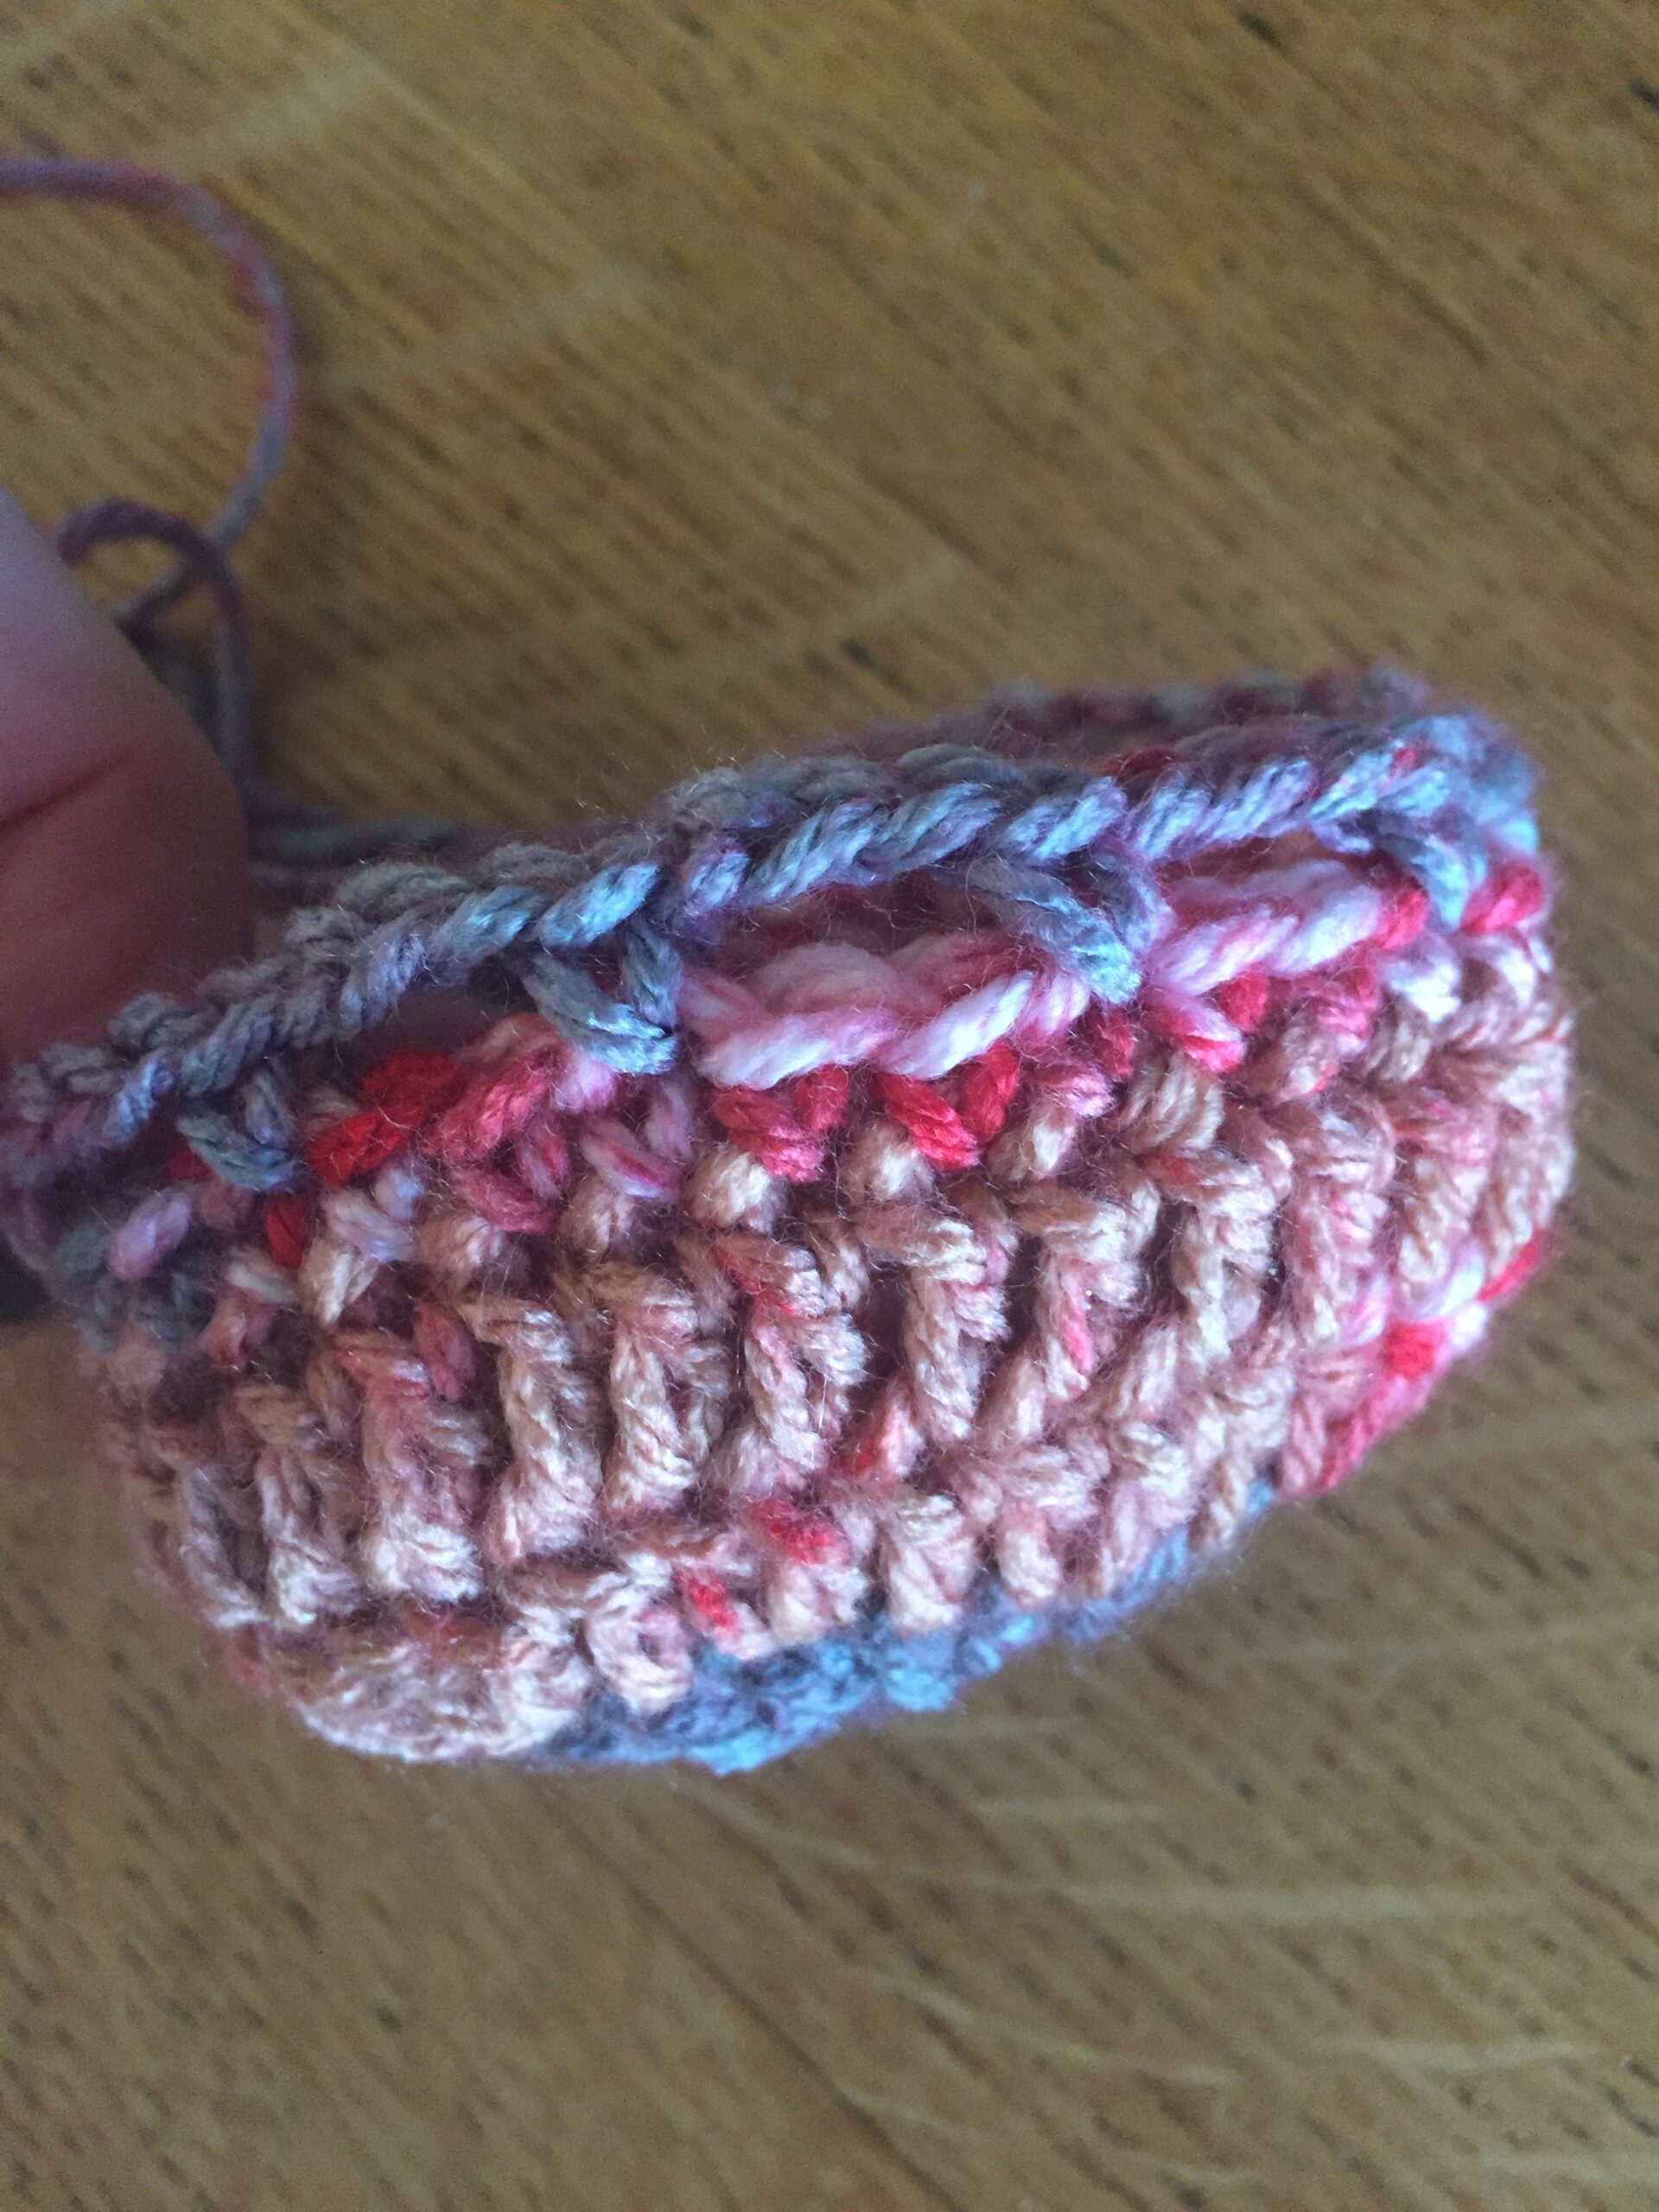
A simple cord inserted in and out of the spaces just below the scallops then tied around the neck of the bottle.
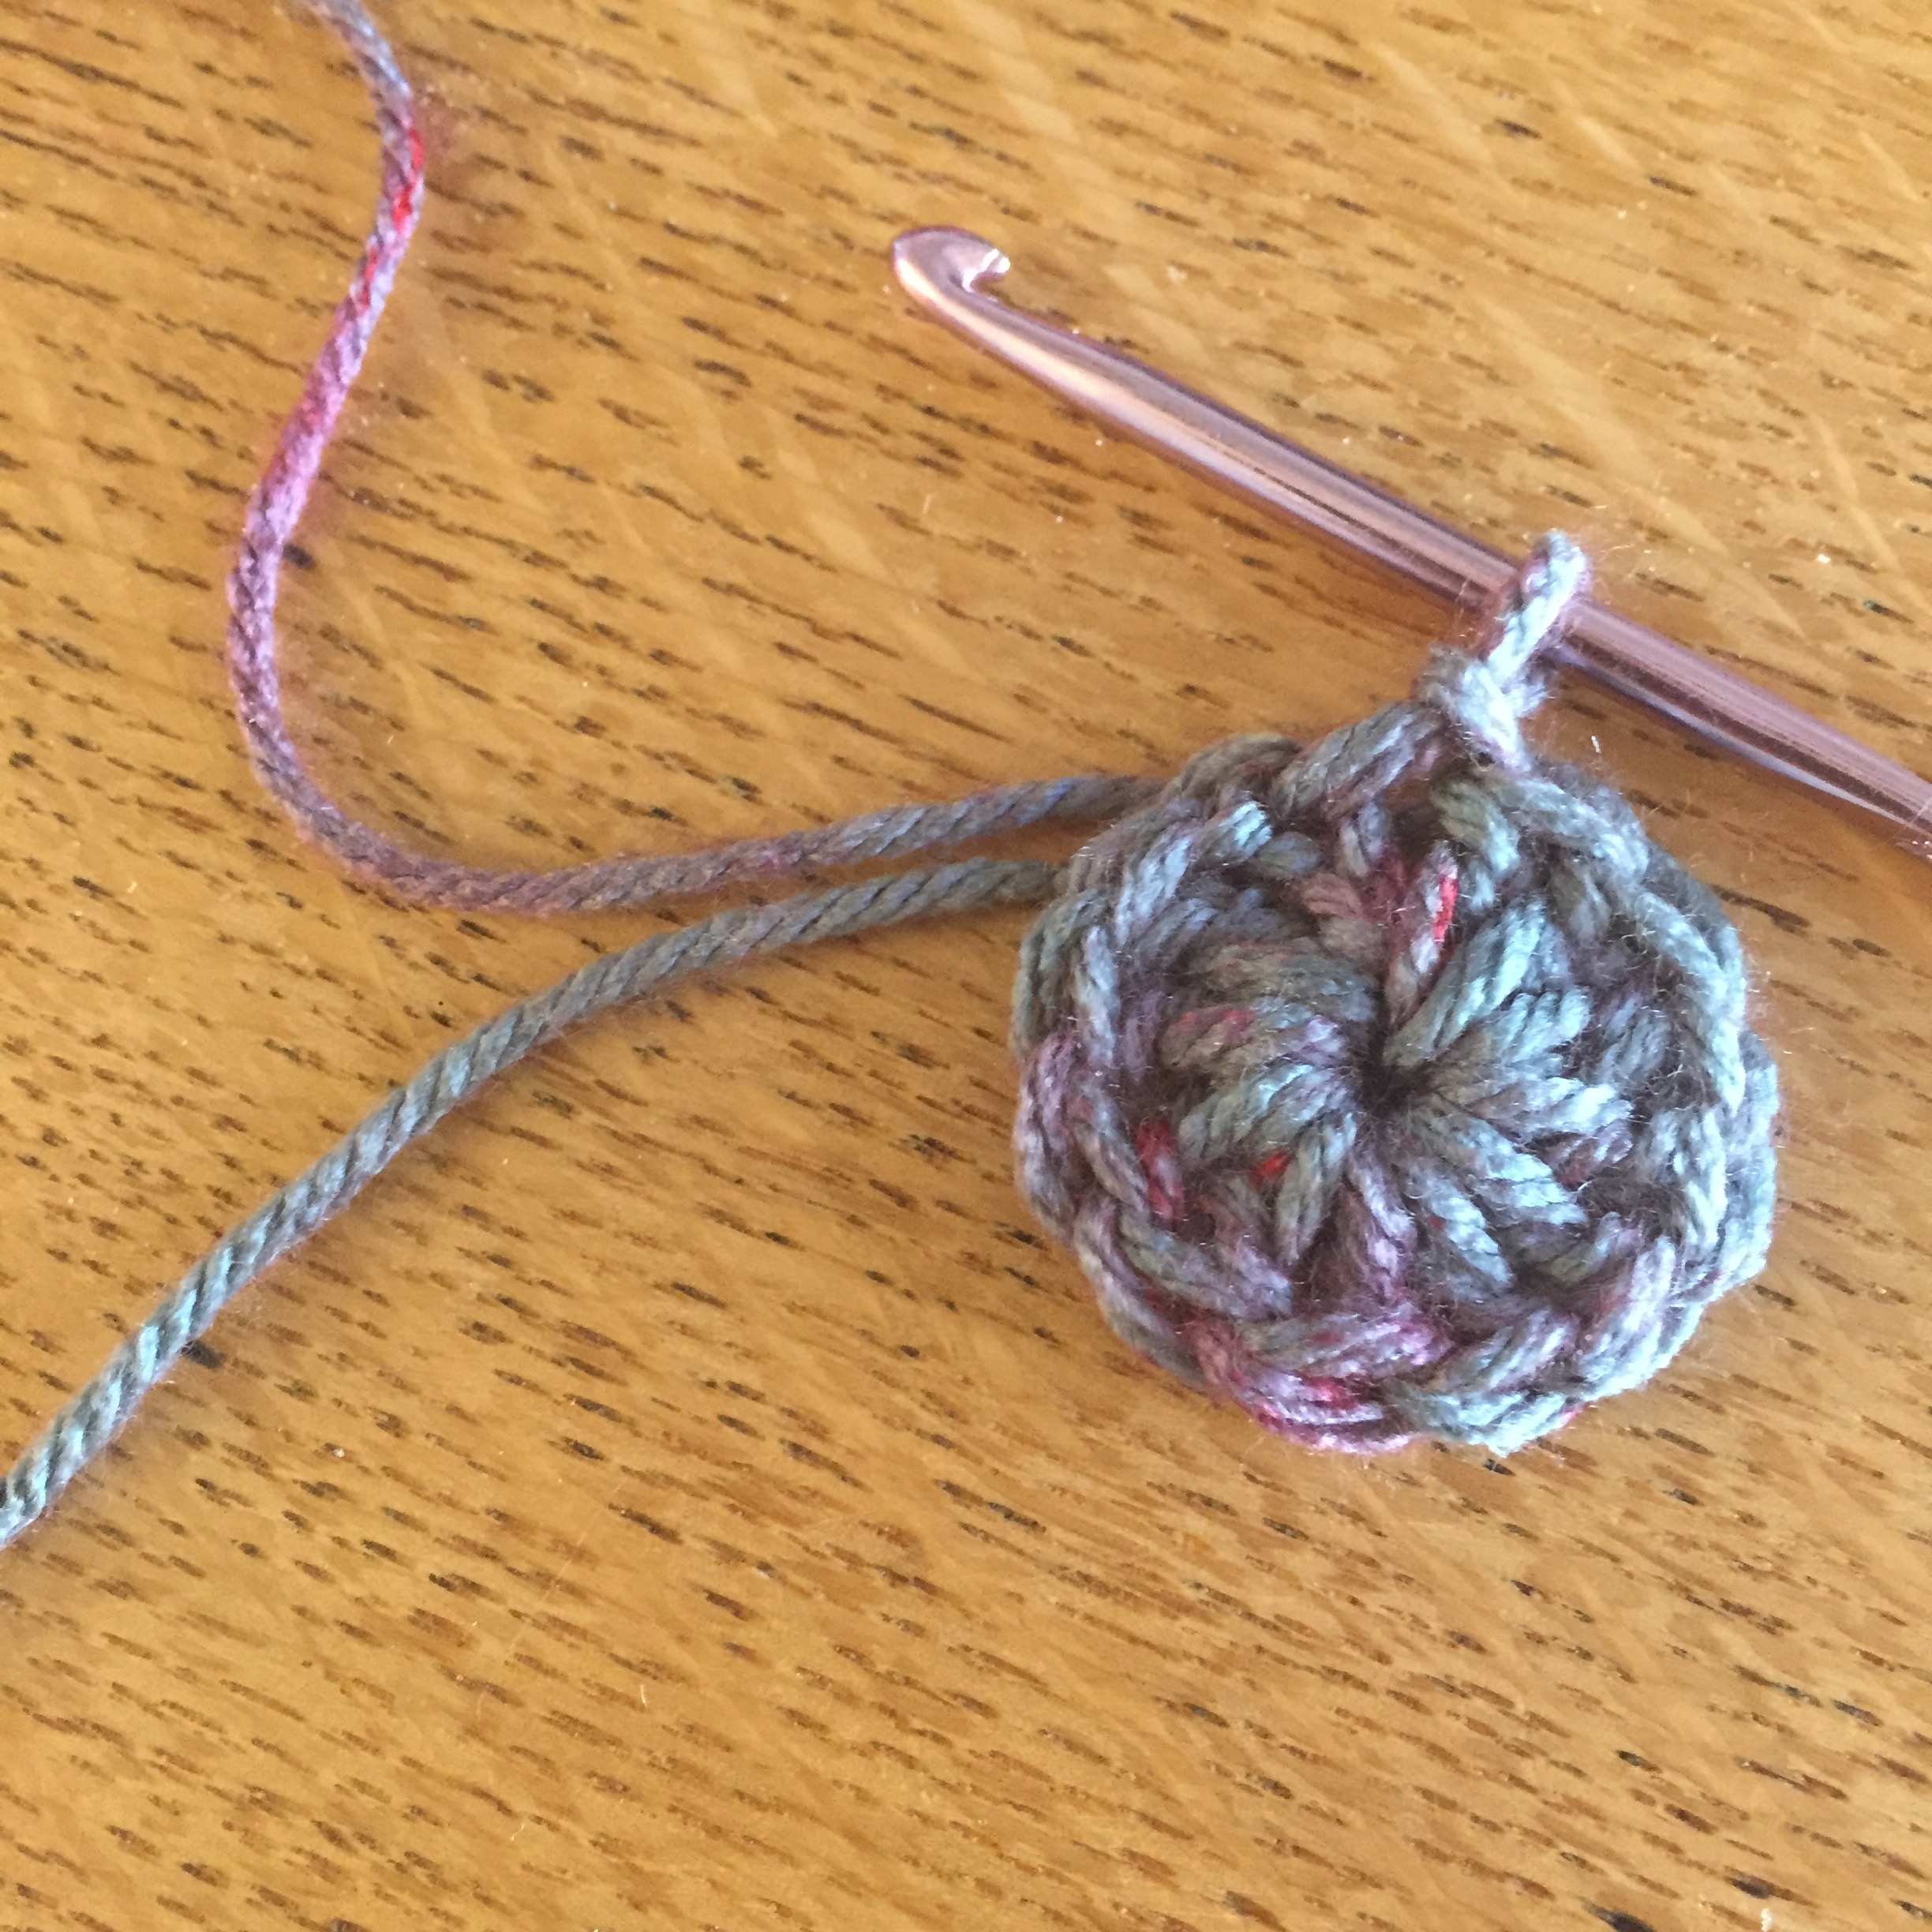
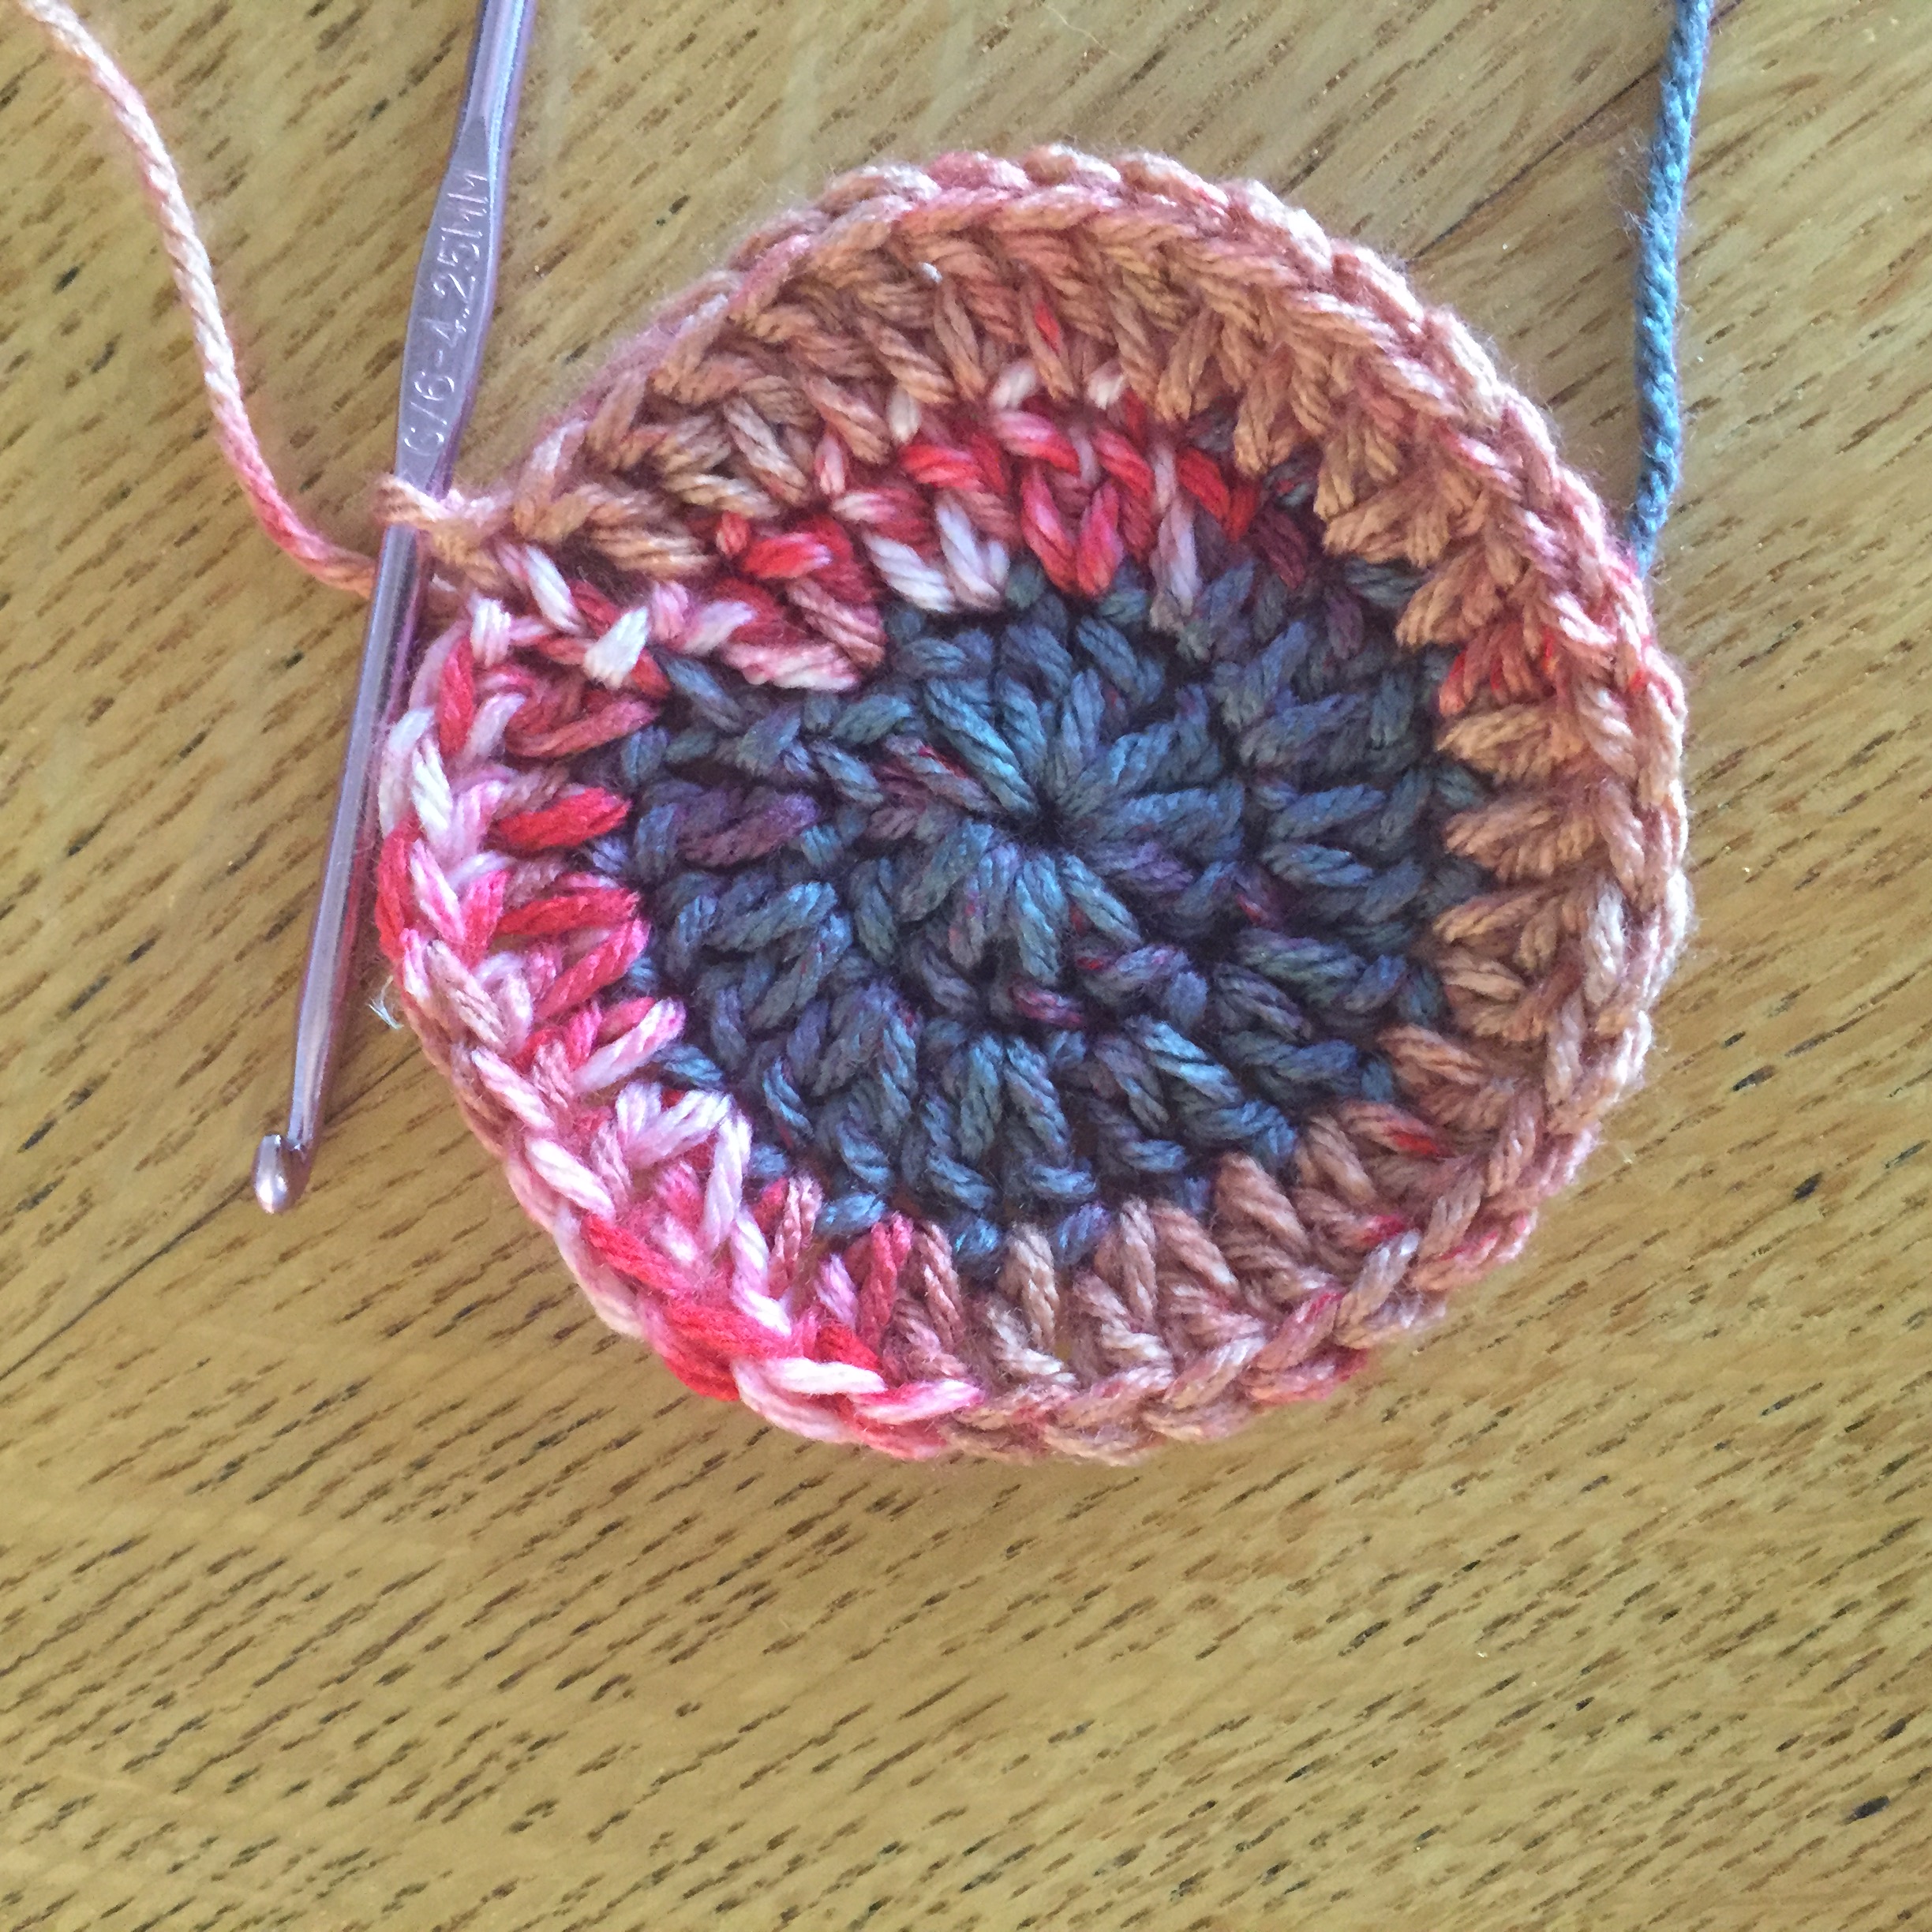
*If you need help understanding how to slip stitch to form the beginning circle and the basic idea of creating the base, I found a great video from Bella Coco, that demonstrates how to crochet a flat circle. I’ve started it at about 2 minutes in, which is where you’ll see how to slip stitch to close.


Pick up a Yarn Trail Passport ($1), shop your favorite local yarn stores, collect stamps, and enjoy small thank-you gifts along the way.
20 Responses
Thanks for this pattern. It makes bringing a bottle of wine extra special.
I absolutely love it! As a beginner, I’d like to ask you: what number crochet hook shoul I get for this?
Thank you in advance.
Hi Maria!
You’re comment inspired me to finally make the video I’ve been wanting to complete for some time. In it I explain the different hook size you might need depending on the type of yarn you are using. I hope you watch it and I hope it helps explain the pattern.
Best,
Marni
There’s a video tutorial for this particular project, then?
I found it! Thanks!
ok good! let me know if you have any questions! 🙂
This is an awesome pattern. Do you mind if we sell the item, as long as we link back to your blog?
Hi Sher! Thank you for asking and yes feel free to sell the cozies you make in exchange for a link to my blog! Good luck!
Thank you!
Thank you for this pretty wine cozy. Exactly what I have been looking for. Pattern straight-forward to follow and the video tutorial is helpful. (For Canadians U.S.A. G Hook = 4.0 mm Hook.). Cheers!
Hi Pamela, Thanks for your feedback. So glad you like the cozy pattern and I will add the 4.0 mm hook to it as well! ~ Marni
great idea for a hostess gift! Thanks, I’ll get right to it!
Easy and beautiful! Gives nice touch to simple present, something unique and personalized! Thank you
Thank you Mirjana! Glad you enjoy the pattern 🙂
So I’m getting started and already confused by row 2
Do I slip stitch to the first “DC” of the previous row, to finish the round?
Hi Lauren,
I have updated the pattern on this post to include the “slip stitch to first DC” at the end of every row for the base. And found a really good demon from Bella Coco on how to do this. I think you’ll understand it better. Let me know! Thanks.
Marni, thank you for sharing your pattern! this pattern was easy and a great tutorial. Karen
You’re so welcome!
Thanks so much! I found the pattern to be very easy!
You’re welcome! Thanks for commenting!