When asked if I could make knitted golf club covers for someone, I immediately jumped. I had knit some years ago for my Dad (in USMC colors), and I was glad to have the opportunity to knit them again. It’s not often you find a knitting project that a guy will like and use!
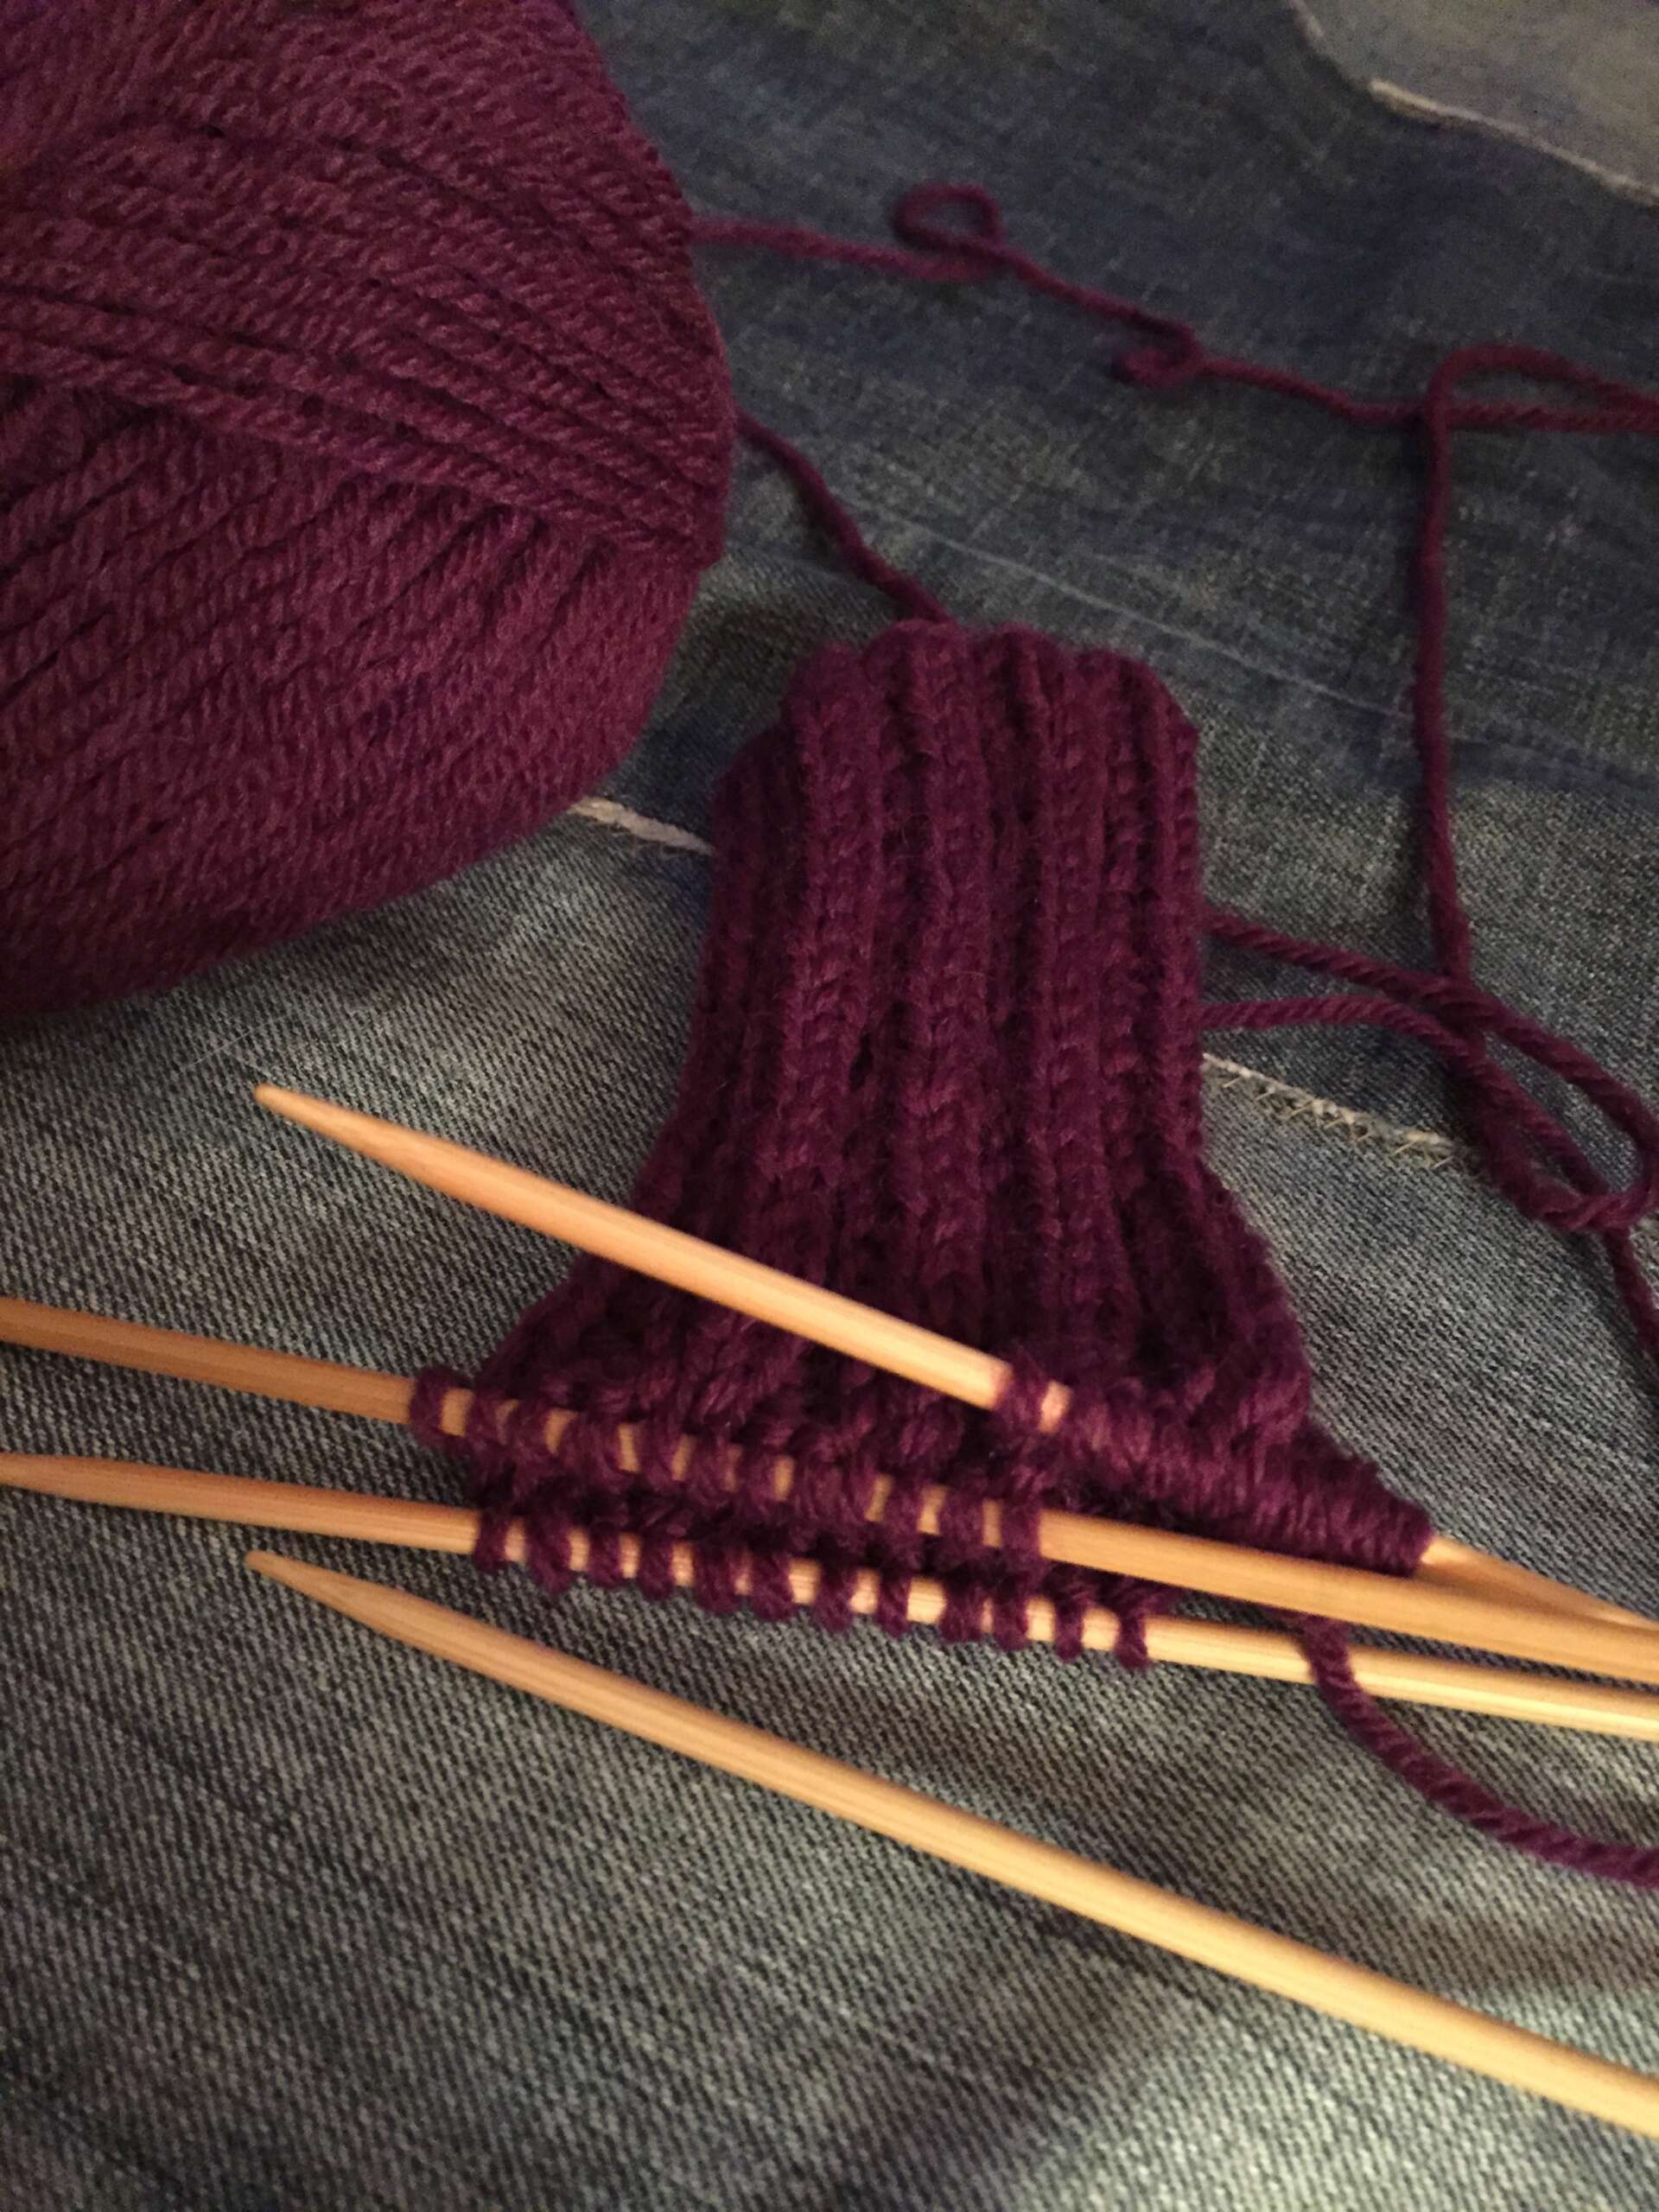
I dug up my old pattern, but this time, I modified it using stripes to designate the number of the wood in the desired school colors (UMHB) for the golfer / ex-football alumni. The pattern consists of ribbing for the shaft, an increase row, and stockinette stitch for the body (with stripes along the way), then a row to decrease at the end and gather the stitches with a needle to close. Of course, the fun part is making pompoms!

Download the PDF of the original “made by marni” free knitting pattern here: mbm_HandKnitGolfClubCovers
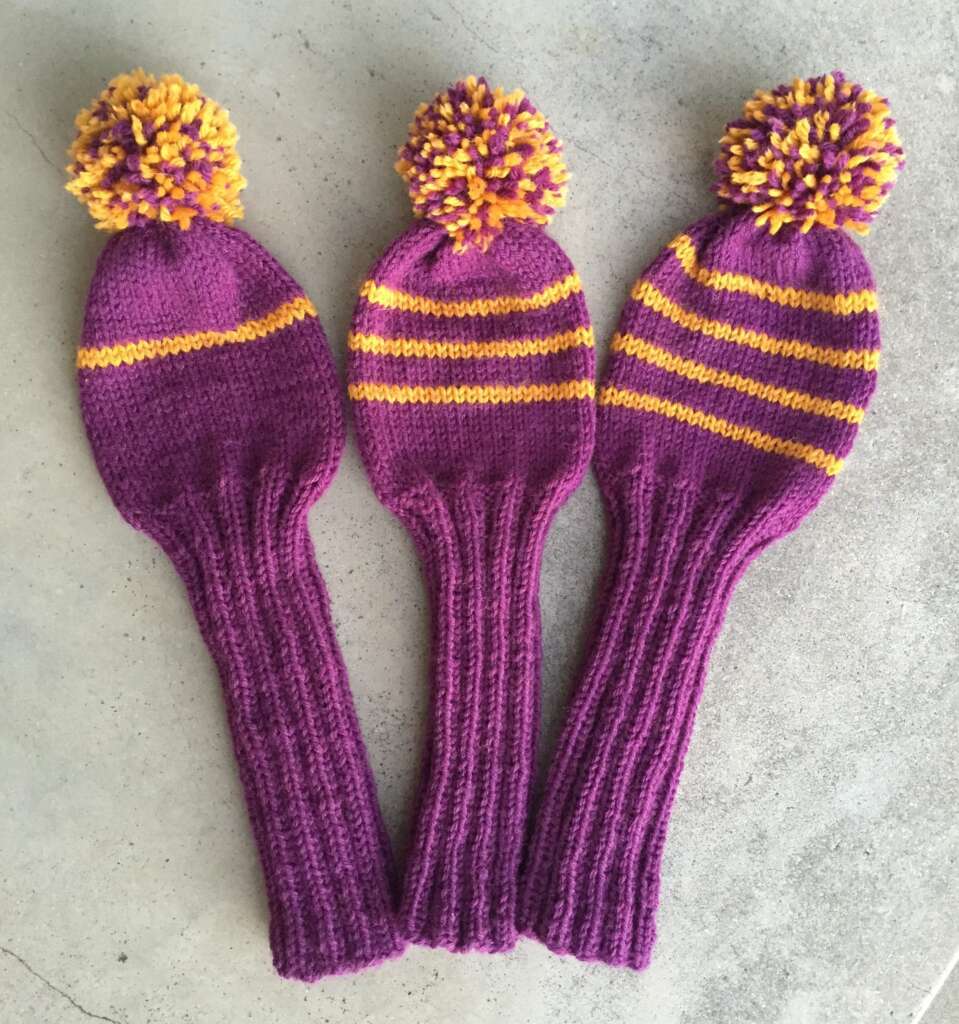
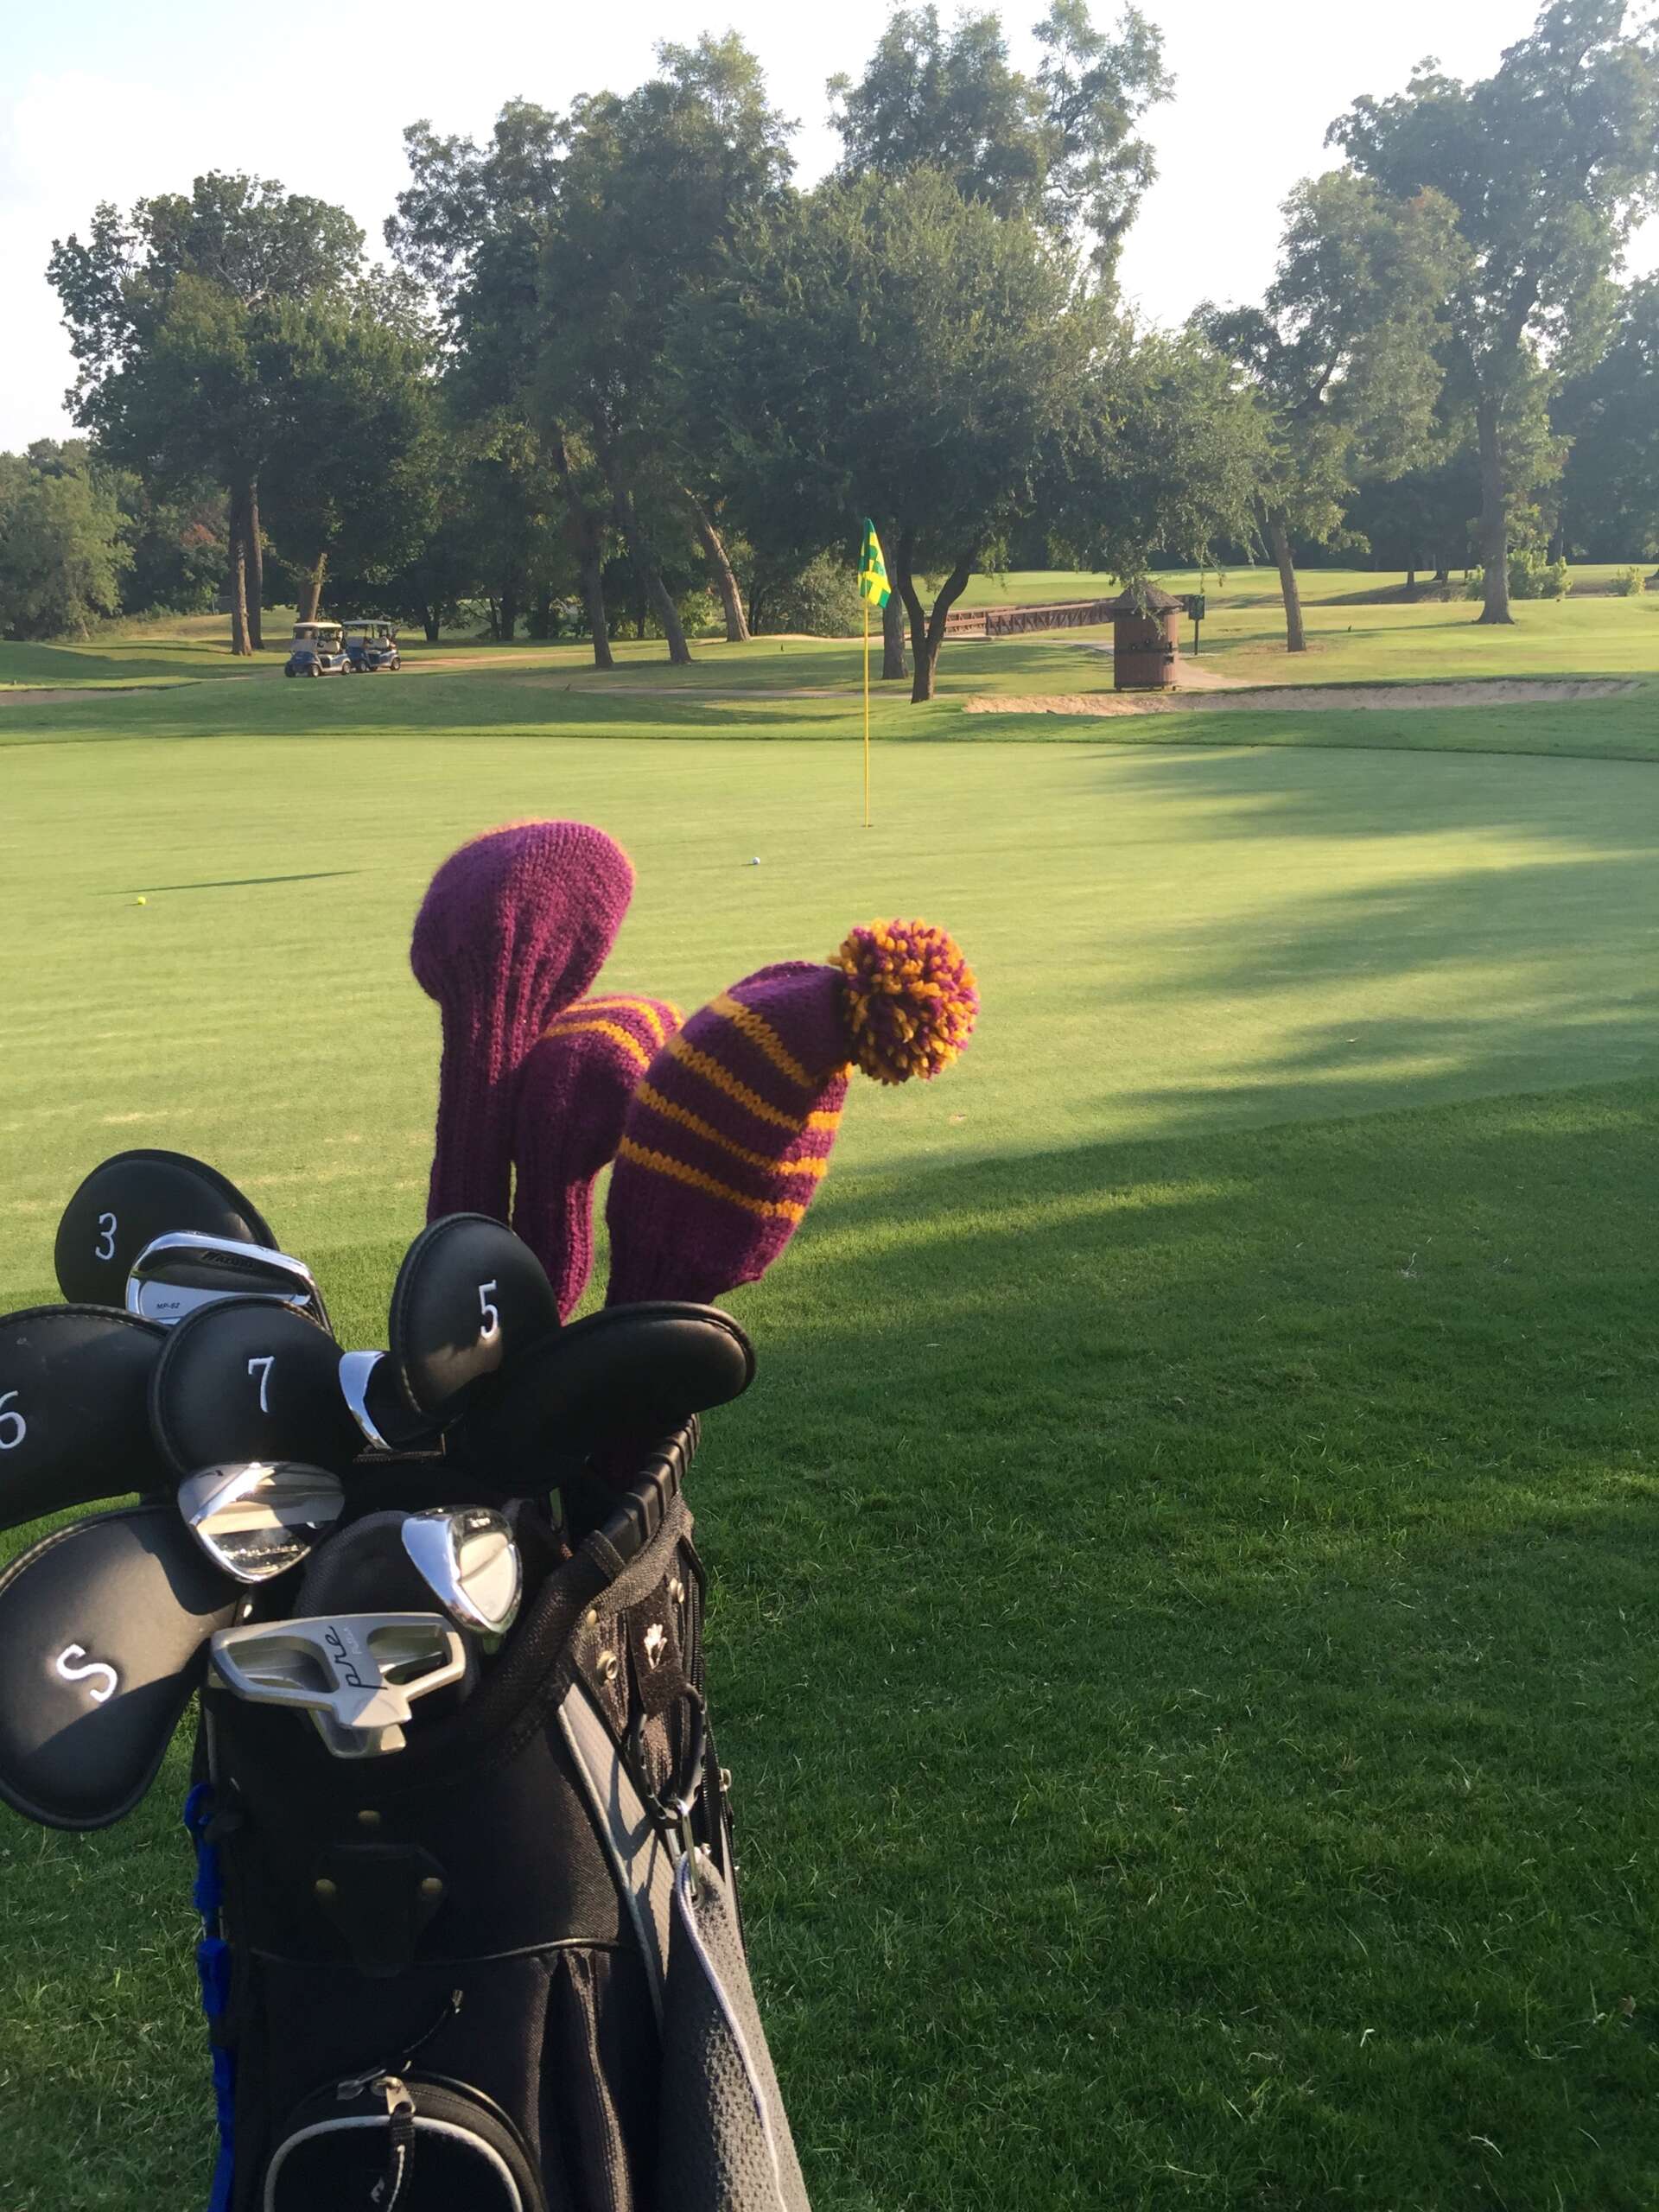
Here is my knitted pattern for golf club covers.
I made three, one for each golf club – numbers 1, 3, and 4.
Here is the increase broken down across the 3 needles:
Needle 1: K K(+1) P P K K(+1) P P K K(+1) P P
Needle 2: K K(+1) P P K K(+1) P P K K(+1) P P
Needle 3: K K(+1) P P K K(+1) P P K K(+1) P P
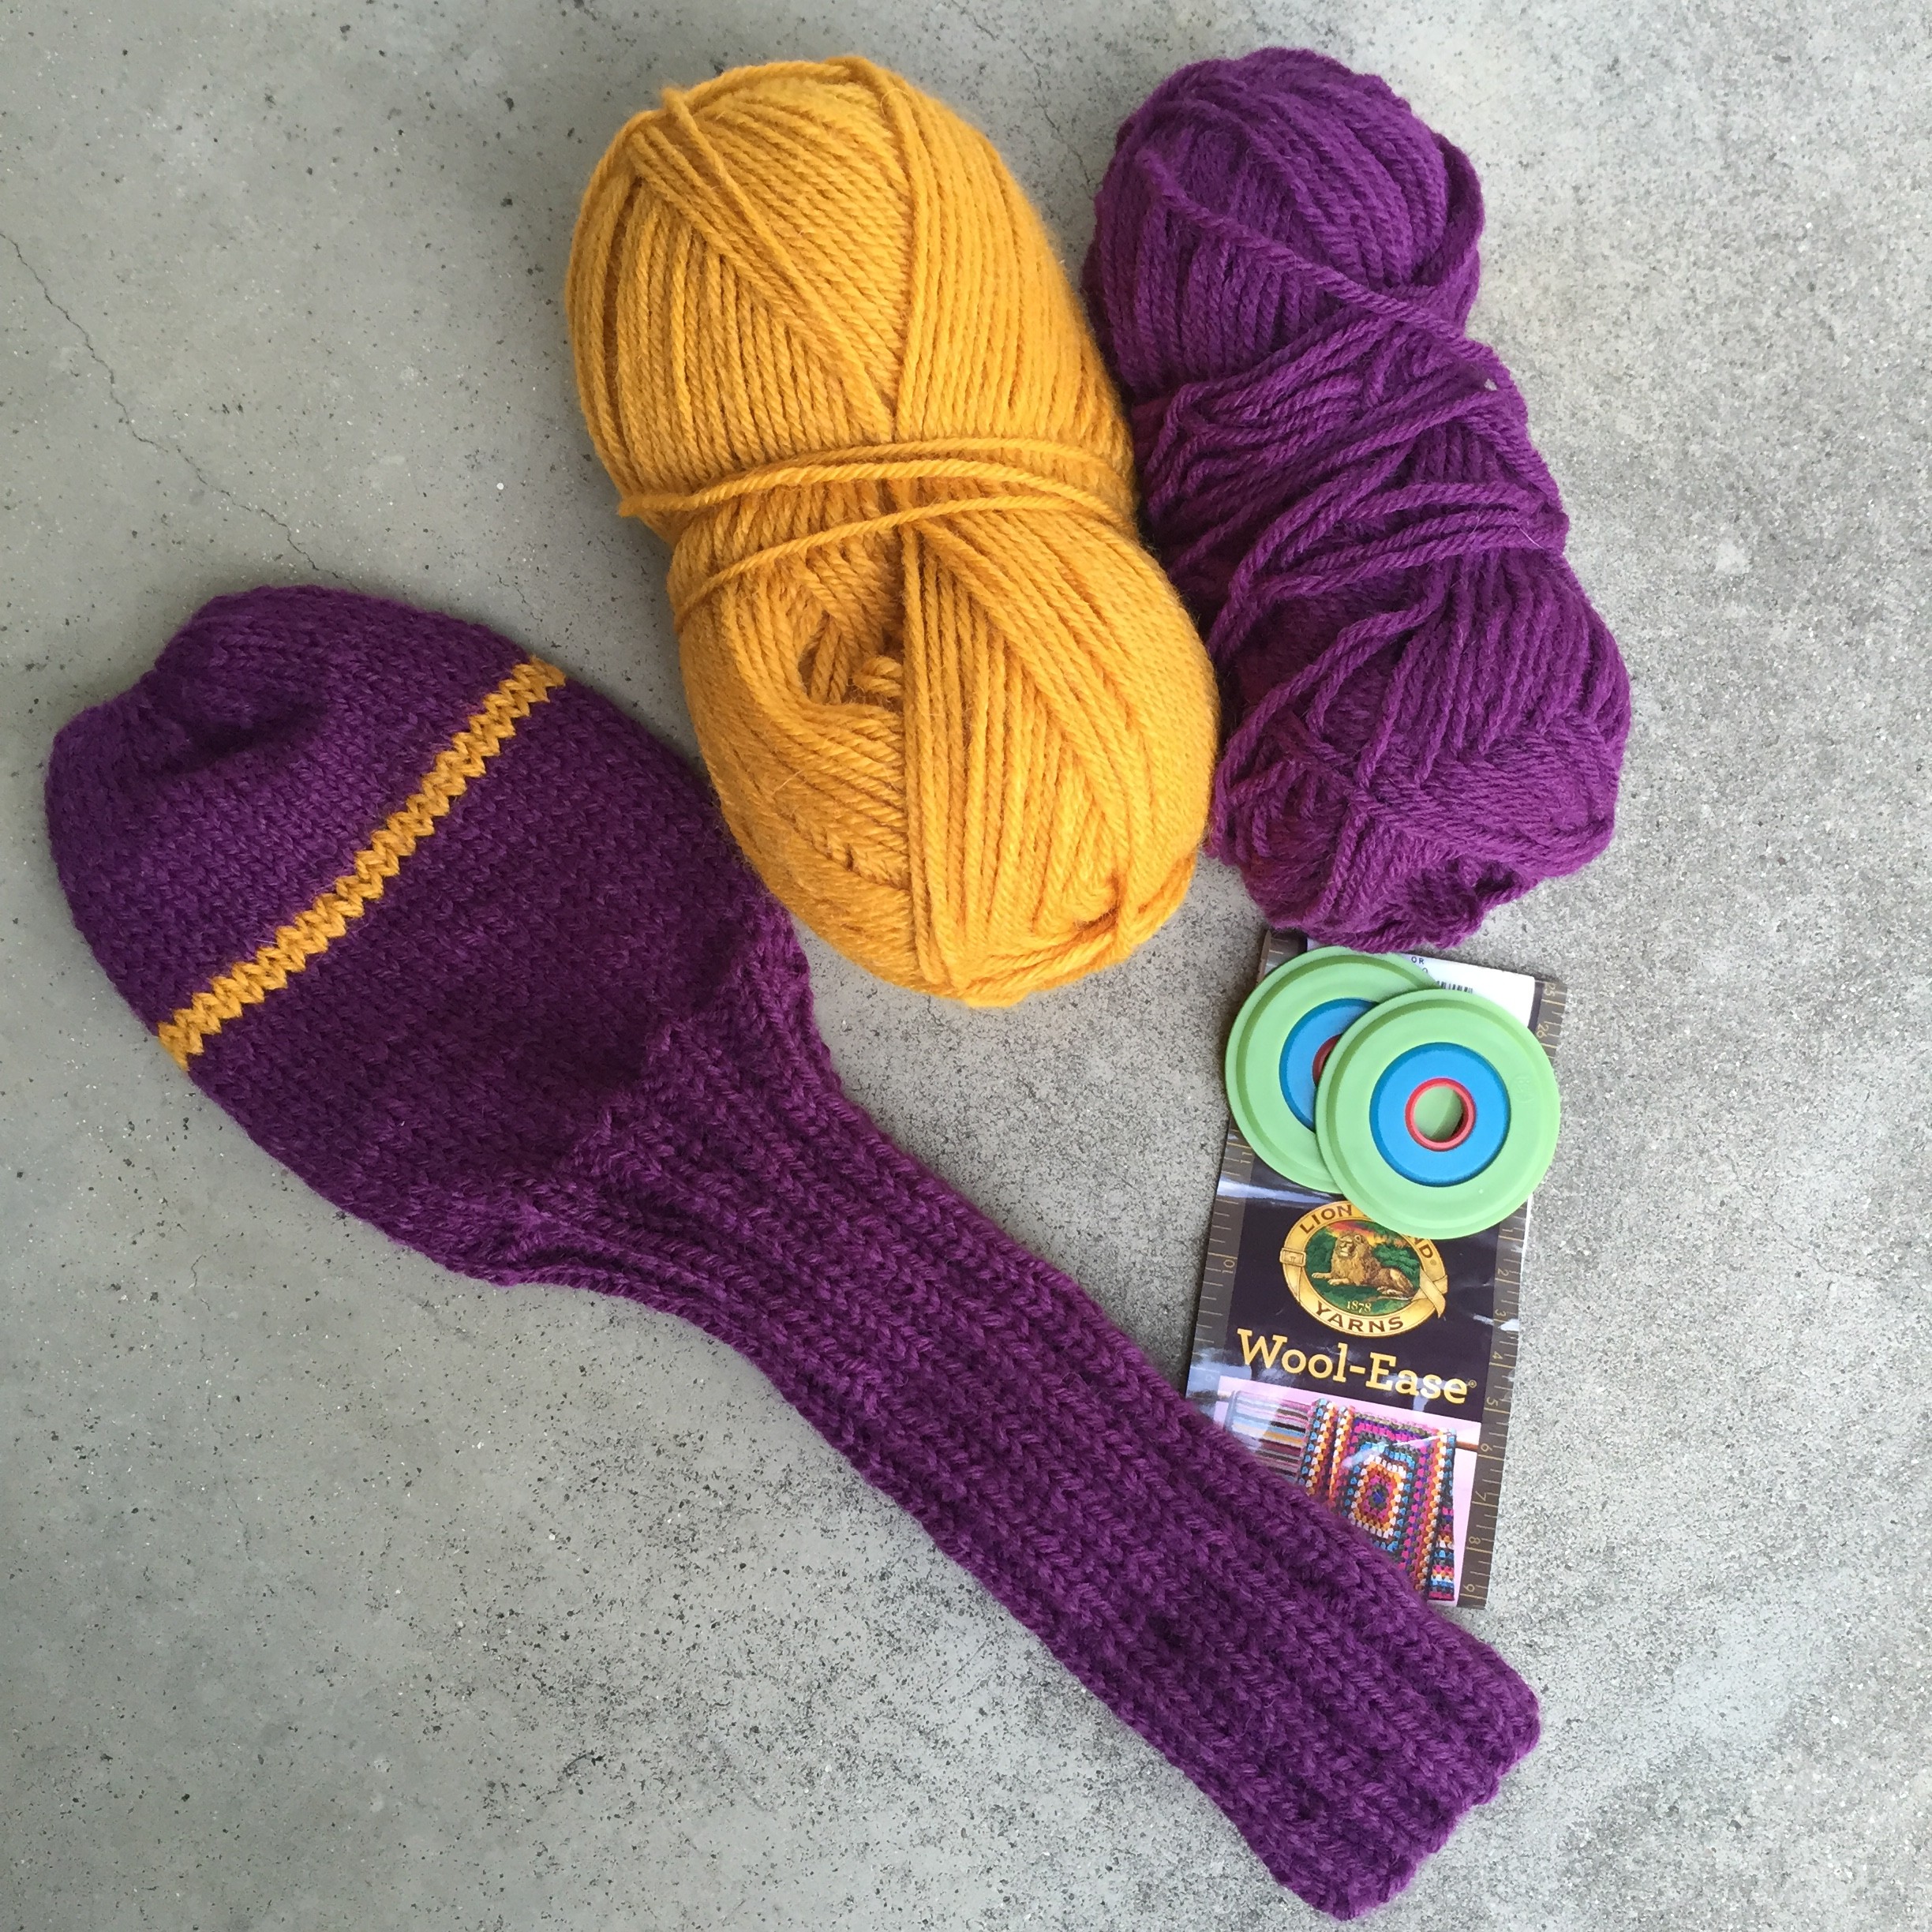
Main body.
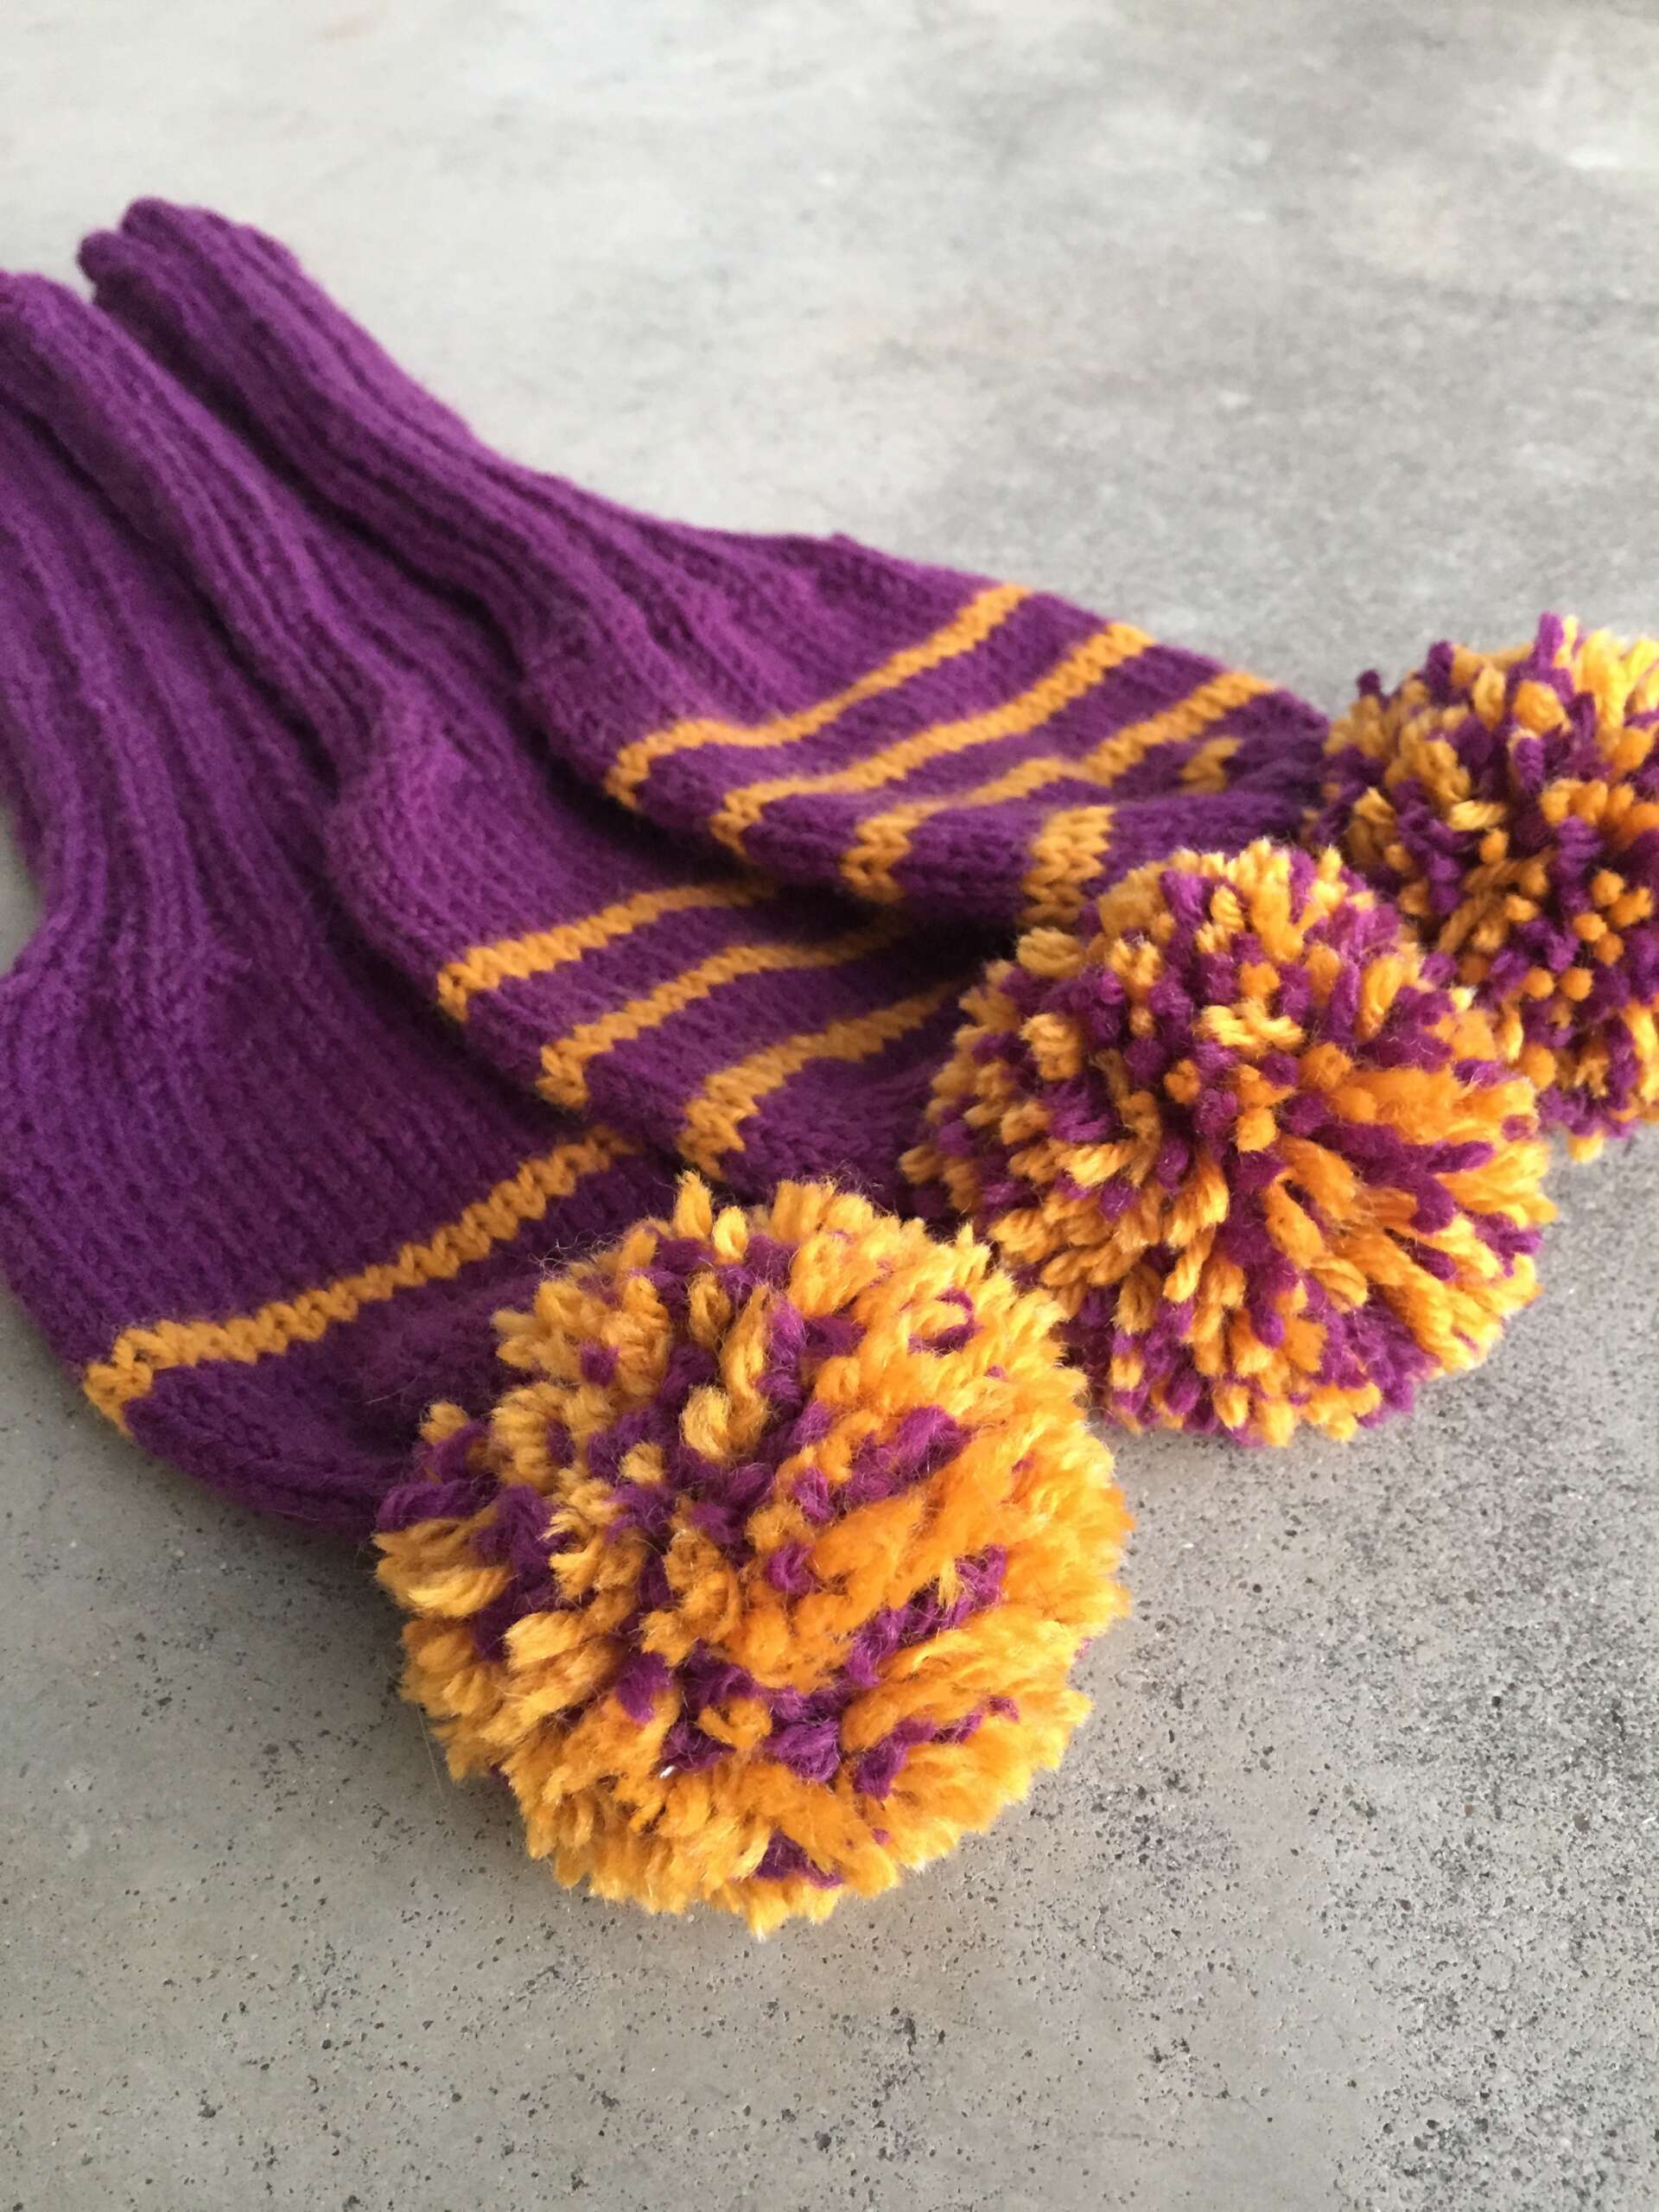
Pompoms.
I used both colors in my pompons, but you could choose to use just the second color. The instructions for making these can be found online. There are quite a few videos that show how to make pompoms using your own cut-out pieces of cardboard, which is what I did following this video: DROPS Pompom Technique
All patterns provided by Marni Reecer @theyarnyway are copyrighted. While the patterns are free for personal use, they may not be redistributed, shared, or sold in any form. You are welcome to sell finished products made using these patterns, but please credit Marni Reecer @theyarnyway as the designer. Thank you for respecting my work and supporting creative integrity!
20 Responses
Dear Marni
Hope you can help me! I am working on the first golf club cover . just finished the two rows of alternate colour stripe. Next row says to k2tog around to 23 sts. and finish off as directed.
The photo shows several more rows to knit before finishing. Can you tell me how many more rows to knit before casting off. Thank you!
Hi June! Thanks for your comment! The stripes are worked “along the way” which means throughout the body. You end on the 35th row. The 36th row is where you K2 together and repeat around for a total of 23 stitches. Then you cut your yarn and pull it through all the stitches to close the cover at the top. Hope this helps! ~ Marni
Hi Marni
Thank you so much for your help! I understand now!! Thank you also for responding so quickly . –June.
Hello!
Your golf club covers look absolutely fantastic! I was wondering if you could make some for my Driver, Utility, 3 Wood + 5 Wood. I of course will pay you but I’m in need of the covers in lime green with the pom pom of course.
Jackson Zakrewski
Thank you! How did you find them? I just reactivated the listing in my Etsy store. I’m not sure I can find lime green… but I can try. Would you want the stripes to be white? https://www.etsy.com/listing/257638945/knitted-golf-club-covers
Does anyone have animal patterns for golf club heads? I have been asked if I could make some in style of a panda
I found some by searching Ravelry for “animal golf club covers” – that would be my best suggestion 🙂
can you show how to do finishing on golf club head covers. The pattern I used was done with size 9 and 10 needles rather than the double needles. I’m a real beginner
When you come to the final row you cut a long tail of yarn, us this to thread a large needle and starting with the first stitch (not the one you just finished) put the needle through all stitches and pull, this gathers them all to the top, where the pompom goes. I don’t have a video of myself doing this. Does that make sense? If not I can try and create a video for you.
I need help Making the golf club covers got to row 18 and did 2 rows of other color then cannot find how to dec the rest the top part very confused!!!
Hi Sally, no matter how many stripes you need, the decreasing will start on the 36th row as per the pattern. So for the cover that has only one stripe, the stripe is made on th 18th and 19th row, then continue knitting in the main color until the 35th row… and then the decreasing starts. Does that answer your question?
Hi !Marni
The Golf clubs look amazing. Love the colours u have used.
The pattern looks pretty simple though its going to be my 1st ever try to impress my Golf crazy hubby Could you tell me if i could use circular needles for this. Never worked on DPN’s and im a bit anxious. Ive knitted hats so looks like its the same idea. Thanks
Jayanthi Prasad
Hi Jayanthi,
I suppose you could use circular needles using the Magic Loop Method https://www.youtube.com/watch?v=IdSpc0EZpnk yes!
Good luck!
Marni
What is the yardage needed for the two skeins of the same color?
And, can you send a pattern for a number 6 club please?
There are several types and weights of Lion Brand Wool-Ease yarn. Which one did you use for the golf club covers?
Hi Pat,
I have an Amazon link in this post for the kind of Wool-ease yarn I used: http://amzn.to/1LeTkFh. I am stocking Lion Brand yarn here at The Yarny Way, but no Wool-Ease (yet!). That said I do have Cascade Yarns Worsted weight Cascade 220 which would work as well. https://theyarnyway.com/product/cascade-220/
Thanks!
It looks like you made all club covers the same size ? I am making them for a 1, 3, and 5 club but all of them are different circumferences around at widest point on the golf club head. Best way to increase the size ? Or other suggestions to have them fit correctly?
Great question—and you’re absolutely right that different clubs have different head circumferences.
In my original sample, I used the same stitch counts for all covers and relied on stretch + depth rather than separate sizes. The ribbing and wool-blend yarn have a lot of give, which allows the covers to comfortably fit a range of club heads. That said, adjusting the circumference is very easy if you prefer a more tailored fit.
Here are two good options:
Option 1: Add stitches at the transition (easiest)
Keep the ribbing exactly the same.
On the last rib row (where the pattern already increases from 36 to 45 sts), simply add more increases:
+12 sts instead of +9 for slightly larger heads
+15 sts for very large drivers
Just make sure your total stitch count stays divisible by 3 so it works evenly on DPNs.
Option 2: Cast on more stitches from the start
For larger clubs, you can cast on:
40 sts (instead of 36) for fairway woods
44 sts for drivers
Work the ribbing the same way, then increase proportionally before the stockinette section.
Helpful tip:
If you’re unsure, slide the work onto the club after finishing the ribbing. If it stretches comfortably over the widest part of the head, you’re good to go before continuing.
This pattern is meant to be flexible and forgiving—golf clubs vary, and handmade covers don’t need to be one-size-fits-all to work beautifully.
Happy knitting! ⛳
how much yarn do you use per?
in grams please!!
Hi Lexie! In my original pattern I used 3 skeins of Lion Brand Wool-Ease (100g each). A worsted weight yarn. One for the stripes, the other for the main color. Hope this helps! Marni