
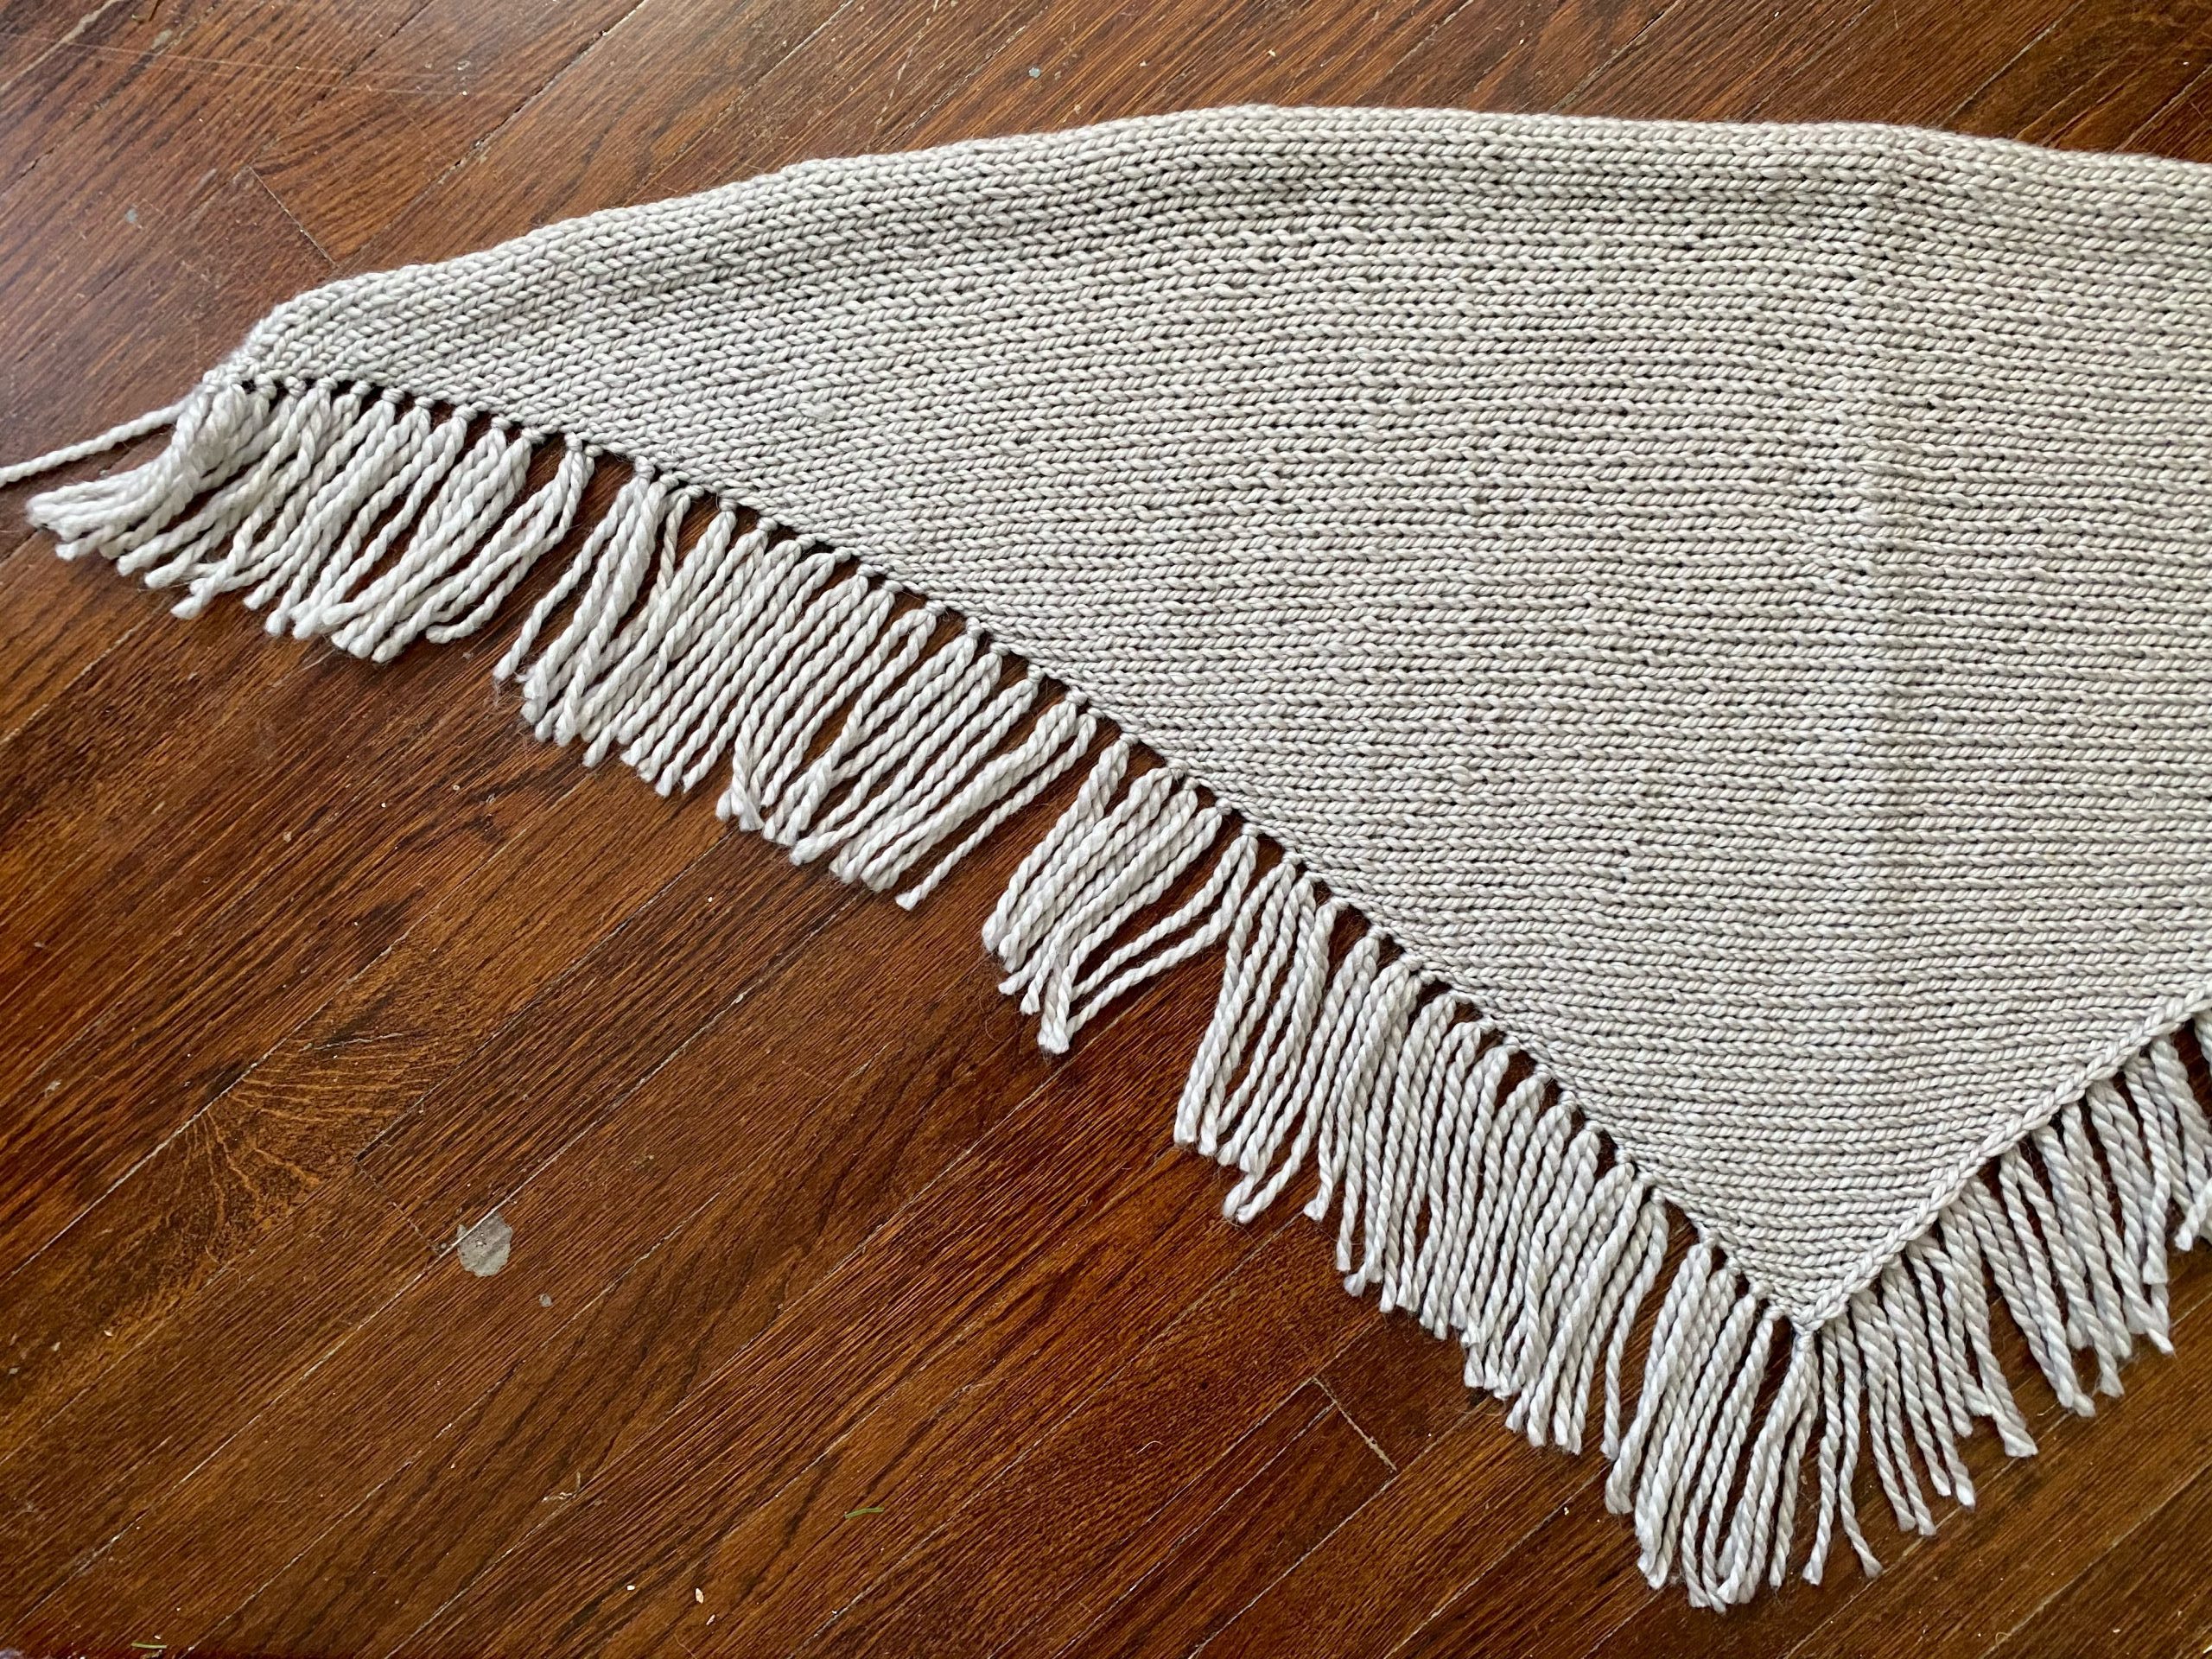
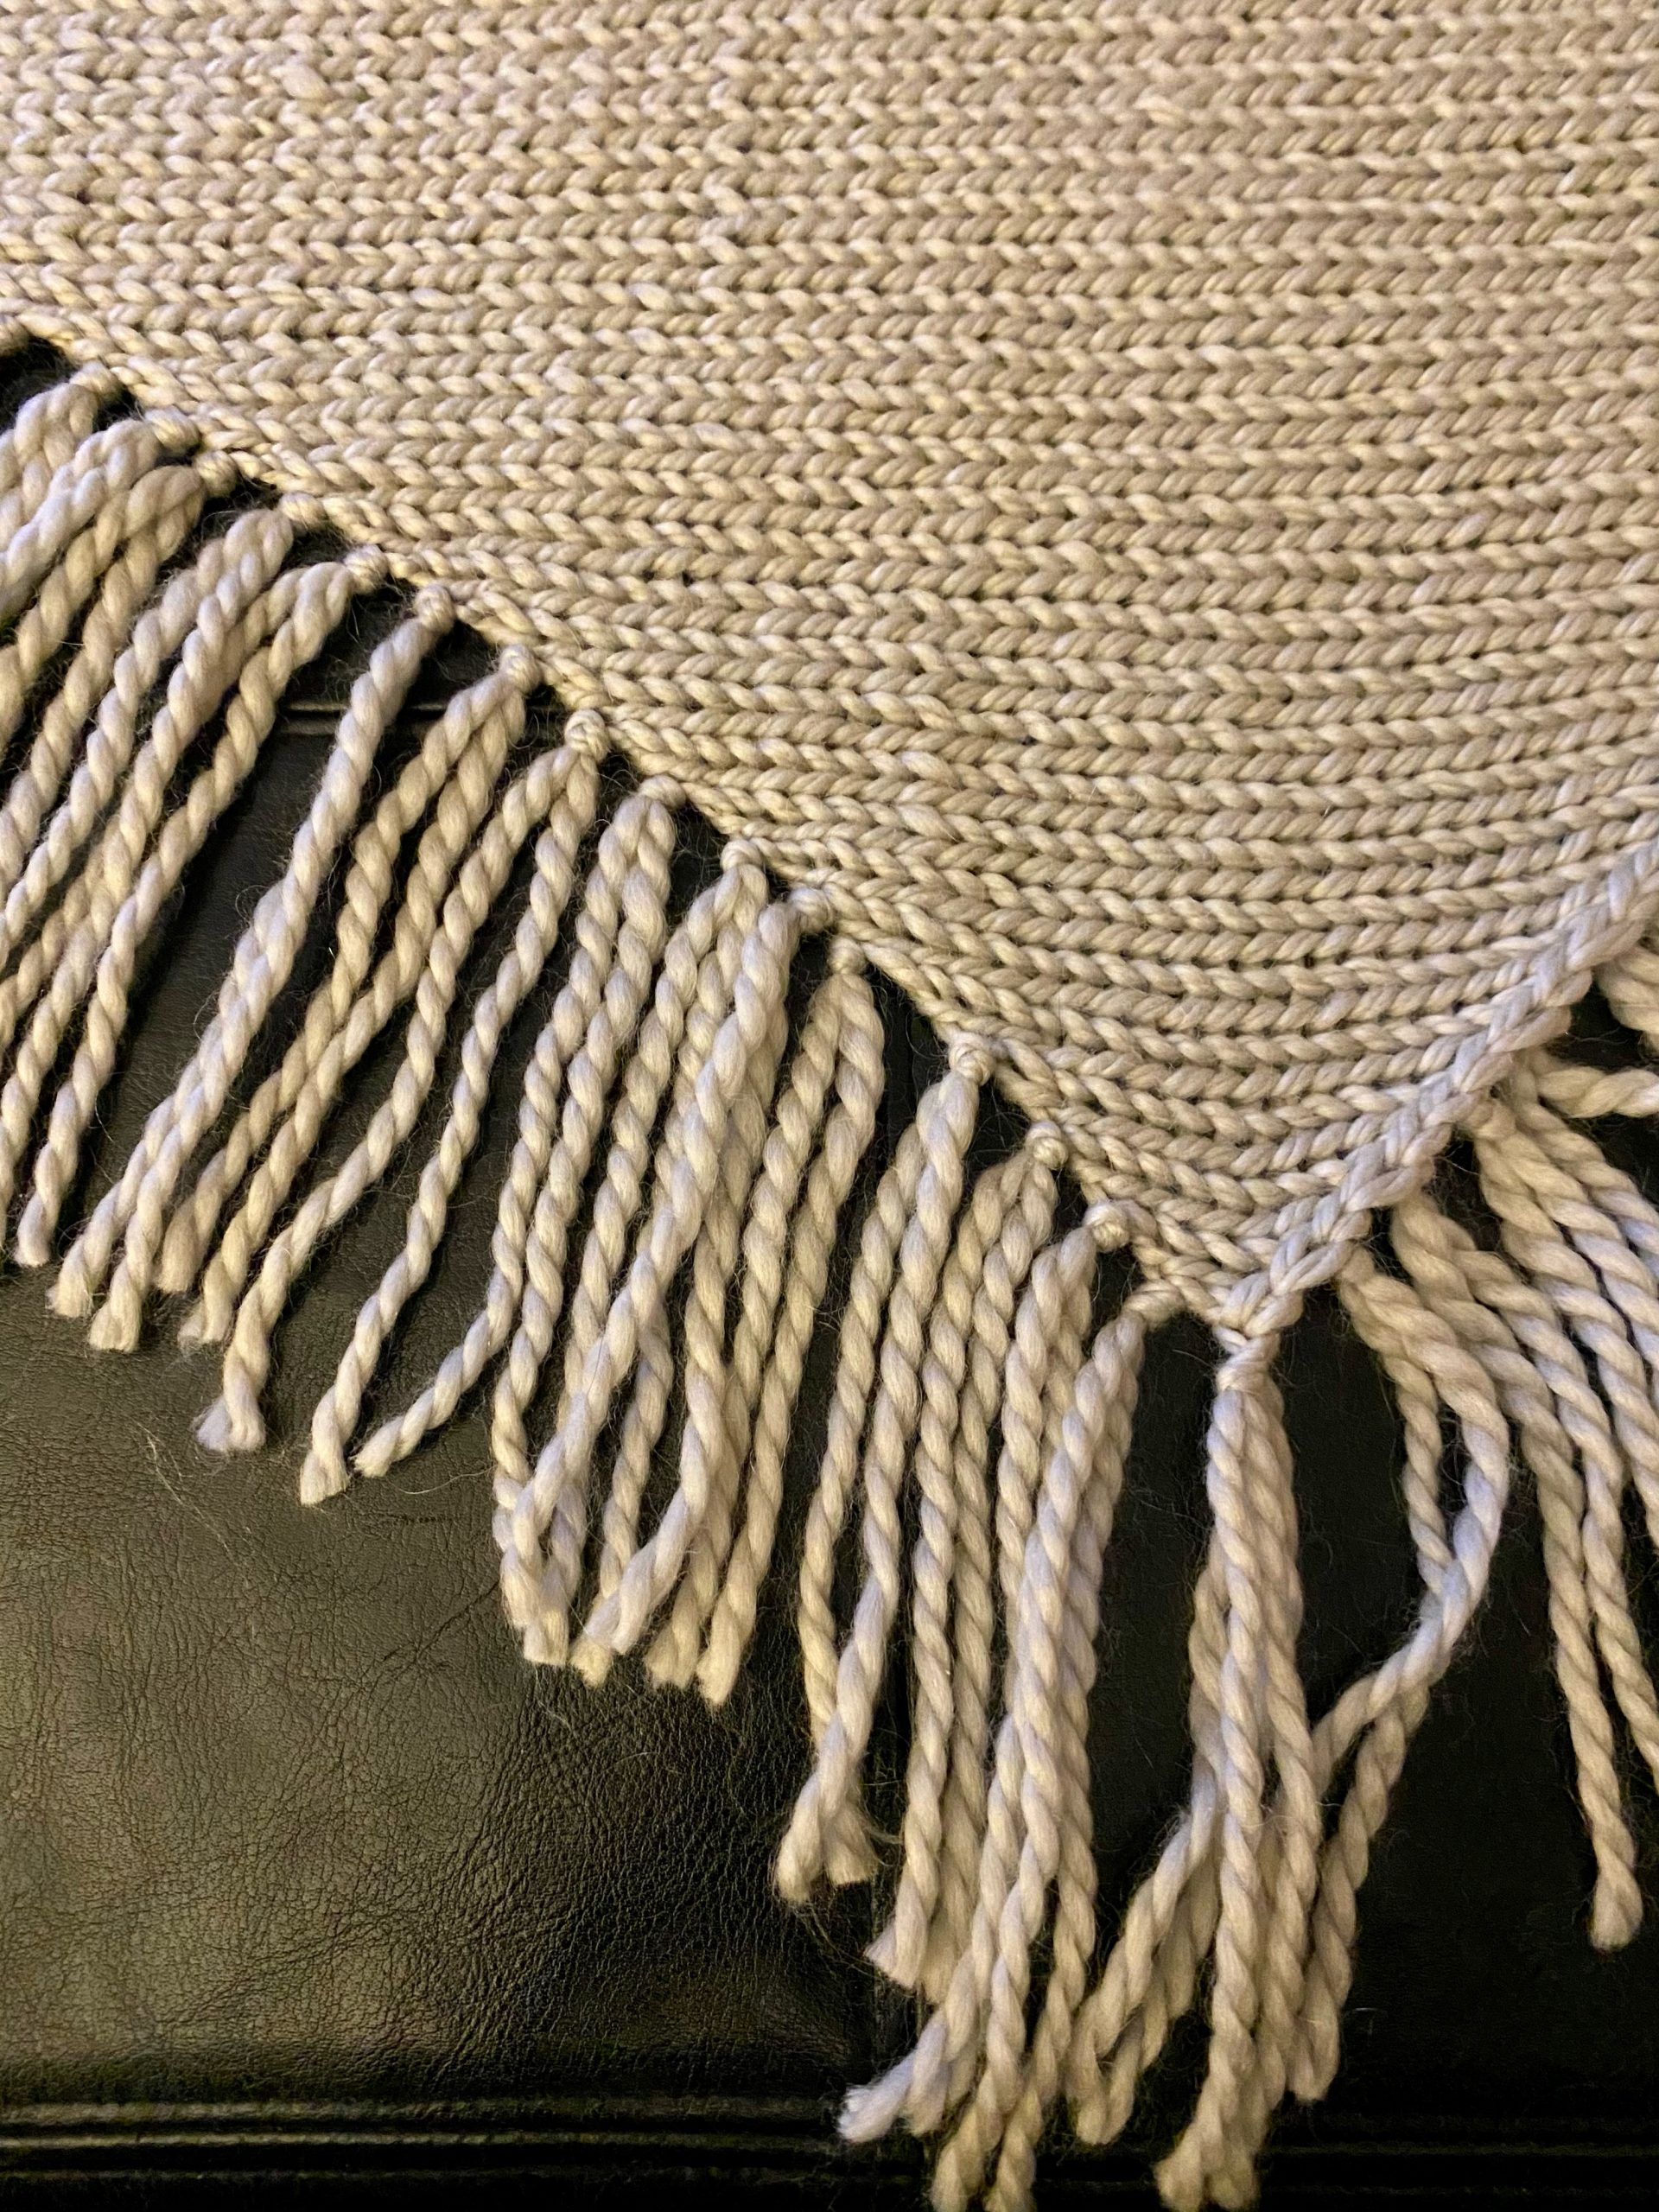
A super simple and gorgeous free knitting pattern that features a self-fringing edge. What?!
I had 2 skeins of Audine Wools Haze in “Penumbra” that equaled about 240 yards and so I explored my resources online and found this very simple knitting pattern from a designer on Ravelry who appears to have left her blog/website but I do want to give her credit for the Self-Fringing Shawl pattern she published there. I know I’m not the only one who has found this to be a crazy good, simple pattern!
Obviously the more yarn you have the bigger you can go, but in this case, two skeins gave me enough to create a smaller triangular shawl that can be worn around the neck or over the shoulders. So I got to work and in just about 6 hours it was ready for blocking!
What I love about this knitting pattern is that by dividing the yarn you have in half you will have exactly the right amount! No guessing! So yes, I love that you can have two skeins and know that you will use up every bit for this piece. Or go big and use 4 skeins! Go crazy. Explore other yarns, any weight, other colorways, etc., the possibilities are endless and you have a relaxing, destressing project you can take anywhere and memorize by heart…. pour your thoughts and feelings into it, and give it to someone special, which includes you!
Simply beautiful…

by Amberly Frost on Ravelry
I’ve taken the liberty to rewrite her pattern here and add my notes and descriptions to it. Enjoy!
CO=cast on, RS=Right side, WS=Wrong side, K=knit, P=purl, PM=place marker, BO=bind off.
Step 1: CO 6
Step 2: (RS) K6
Step 3: (WS) P6
Step 4: (RS) K4, PM, M1, K to end (Note: I chose to pick up the bar in between the 4th and 5th stitches and knit it, but you could also K1 in front and back of the 5th stitch to make a stitch.)
Step 5: (WS) P
Step 6: Repeat steps 4 & 5. Continue until the first hank is completed, attach and begin the second hank. (How easy is THAT?)
Step 7: (RS) K4, PM, K2tog, K to end.
Step 8: (WS) P
Step 9: Repeat steps 7 & 8 until 6 sts remain. Ending with step 7.
Step 10: BO the first stitch on the WS, cut yarn, and pull the tail through the remaining stitch. You will still have 4 live (unworked) stitches on the needle.
Step 11: Drop the remaining 4 stitches and unravel the fringe.
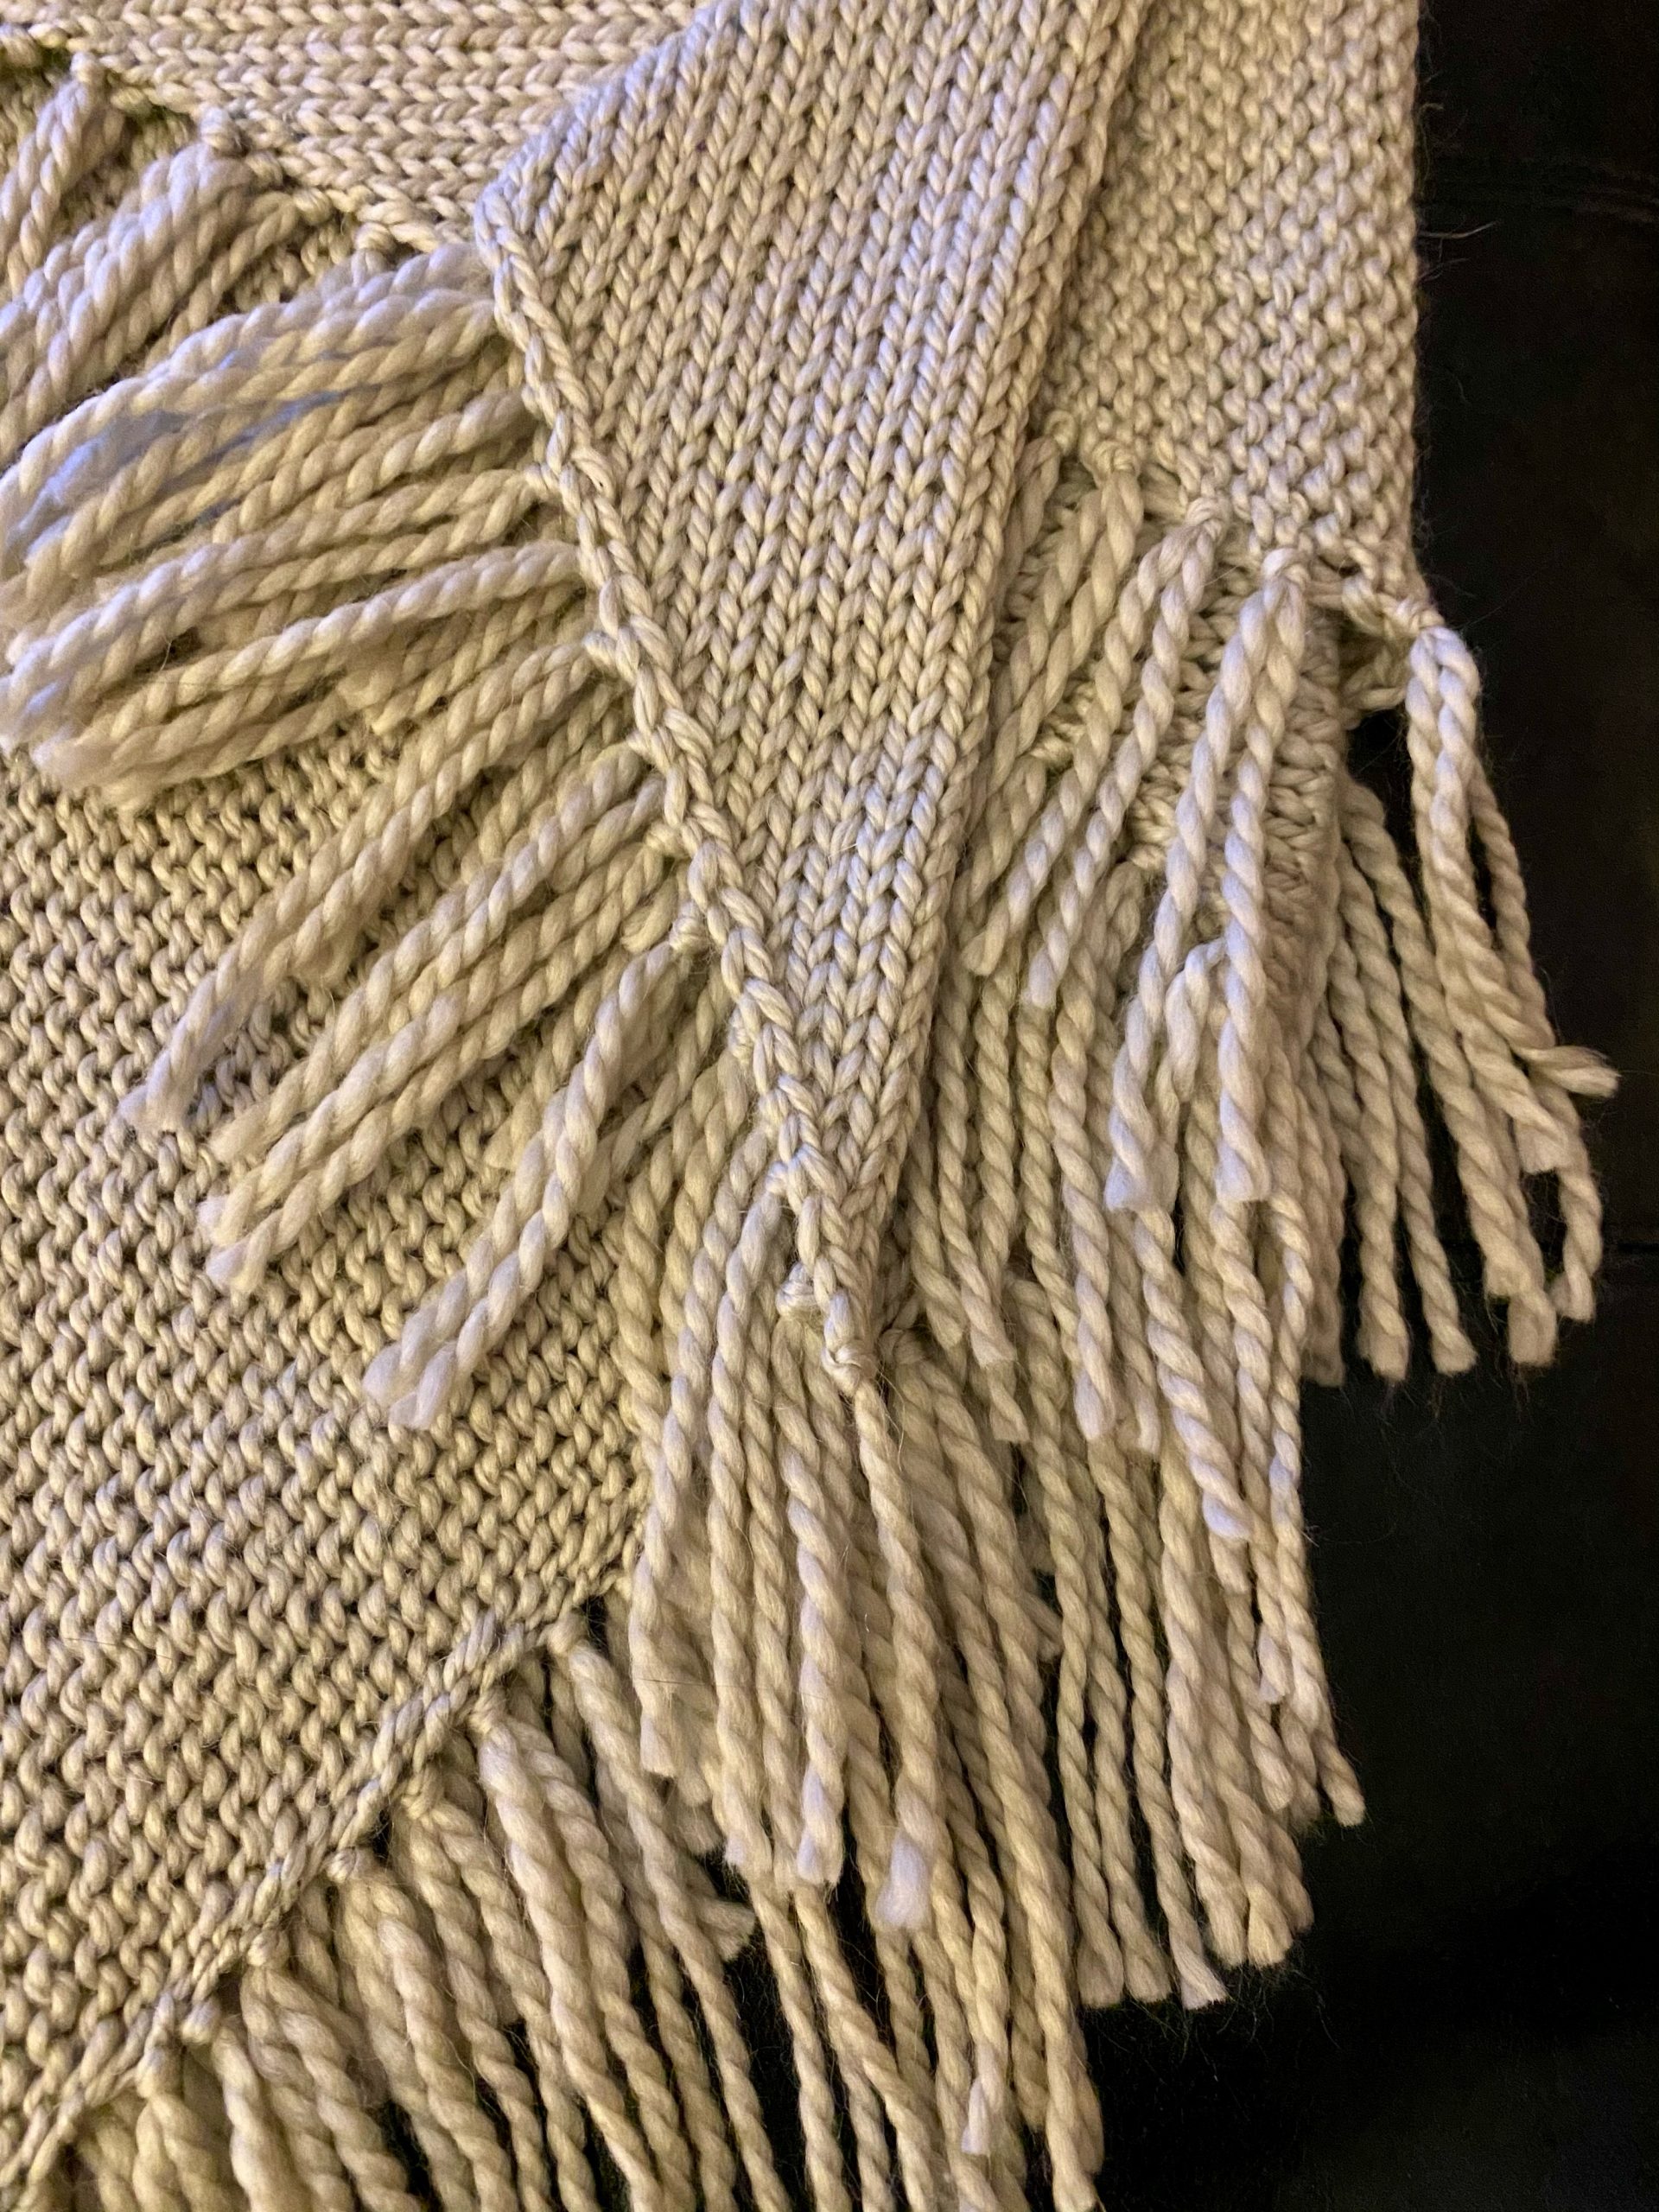
Marni Notes: I knit every last stitch in an attempt to have the straight edge look nice and uniform. But frankly, I don’t think it made that much of a difference. I thought about eventually adding another yarn from my stash to the straight edge for a border and making it look more “finished” but as of the time of adding this blog post, I have not. If I do I will add a photo and instructions to this post.
Following Step 10 (WS) in the pattern, you bind off the first stitch of the 6 stitches remaining and pull the tail through it. This acts as the “stop” stitch. The four live stitches on the needle are then slipped off and you proceed to unravel them until they “stop”. Then tie a knot at the base as close to the work as you can. One tassel done. Continue until all tassels are done. Then you cut the loops in half so there are two strands. Again, how cool is THAT?!
Pick up a Yarn Trail Passport ($1), shop your favorite local yarn stores, collect stamps, and enjoy small thank-you gifts along the way.
One Response