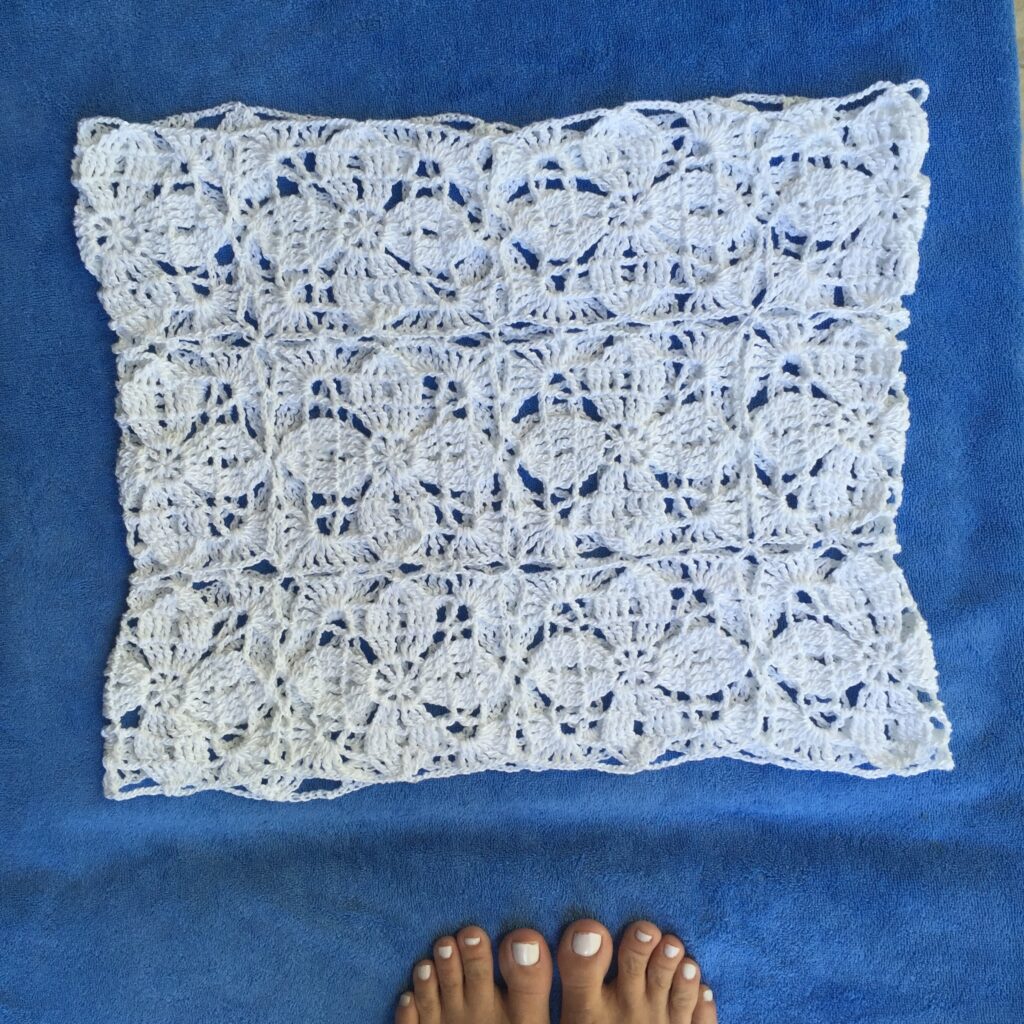
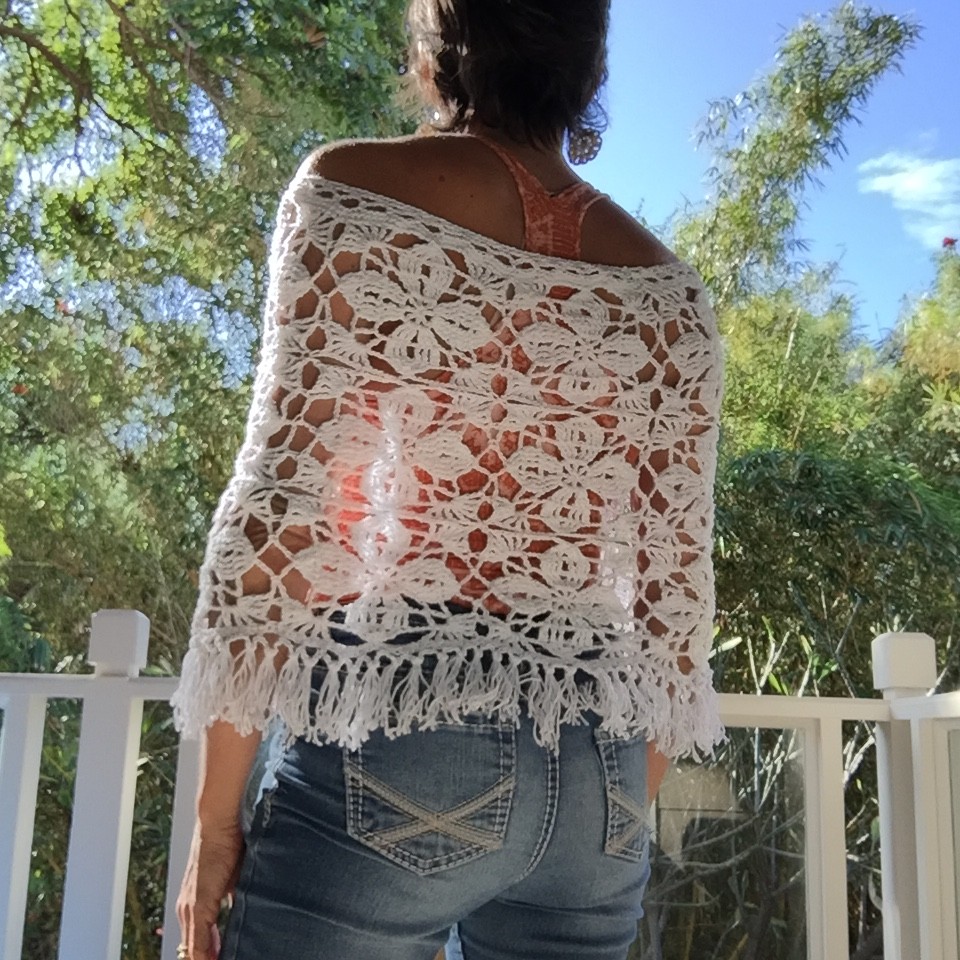
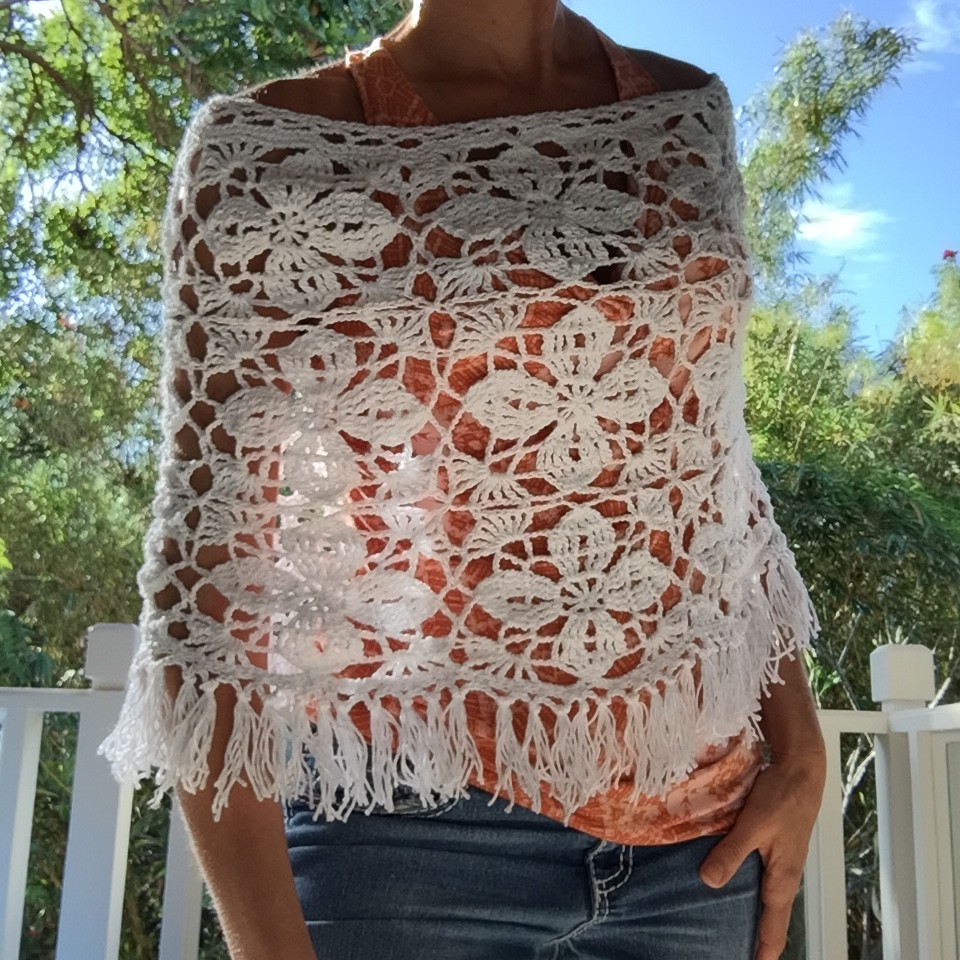
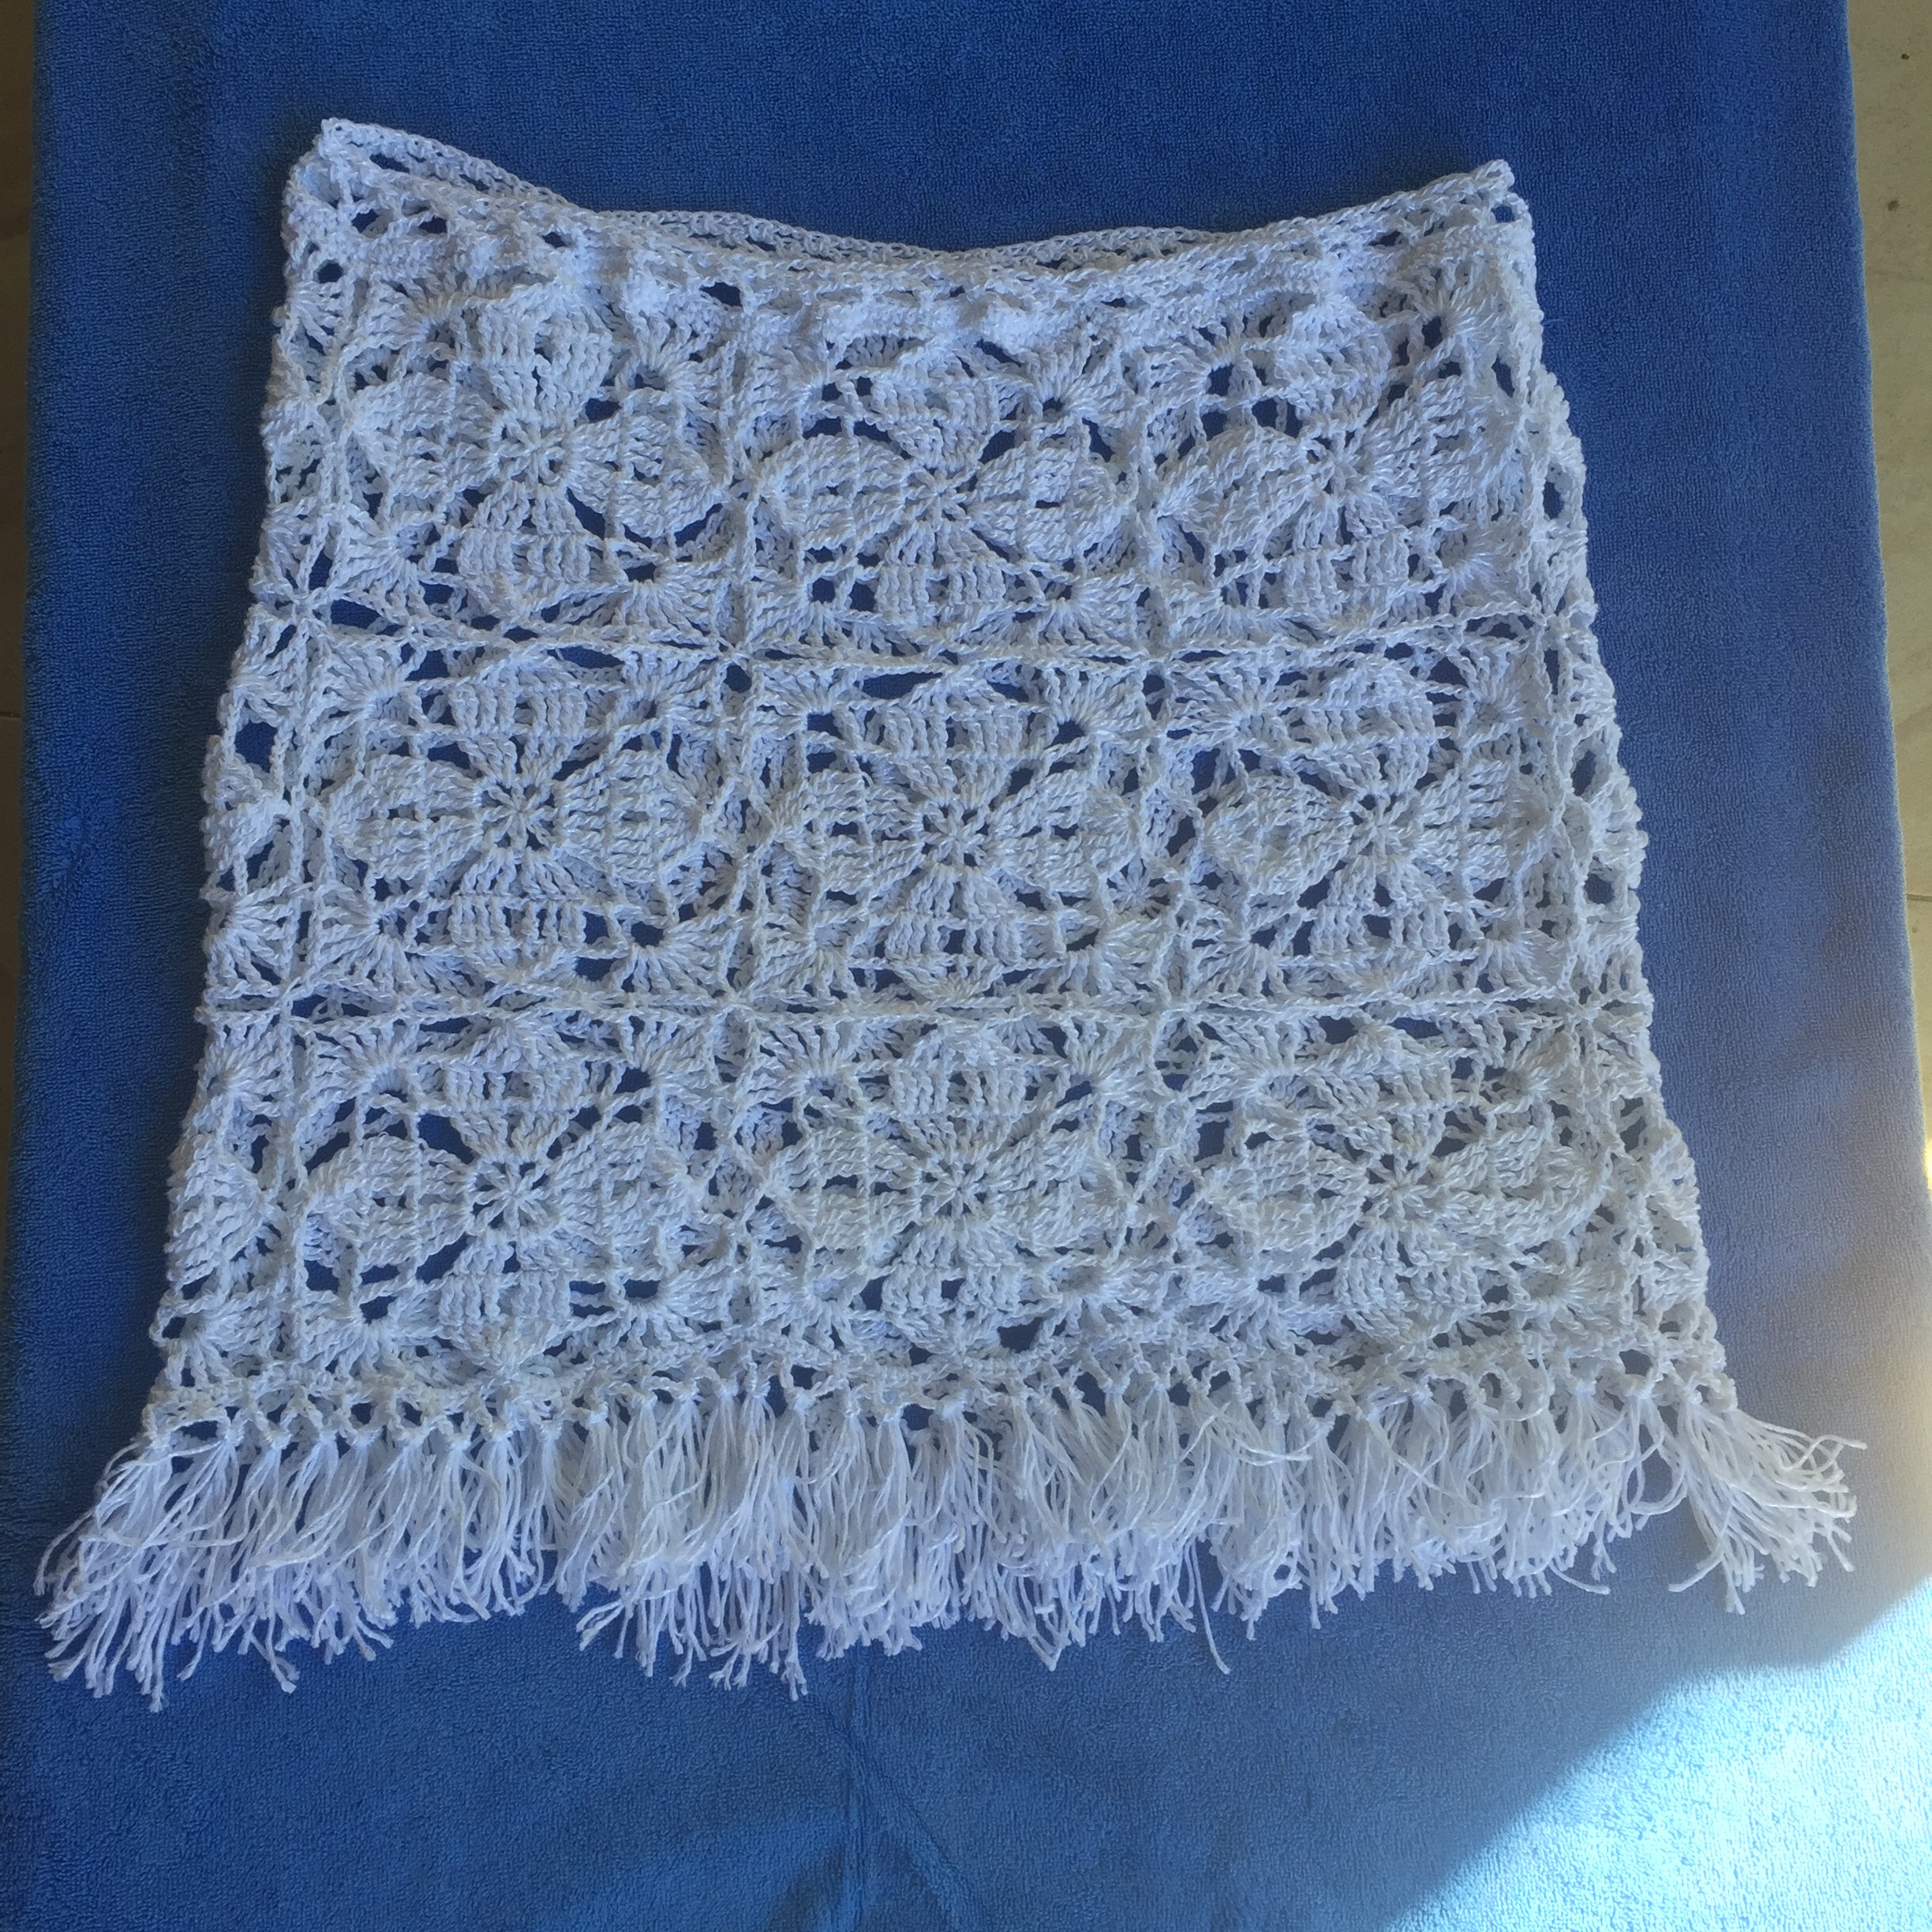
Now that all crocheted flower motifs are attached together, and the long piece sewn to create a cylinder essentially, you are ready to add the neckline and bottom fringe border. Fun!
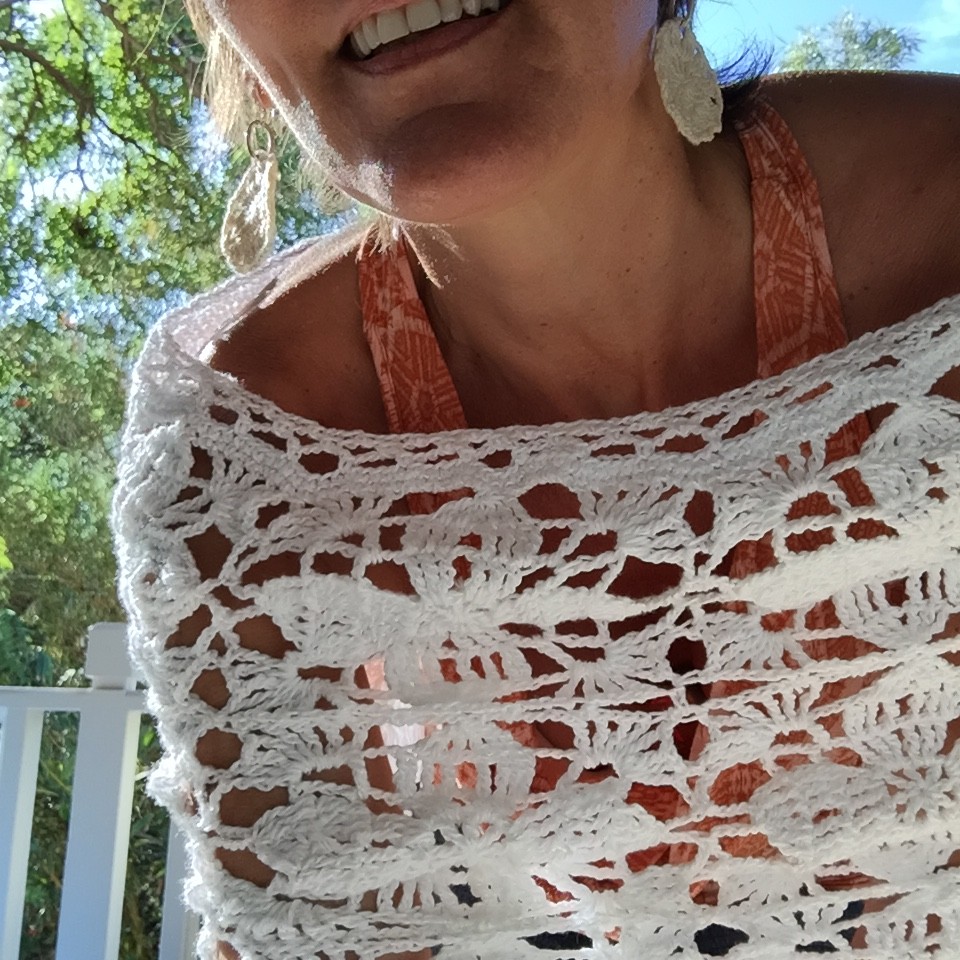
NECKLINE
Round 1-2: sc around, join with a sl st to first st
Round 3: * ch-5, skip 4 sc, sc in next sc ** repeat from * to ** around, join with sl st to first st
Round 4-5: sl st in ch space, * ch-3, sc in next ch-5 **, repeat from * to **, join with sl st to first st.

BOTTOM BORDER WITH FRINGE
Round 1: sc all around, join with a sl st to first st
Round 2: * ch-5, skip 2 sc, sc in next sc **, repeat from * to ** around

The original pattern I used to make this poncho can be found here: http://beautifulcrochetstuff.com/crochet-summer-poncho-free-pattern/

Pick up a Yarn Trail Passport ($1), shop your favorite local yarn stores, collect stamps, and enjoy small thank-you gifts along the way.
One Response
I love it